Hunting Tips for Beginners: Your Guide to Hunting Safety
If you’re thinking about getting into hunting, or maybe you grew up around hunters and it’s time to try it for yourself, the first thing to do is learn how to stay safe when in the field.
Yes, coming home with some harvested wild game meat is important, too! However, it’s crucial to remember that safety must come first.
Safe hunters are successful hunters! When you know how to stay safe, you also know how to hunt better and bring home the game you're after.
So, what should new hunters know about hunting safely? There’s a lot to learn, but we’re here to help!
In this resource, we’ll cover:
- Why Do We Hunt?
- What Are the Types of Hunting?
- An Intro to Hunter Terminology
- How to Start Hunting
- Navigating Licensing and Regulations
- Take a Hunter Safety Course
Part II: Hunter Safety Tips
- What Safety Equipment Do I Need for Hunting?
- Firearm Safety 101
- What Is the Safe Zone of Fire?
- Bowhunting Safety 101
- Safety When Hunting from a Tree Stand
- Where to Hunt: Understanding Weather and Terrain
Part III: In the Field
Keep reading to learn the best hunting tips for beginners with a focus on safety! You’ll want to read to the end to get your free copy of our latest safety resource, “The Ultimate Guide to Hunting Safety."
Part I: Hunting Tips for Beginners (An Introduction)
Let’s start with the basics. What is hunting?
It’s the practice of pursuing and harvesting wild animals for food, sport, conservation, or population control. While your goal is most likely to have meat for your table or in your freezer, hunting is also an important part of managing wildlife and preserving land and crops.
Hunting is a centuries-old tradition founded on a respect for nature. To be a successful and responsible requires skill, knowledge, a love of the outdoors, and an understanding of regulations.
Why Do We Hunt?
We briefly mentioned a few reasons why people hunt, but the primary reason is for food. It’s the most sustainable way to source meat for your table.
Family tradition is another reason why people hunt, and that may be true for you. However, whether you grew up around hunters or not, you may have a love of being outdoors and connecting with nature, making hunting a natural way for you to do that.
In addition to everything we just highlighted, people hunt to help protect crops and control wildlife populations. With a fair and ethical approach, hunting is a critical aspect of conservation, and it’s necessary to keep wildlife populations in check.
For example, invasive species (like wild hogs or coyotes) can decimate the deer population in an area and damage crops, which eventually disrupts the ecosystem and prevents other animals and vegetation from thriving.
Hunting is an essential aspect of protecting livelihoods and the world around us.
What Are the Types of Hunting?
One of the best things about hunting is that there are plenty of ways to hunt and lots of species to go after. As you become more skilled and try hunting different animals, your hunting lifestyle could be a year-round pursuit!
Three primary categories of hunting include:
- Small Game: rabbits, squirrels, and upland birds (like quail, pheasants, or snipe)
- Big Game: elk, deer, moose, bear, bighorn sheep, and other large animals
- Waterfowl: various species of geese and ducks
The “type” of hunting you prefer can also be determined by the weapon you choose for your hunt:
- Firearms: Shotguns, rifles, muzzleloaders
- Bowhunting: Compound, recurve, or traditional bows
Knowing what type of hunt you’re planning important, including what you hunt (i.e., the animal) and how you plan to hunt it (firearm or bow). This helps you determine the open season dates, regulations, and bag limits for your hunt.
An Introduction to Hunter Terminology
Wait, what are “bag limits?” It’s not how many trash bags you’re allowed to bring on a hunt.
Hunting comes with some specific lingo and terms that apply to various aspects of the sport. Understanding basic hunter terminology will help you plan a successful hunt and communicate with other hunters.
Start with the basics as get started as a hunter:
- Bag Limit: Regarding the animal you’re hunting, this is the number of that animal you can legally harvest in a season or day. 
- Game Animals: These are the wild animals you can hunt legally (i.e., turkey, deer, turkey, geese, elk, etc.). Non-game species are animals you cannot hunt (like domestic dogs and cats, your neighbor’s pot belly pig, horses, etc.).
- Tag: This is a permit issued to hunt specific game during the season. After a kill, hunters must report the harvest with the tag. When you are out of your allotted tags, you’ve “tagged out.”
- Season (or Open Season): An open season includes the dates you can hunt a specific species in an area. Note that “open” season dates vary from state to state. A state’s wildlife management organization determines these dates annually.
- Ethical Shot: This is a shot (by bow or firearm) that ensures a quick, humane kill. It is a critical concept that responsible hunters must follow.
- Fair Chase: The guiding principle that avoids an unfair advantage and promotes respect for animals when hunting.
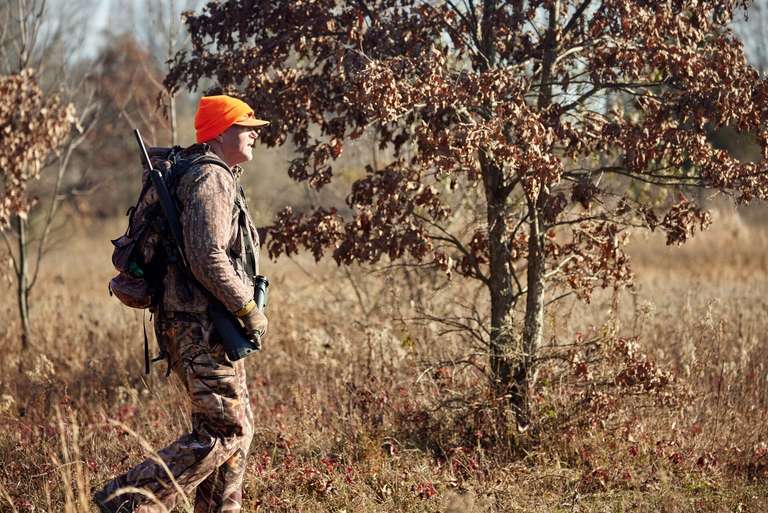
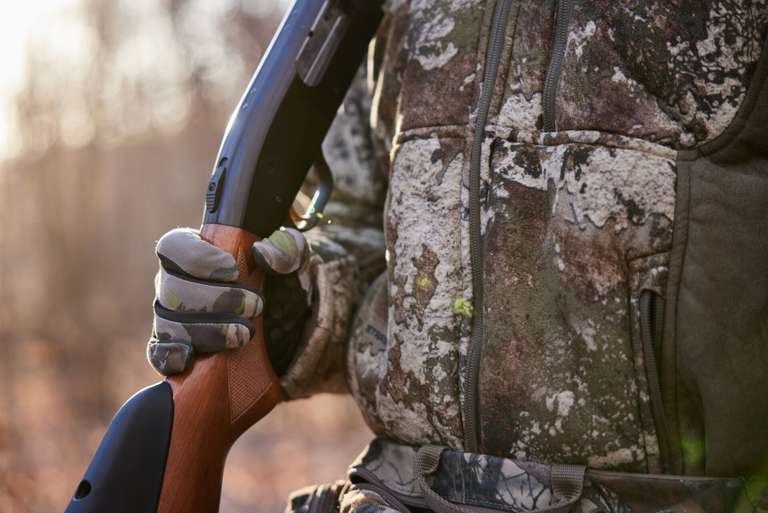
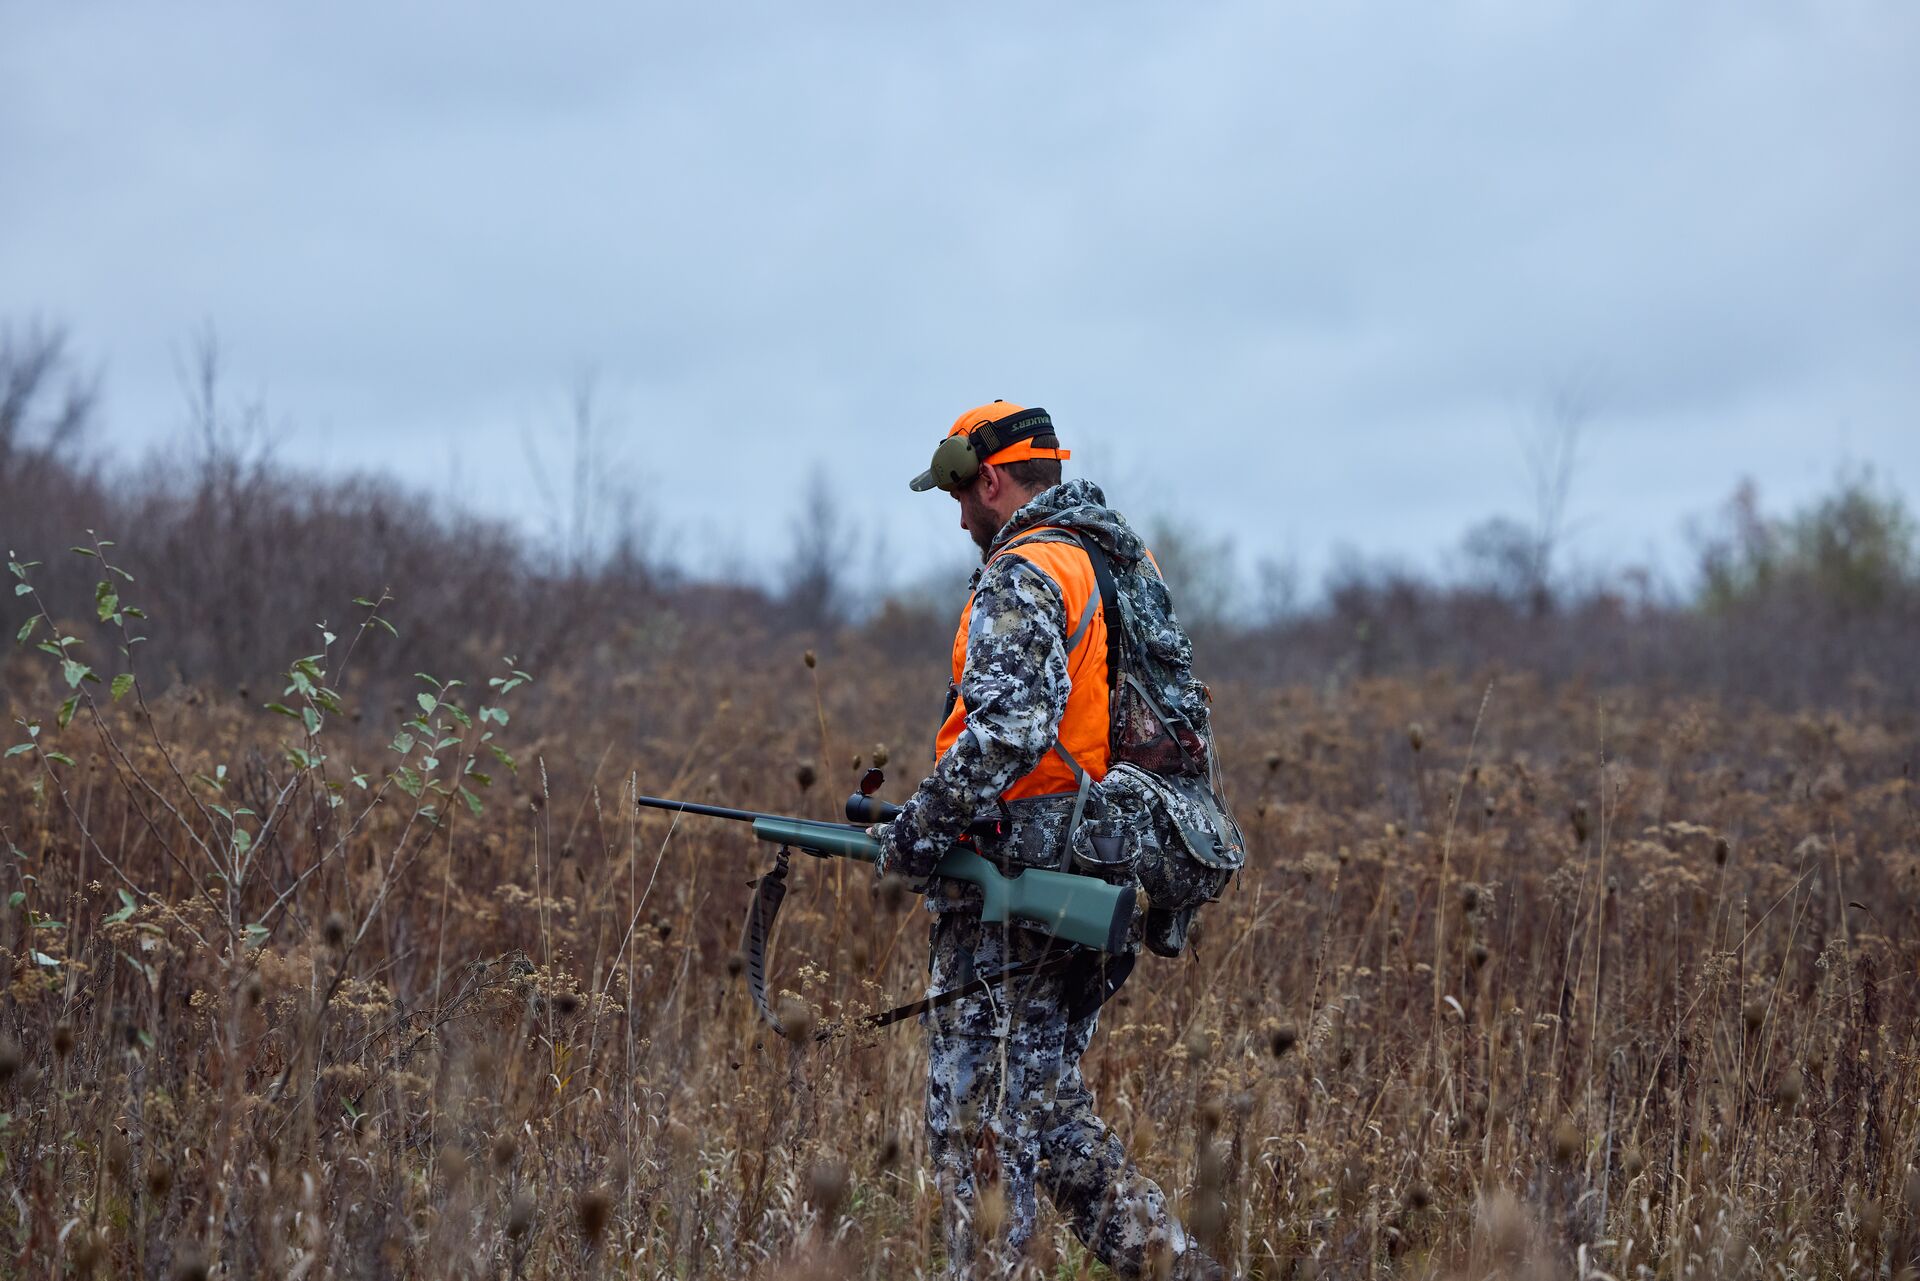
- Blaze (or Hunter) Orange: It’s not just “any” orange. Most states require hunters to wear very specific bright orange color clothing during some seasons to increase visibility and prevent hunting accidents.
This short list is a good starting point for some of the most important terms to know when learning about hunting. As your knowledge grows, you’ll learn more terms.

How to Start Hunting
Now that you have some fundamental knowledge on why people hunt, what hunting is, and a few hunter terms so you can navigate your first hunt, it’s time to learn how to get started as a hunter.
The following sections cover gear, regulations and licensing, safety, essential hunting techniques, and more!
Start With the Right Hunting Gear
Having the right gear is crucial for a successful hunt.
While seasoned hunters may have a wealth of high-end and expensive equipment, you can get started as a new hunter with a basic kit to get out in the field and experience a first hunt.
Pro tip: Don’t let not having something or not having the budget to spend on a top-of-the-line item keep you from getting out in the field.
Start with some basics, practice with the gear you have, see what works for you (and what doesn’t), then build your gear cache as you hunt more often and become a better hunter!
What to Consider When Choosing Hunting Gear
There are a lot of options for hunting gear in the marketplace, and it can get overwhelming if you don’t know where to start.
Put price aside when building your gear kit as a new hunter, and look for the following elements to narrow down your choices:
- Durability: Opt for items that can last through several seasons (or at least through several hunts). Rugged gear must be able to handle rain, brush, and repeated use in the field.
- The Right Fit: Hand-me-downs from your grandpa may work for a hunt or two, but you’ll eventually need gear that fits you. From clothing to your rifle or bow set-up, choose gear that’s your size.
- Comfort: Especially when choosing clothing, boots, and backpacks, make sure your gear is comfortable for hiking, sitting, and hauling harvested game.
- What Fits the Hunt: Tailor your gear selections based on what you plan to hunt, including scent blockers, game calls, rangefinders, and binoculars.
Remember: there’s no one-size-fits-all gear solution. What works for some hunters may not work for you, and that’s okay. Choose what works best for you, and adjust your gear pack depending on the hunt.
What Are Hunting Gear Basics?
Start with some basics, including:
- Your Bow or Firearm: Choose a bow, rifle, shotgun, or muzzleloader based on the species and legal hunting methods in your area. Other items in your gear set-up will depend on your preferred weapon for the hunt.
- Arrows or Ammunition: You’ll need the matching caliber, gauge, or arrow setup for your weapon and the game you're pursuing. Don’t forget broadheads for bowhunting.
- A Knife: Every hunter needs a good hunting knife! You’ll use it to clear brush and field dress game.
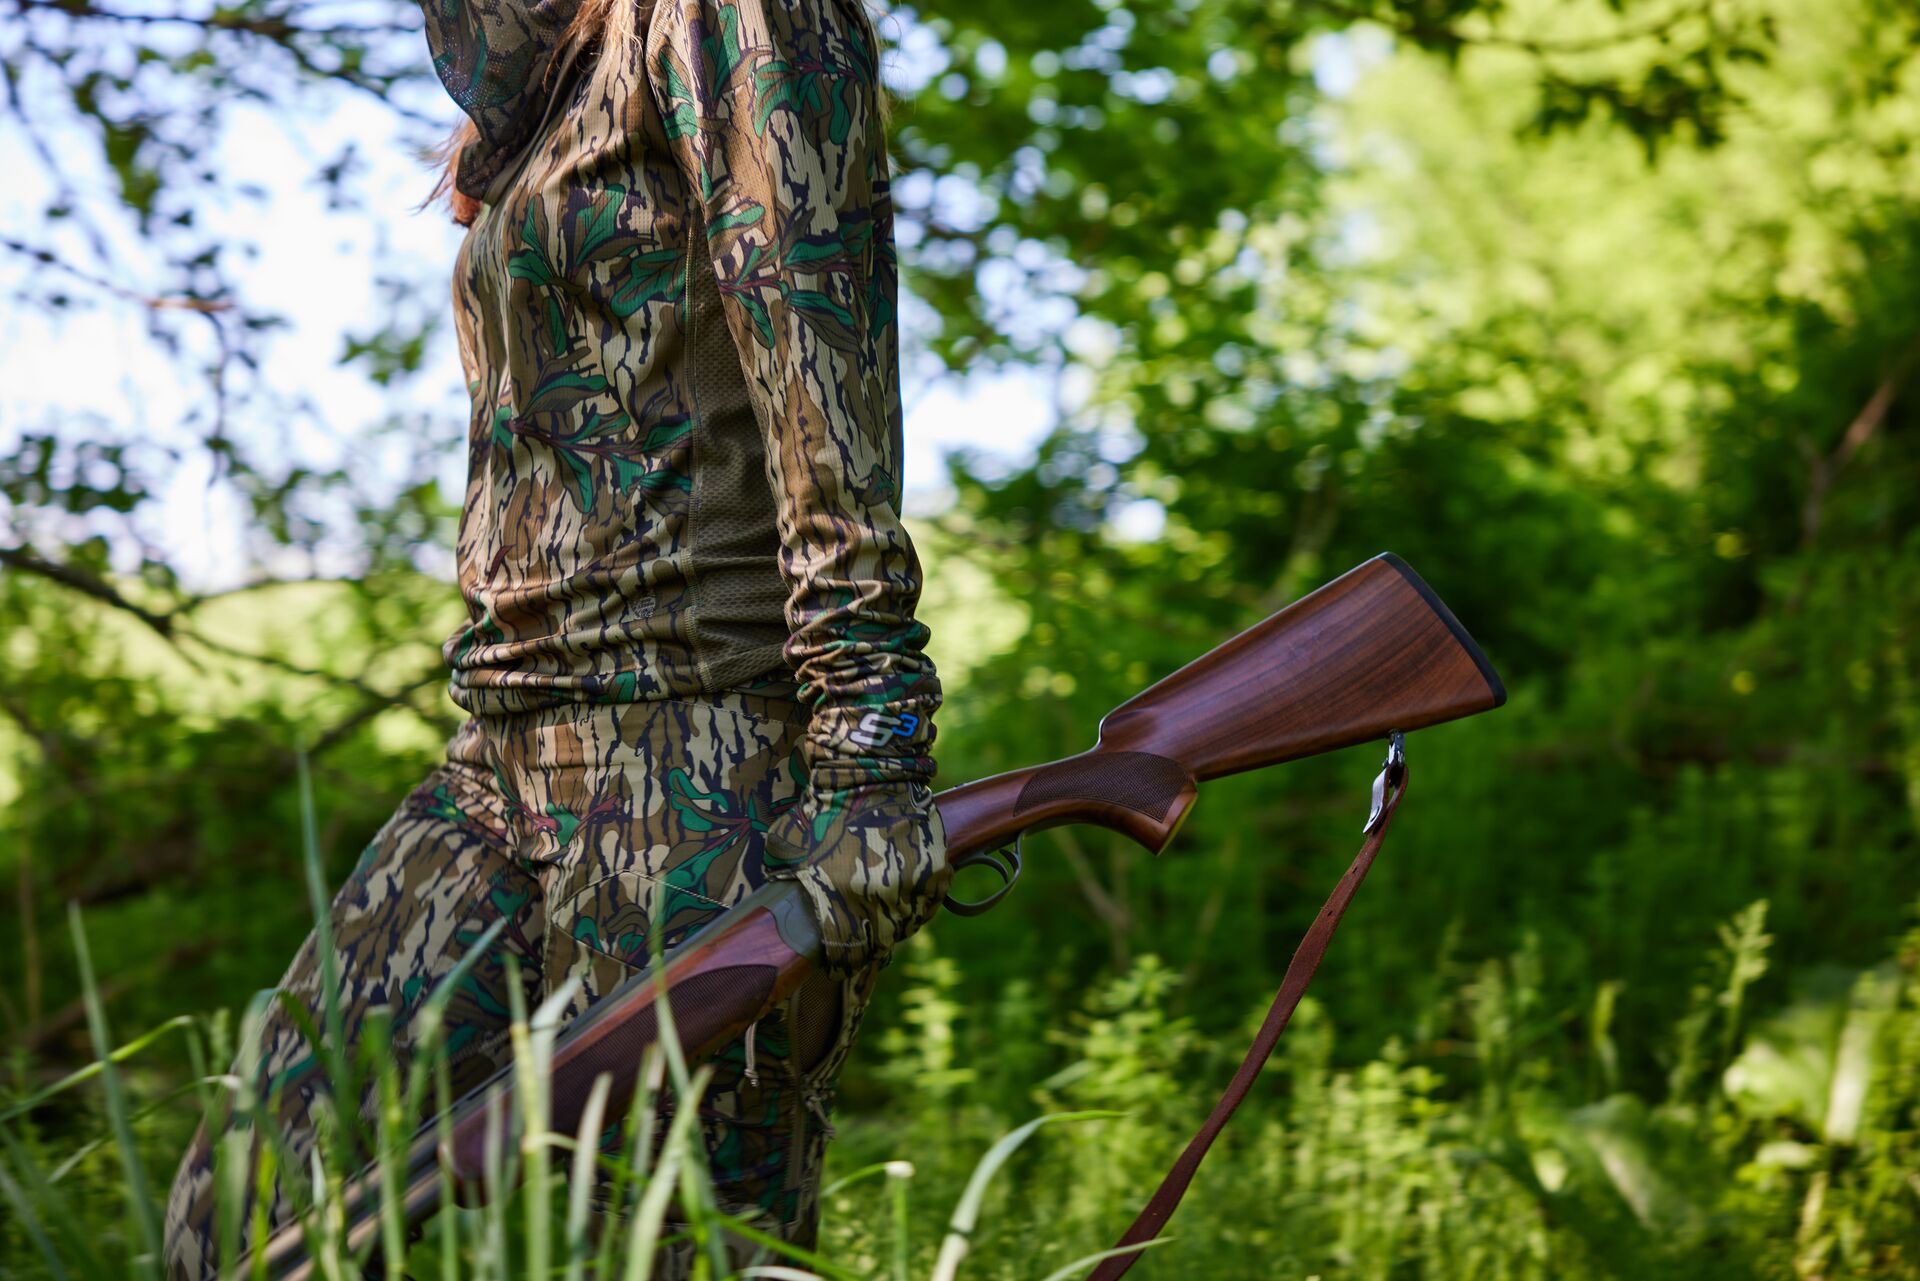
- Clothing: Dress in layers depending on the weather and terrain. Use the right camo pattern to blend into the area and blaze orange (based on state requirements) to stay visible and safe.
- Boots: Choose insulated, waterproof boots for wet, cold, or rugged terrain. For warm-weather hunts, choose lighter, non-insulated boots. Durability and comfort matter to protect your feet in the field!
- A Field Dressing Kit: After safety, your goal every time you hunt is to bring home the game you’re after. Bring a field dressing kit with you for safe meat handling.
Remember: You’ll build your gear collection over time and over many hunts, so don’t worry if you don’t have everything you want for your first hunt.
Navigating Licensing and Regulations
After you’ve assembled the gear you need for a successful hunt, it’s time to get your hunting license. You also need to understand the rules before stepping outdoors.
Researching regulations, licensing, and permits is crucial for planning a successful (and legal) hunt.
Why Do We Have Hunting Laws?
Hunting is highly regulated to protect animals and keep people safe. These regulations exist to keep animal populations healthy and sustainable.
For example, the reason you have turkeys to hunt every season is because your state wildlife agency puts rules in place on how many turkeys hunters can take and when they can take them each season.
Without these rules, game populations would suffer.
Hunting laws also help keep hunters (and non-hunters) safe outdoors. Rules about hunting zones, shooting hours, open and closed season dates, and rules about wearing blaze orange help protect hunters and others who may be in the area (but aren’t hunting).
Where to Start with the Rules (Tips for New Hunters)
Understanding safety is crucial, and understanding your state’s hunting regulations is arguably the next most important of our tips for new hunters. However, it can be overwhelming to locate the right rules and comprehend what they mean for the hunt you’re planning.
Start by going to your state wildlife agency’s website and finding the hunting regulations. Then, focus on the basic information that pertains to your hunt, including:
- The Season Dates: Every species has its own hunting season, but don’t assume the dates are the same each year. Pay attention to starting and ending dates that apply to the zones you want to hunt and the weapon you plan to use.
- Legal Take Methods (i.e., weapons): Your state may limit the types of weapons, calibers, or hunting aids (like electronic calls or bait) you can use to hunt.
- Bag Limits: Know how many animals you’re allowed to harvest per day or season.
- Hunting License: “Licensing” can include the general hunting license for the animal you plan to hunt, along with additional permits or stamps required to follow the law. Typically, licenses and permits are good for one season, so you’ll need a new one next year.
- Land Use Laws: Learn the difference between private and public and private land rules. Always get permission when hunting on private property.
With this information, you’re almost ready for a hunt!
Take a Hunter Safety Course
Your state likely requires one more piece of documentation before you can get a hunting license and hunt.
You need to take a hunter safety course!
Not only do states require a hunter education course, but it’s also the best way to learn how to stay safe when hunting.
A hunter education course teaches you:
- Hunter Safety Tips and Essentials: How to hunt from a tree stand safely, all about the safe zone of fire, how to load (and unload) a firearm correctly, avoiding accidents and injuries, and more.
- Hunting Skills and Fundamentals: Hunting laws, ethics, how to handle firearms and bows safely, shot placement, survival skills, and animal identification, and more fundamentals.
- Responsible Hunting Practices: The Fair Chase principles, habitat management, how hunting helps conservation, and the importance of ethical, humane hunting practices.
If you’re wondering where to find one of these courses, most states allow online-only courses (like ilearntohunt) to meet the hunter education requirements. However, be sure to check your state’s rules to confirm if you also need an in-person field day to complete the requirements for certification.

Part II: Hunter Safety Tips
With an overview of the rules and a completed hunter education course, you’re ready to hunt!
Let’s dig more into hunter safety tips (because every hunt should be injury-free).
What Safety Equipment Do I Need for Hunting?
Along with the starter gear we covered in Part I, hunters should carry some essential safety equipment into the field.
Make sure your gear kit includes:
- Hunter Orange (Blaze Orange): We’ve highlighted this a couple of times because it’s important! In most areas, hunter orange clothing is required during firearm seasons. Check with your state’s regulations to make sure you have the right amount of orange incorporated into your clothing.
- Map, GPS, and Compass: Cell service can be spotty (or non-existent) in the woods, so be sure you’re prepared with other navigation options. Bring a GPS device or hunting app (like HuntWise), and always carry a compass and a physical map as a backup to avoid getting lost.
- A First Aid Kit: Accidents can happen when hiking through the woods with a rifle or bow! Carry a small first aid kit with bandages, tweezers, antiseptic wipes, and blister pads.
- Headlamp or Flashlight: You’ll need a flashlight or headlamp to get safely into your blind or stand in the early morning hours. These also come in handy when tracking wild game after dark.
- Emergency Essentials: Bring snacks, water, an emergency blanket, and fire-starting tools, especially when hunting in remote areas with dnpredictable weather.
- A Communication Device: Bring your cell phone. Just in case you don’t have cell service, carry a radio for emergencies.
Before you head out into the field, let someone know your hunting plan and location. They’ll be able to send help to your location if you don’t return by the time you’ve let them know you’ll be back.
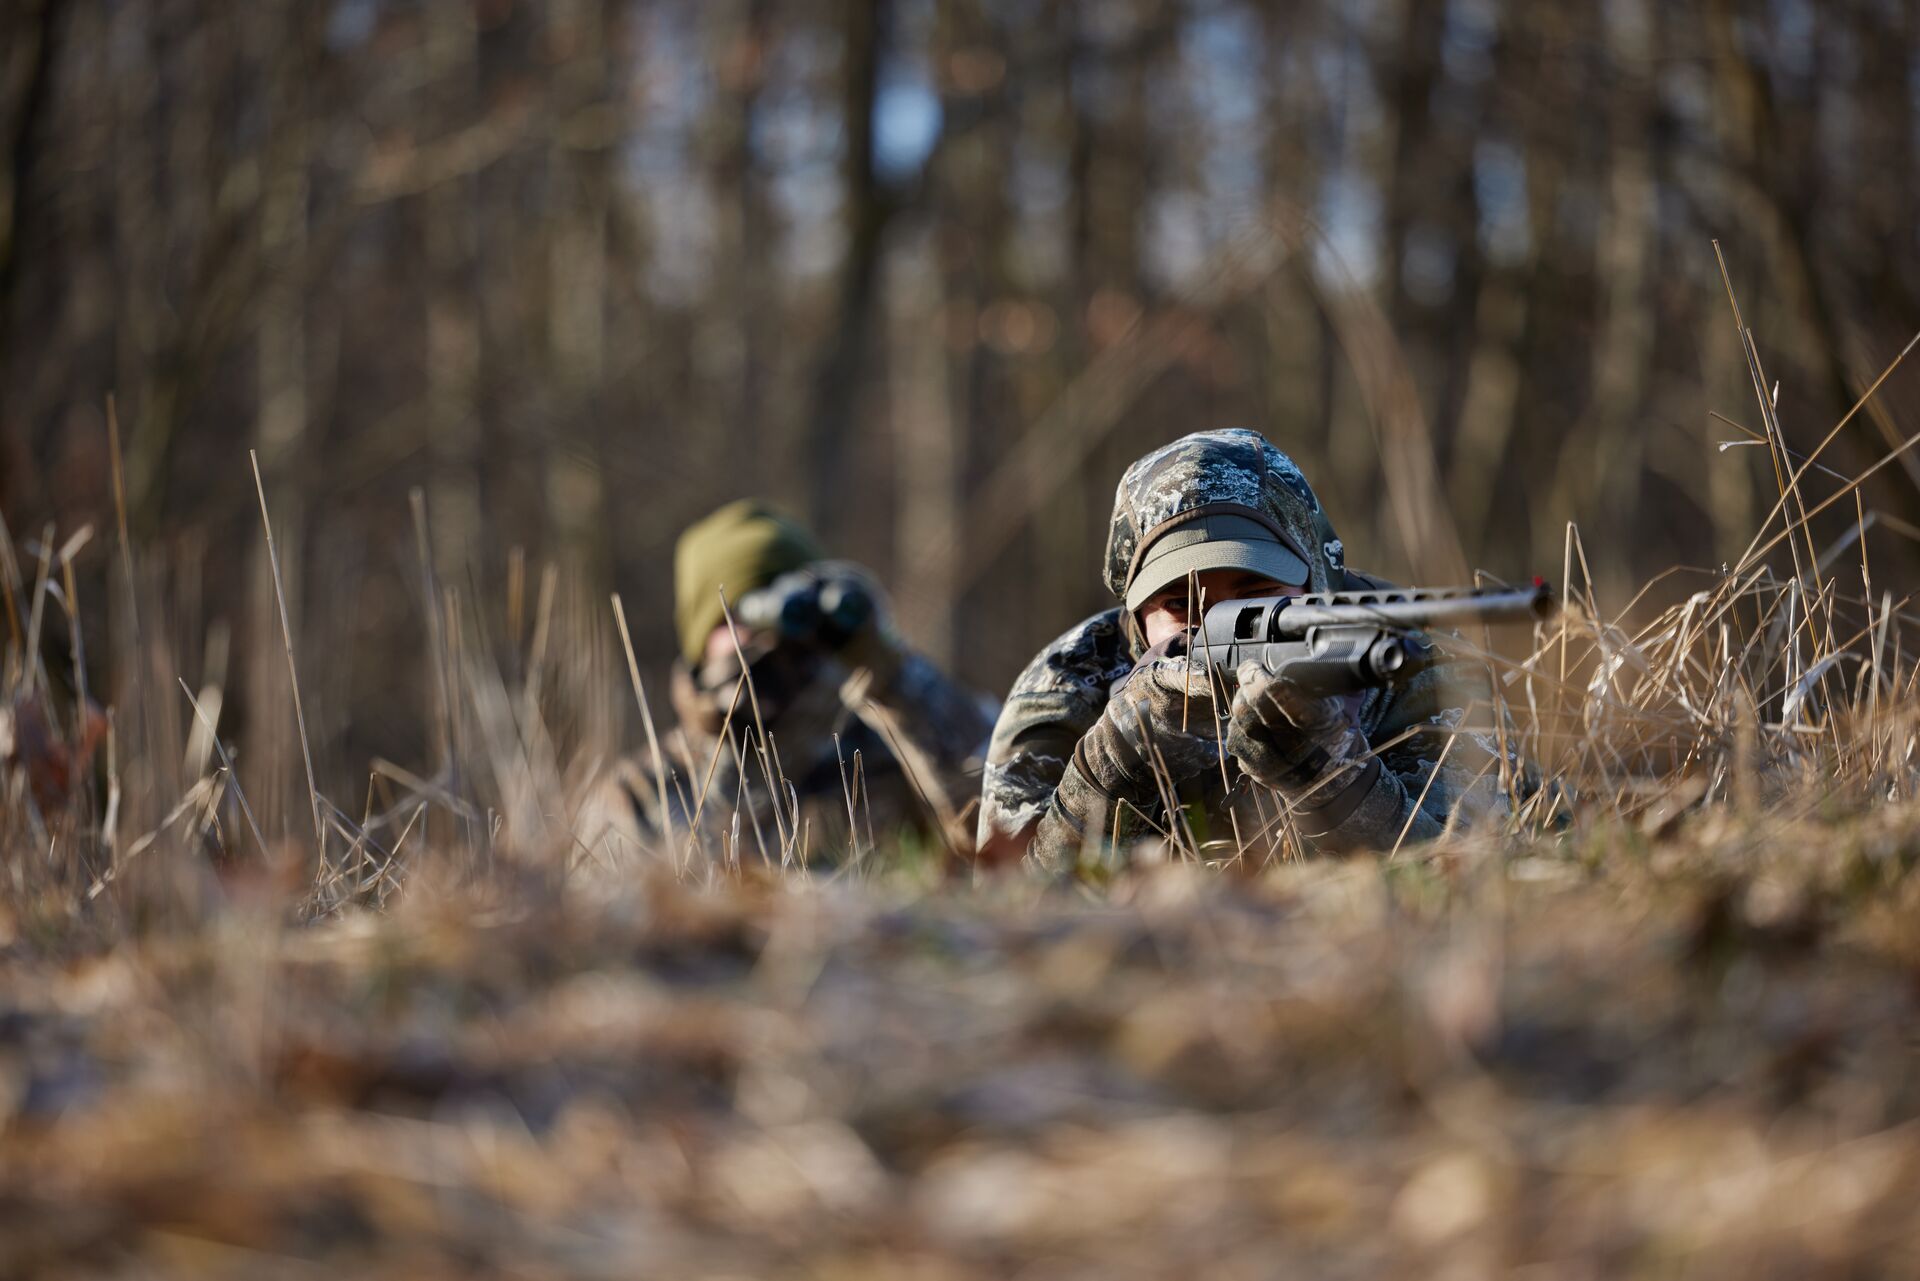
Firearm Safety 101
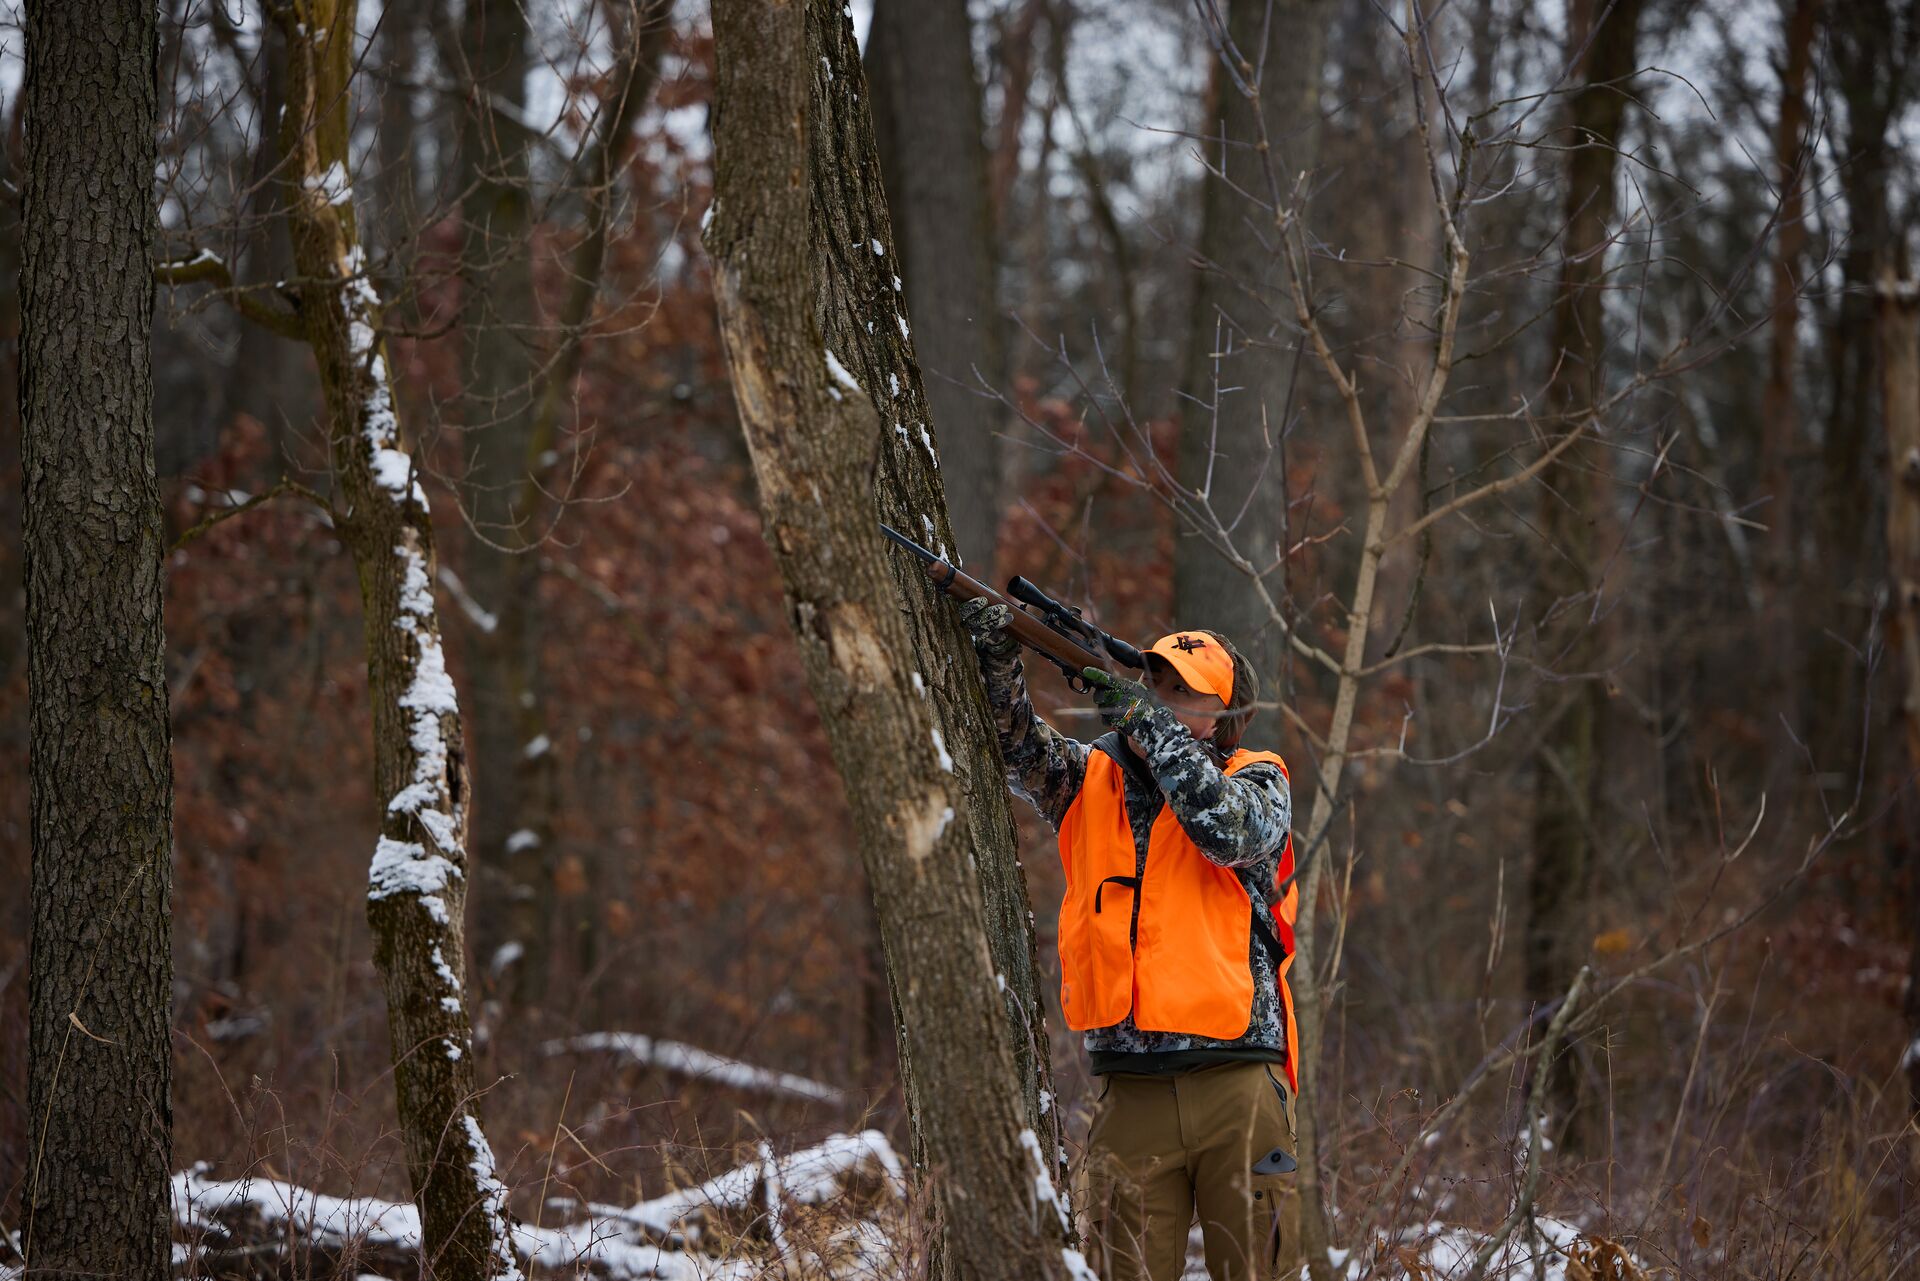
If you plan to hunt with a firearm, make sure you understand how to handle and fire it safely!
Safe firearm handling starts with the Four Primary Rules of Firearm Safety! The best way to remember these rules is to think of TABK (Treat, Always, Be Sure, Keep):
- Treat every firearm with the respect of a loaded gun.
- Always point the muzzle in a safe direction.
- Be sure of the target and what is in front of it and beyond it.
- Keep your finger outside the trigger guard until you’re ready to shoot.
As you handle your firearm or shotgun more often through more hunts or at the practice range, these habits will become second nature.
How to Carry Your Firearm Safely
There are right (and very wrong) ways to carry your firearm when hunting, especially if you hunt with other people in a group. Depending on how many friends or family members are in your hunting party and the terrain, you have options on how to carry your firearm safely.
Proper field carries include:
| The Sling Carry Best used during long treks through open fields. However, we don’t recommend this carry method when walking through thick brush. The sling (or strap) can get caught and knock the gun from your shoulder, causing an accidental discharge. | 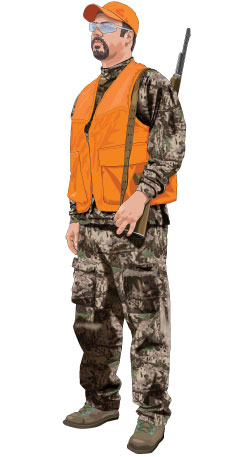 |
| The Trail Carry This carry leaves a hand free for balance. However, avoid using it when you’re standing or walking behind someone. You’ll also want to avoid this carry when walking through brush or snow, as debris can get into the barrel. | 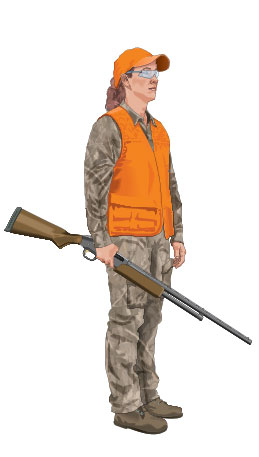 |
The Two-Handed (or “Ready) Carry | 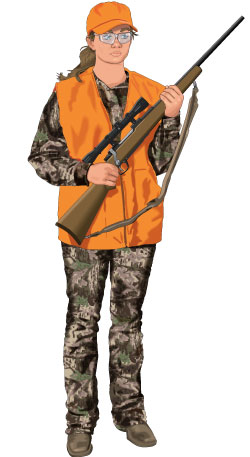 |
| The Elbow or Side Carry This carry is comfortable, but it also has the least muzzle control (especially when walking). It’s also not ideal for brushy terrain. Only use this carry when no one is standing or walking in front of you. | 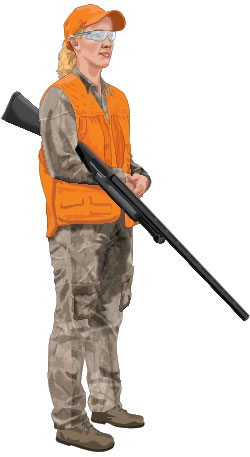 |
| The Shoulder Carry Ideal for walking behind others, but make sure no one is behind you. | 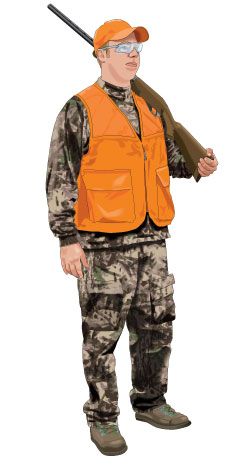 |
| The Cradle Carry A comfortable way to safely carry your firearm. It works right-handed or left-handed. Just be careful using this one when walking side-by-side with others and point the muzzle away from others. | 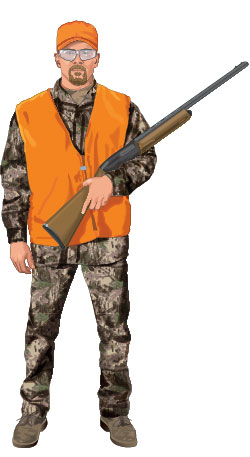 |
As an additional safety note, always know where other hunters are in the field (even if they aren’t in your hunting group) and be mindful of where your muzzle points when walking or standing.
What Is the Safe Zone of Fire?
Knowing how to carry your firearm safely is crucial, and so is know ngwhere to shoot!
With an animal in your sights, there are still a few checks to make before you start firing — even in the excitement of seeing an animal in front of you.
That’s when the Safe Zone of Fire is crucial.
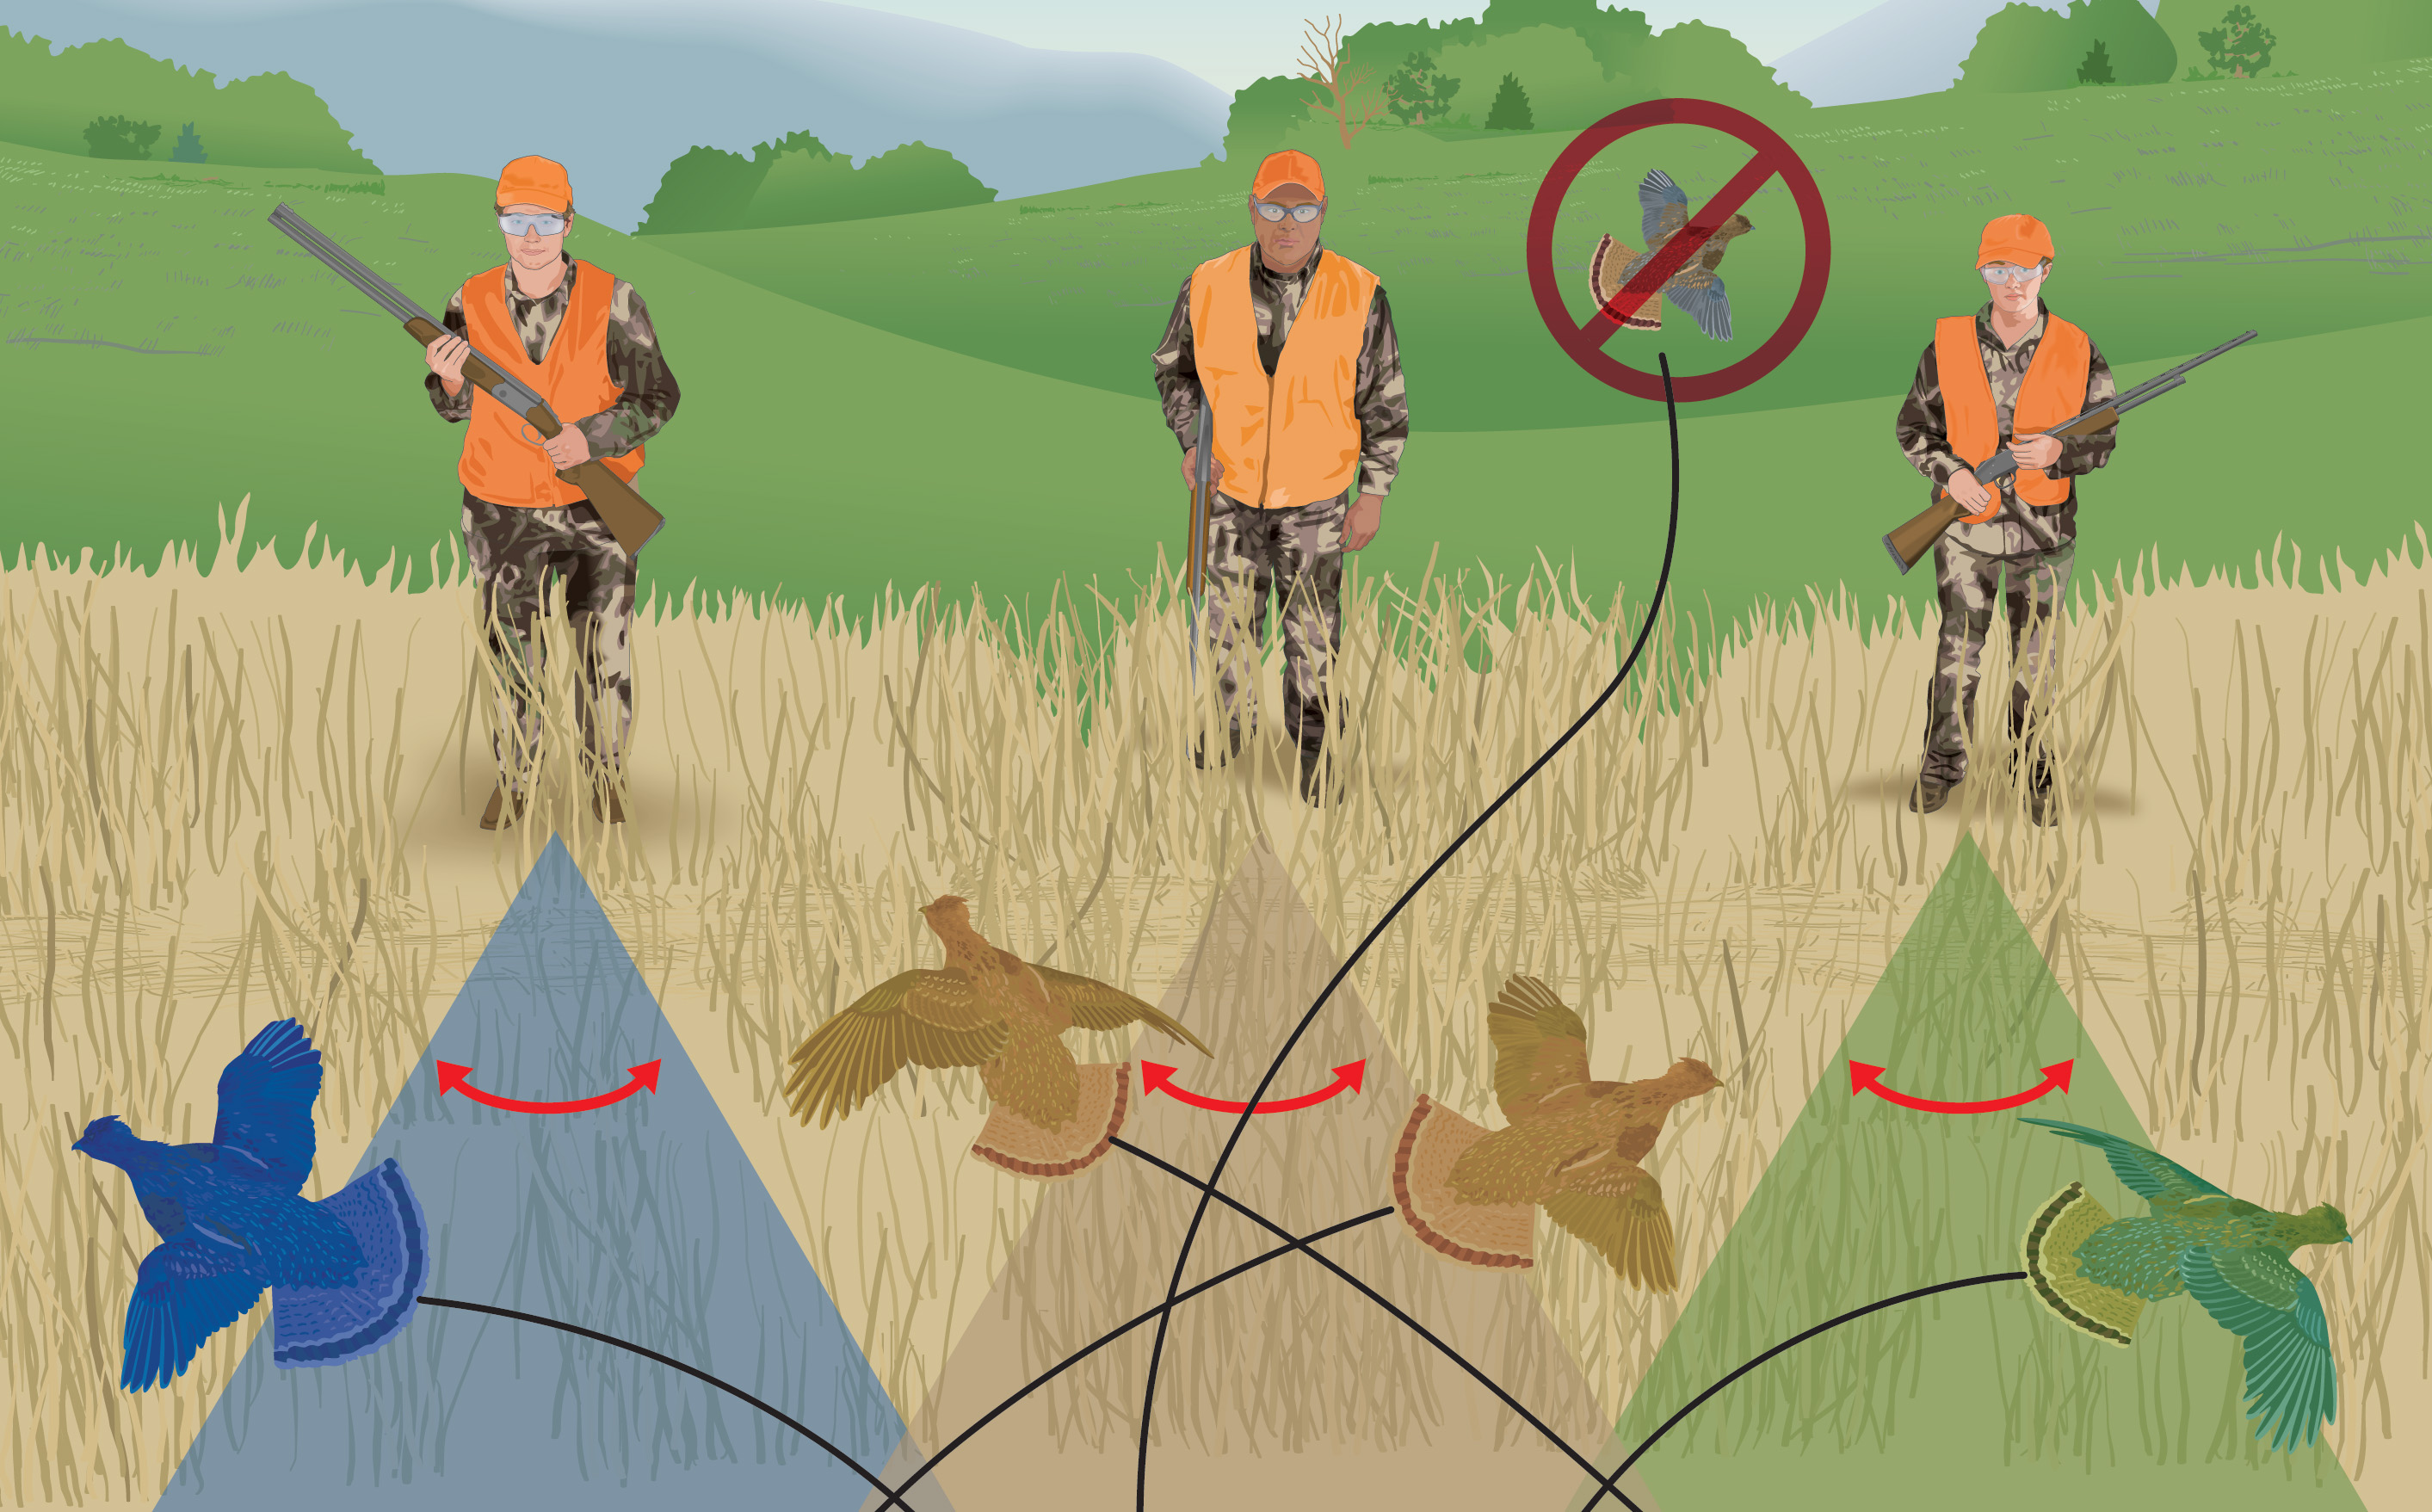
The Safe Zone of Fire is an area in which a hunter can safely shoot with minimal risk of hitting other humans, targets, or structures that are not the intended animal.
Remember, tho, that your safe firing zone isn’t always the same spot in the field. It moves as you or the animal moves.
Your zone is typically an area directly in front of you, spanning about 45 degrees, and where the animal is within your sights and range. You must also know what’s behind your target, where your zone crosses another hunter’s zone, and factor in your comfortable shooting distance.
One of the most crucial hunting tips for beginners is to only take a shot if you are sure of it. Additionally, only shoot at an animal that is in front of you.
What Are Some Additional Firearm Safety Tips to Know?
What else do you need to keep in mind when using firearms? Good preparation and safe habits help keep you and others safe!
- Know How to Operate Your Firearm: Start by learning the parts, then understand how to load, unload, and safely operate your specific piece.
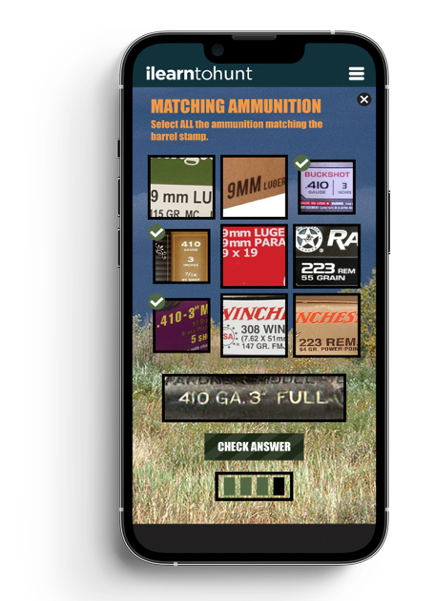
- Use the Right Ammunition: Using the wrong ammunition is very dangerous and can lead to a firearm malfunction or injury. Match your ammunition to your specific firearm.
- Unload Your Firearm When Not in Use: Unload and reload your firearm when climbing into a tree stand, trekking, crossing a fence, or getting in and out of your vehicle. Even though that may feel like a hassle, it’s the safest thing to do to prevent an accidental discharge.
Even if you’re sure you’ve unloaded your firearm, handle it as though it’s loaded. Keep the muzzle pointed in a safe direction away from others.
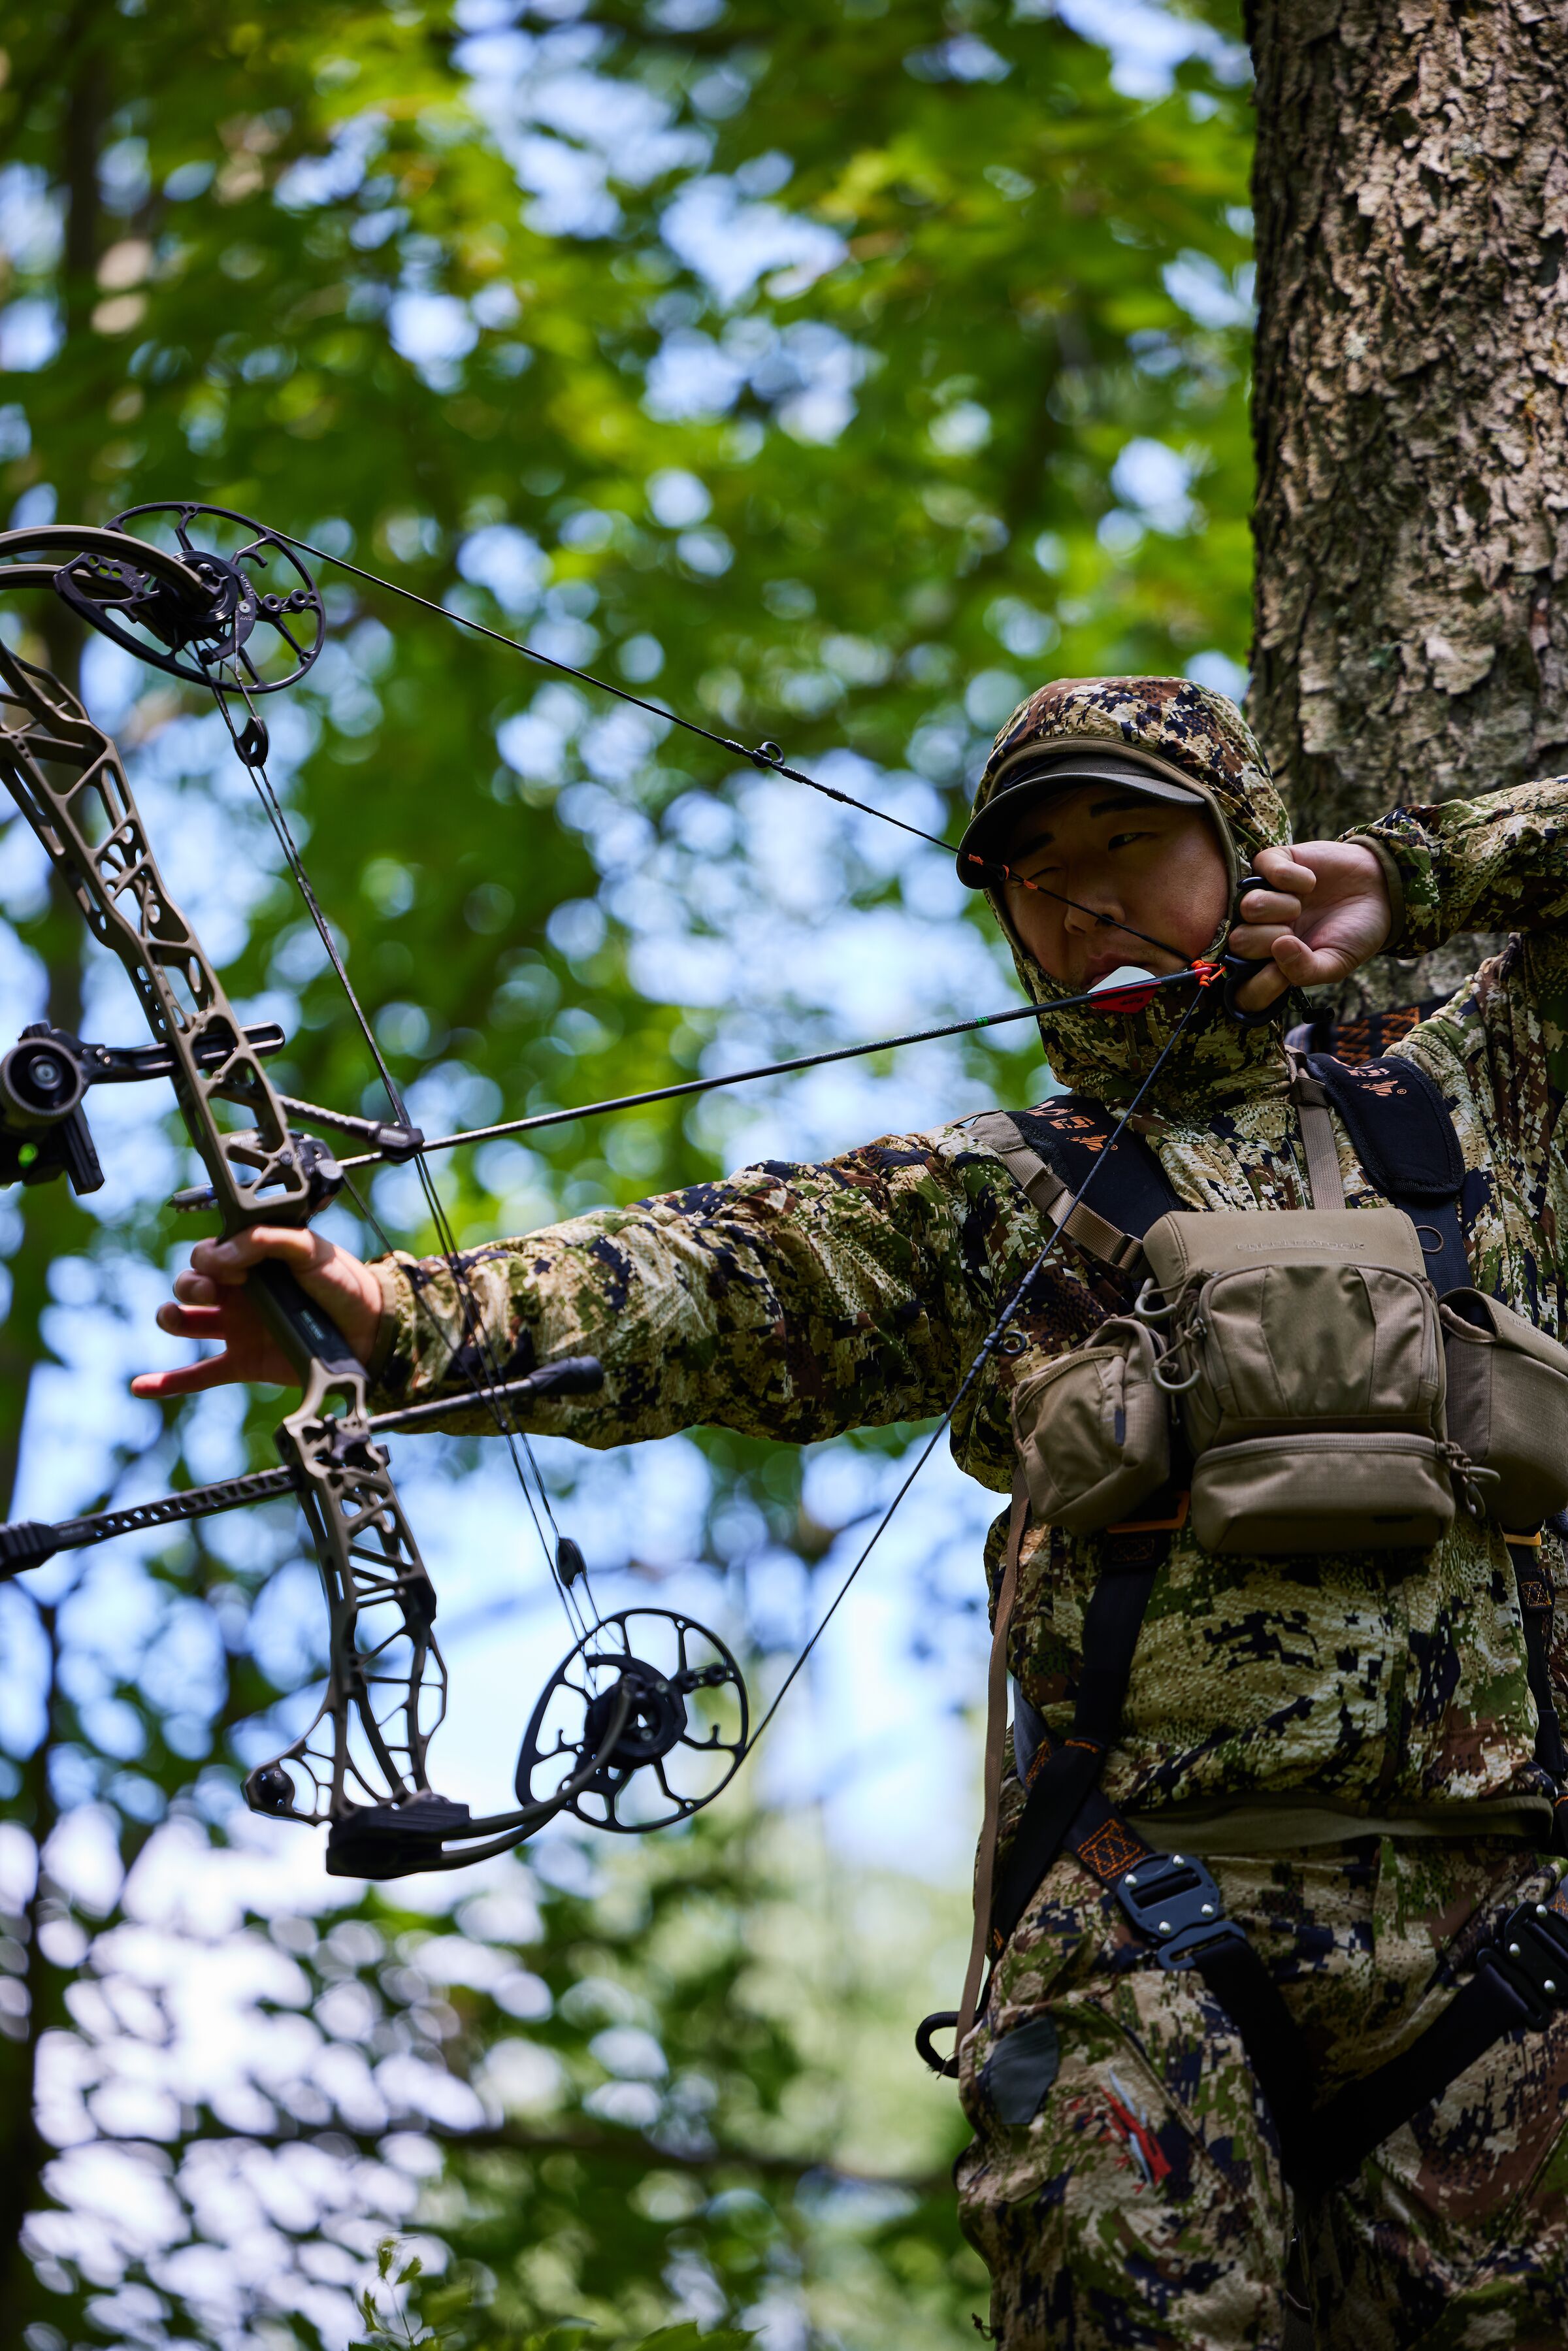
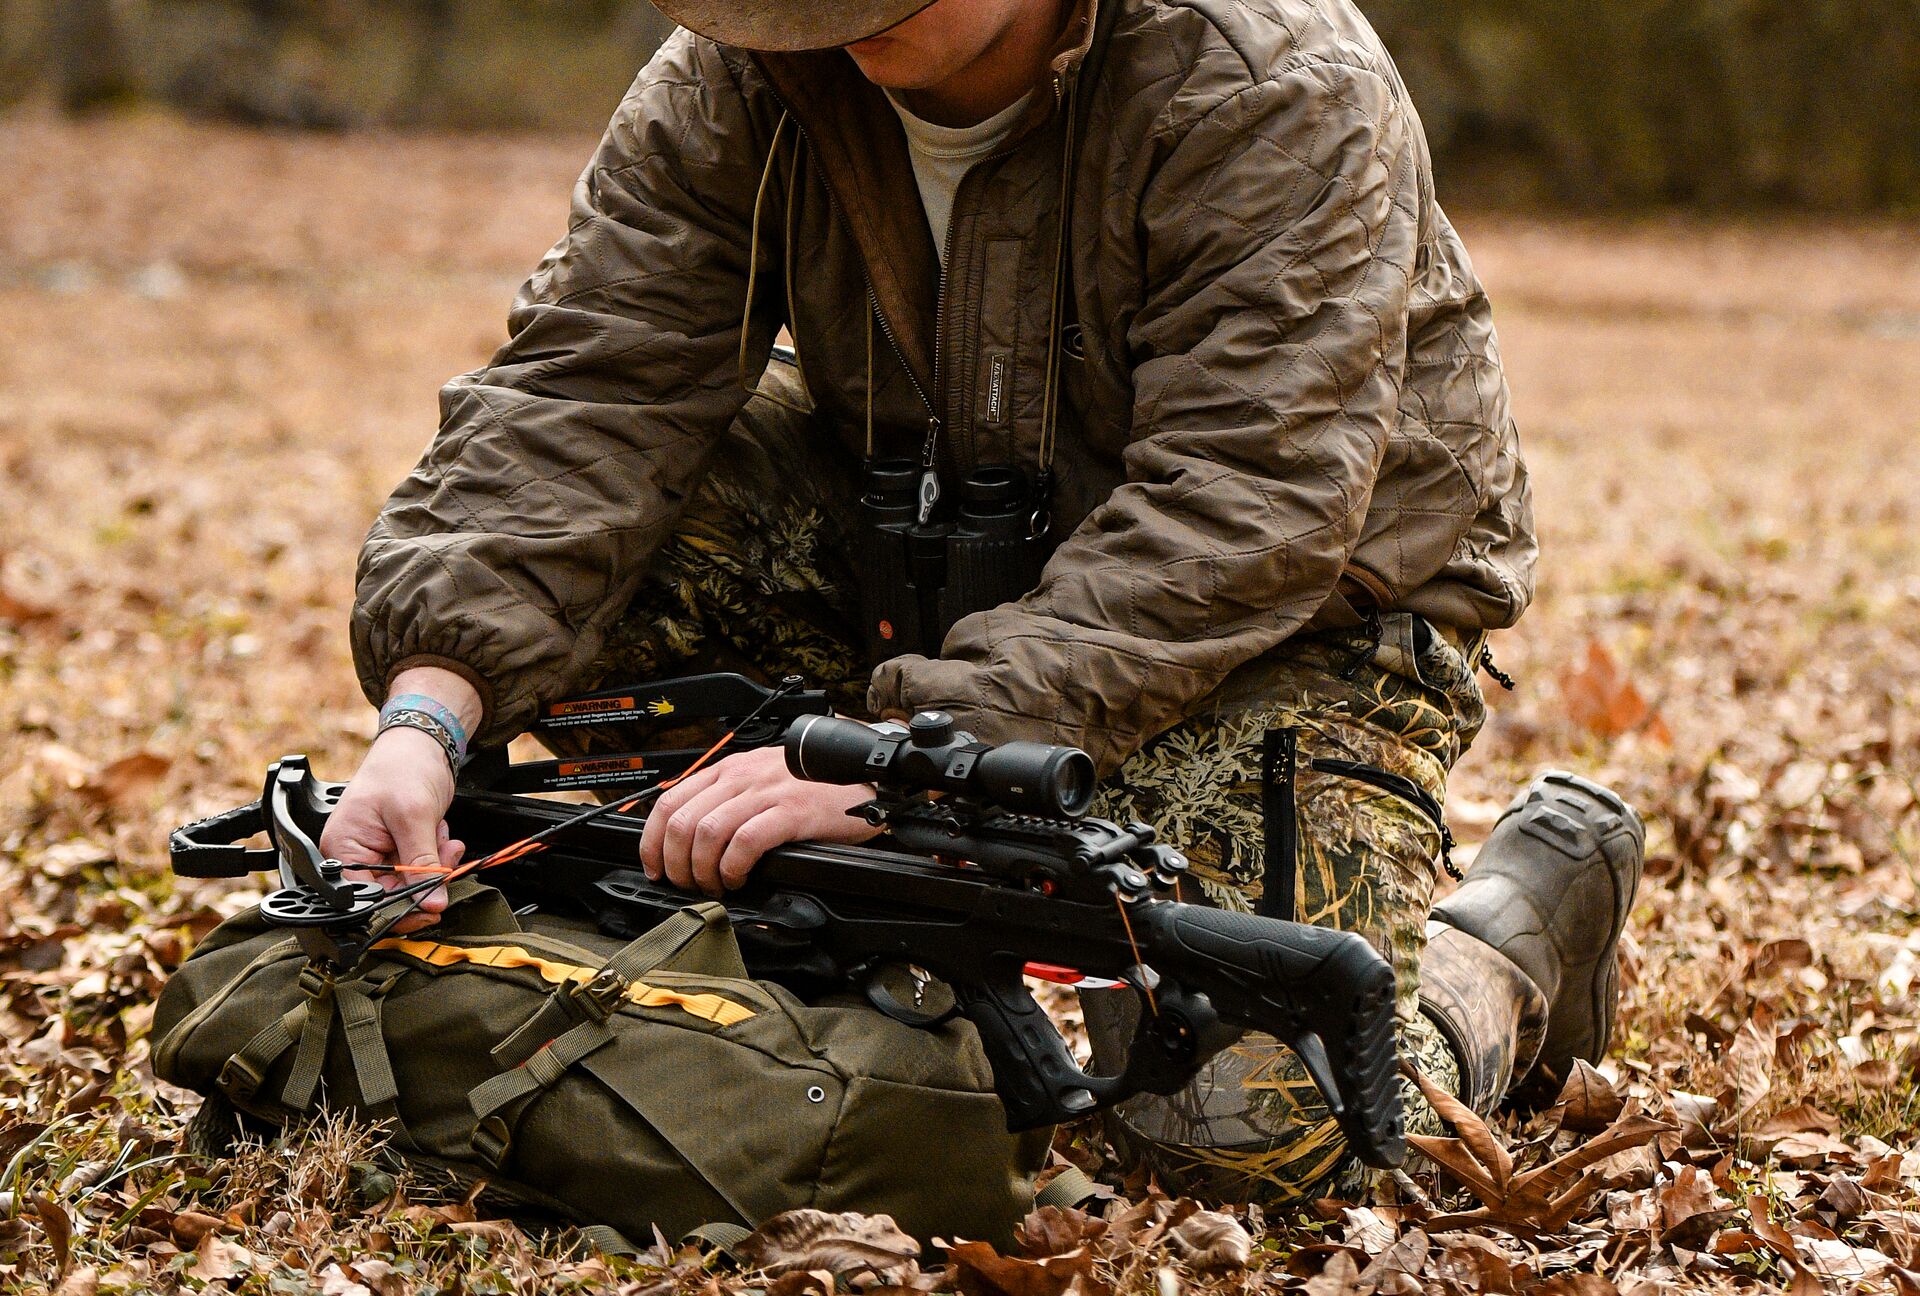
Bowhunting Safety 101
Let’s get specific about bowhunting tips for safe hunting.
Basic Safety Practices
As with a firearm, only point your bow in a safe direction. Be sure of your target and what is immediately behind it, in front of it, and beyond it. Only shoot when you have a clear shot.
Remember: The Safe Zone of Fire also applies to bowhunting!
Next, only nock an arrow when it’s safe to shoot, and you have an animal in your sights. Keeping your arrow in your quiver until it’s time to shoot makes it safer to walk with your bow. This habit also reduces the risk of damaging the bow or arrow (or anyone around you) with the sharp arrow tip (broadhead).
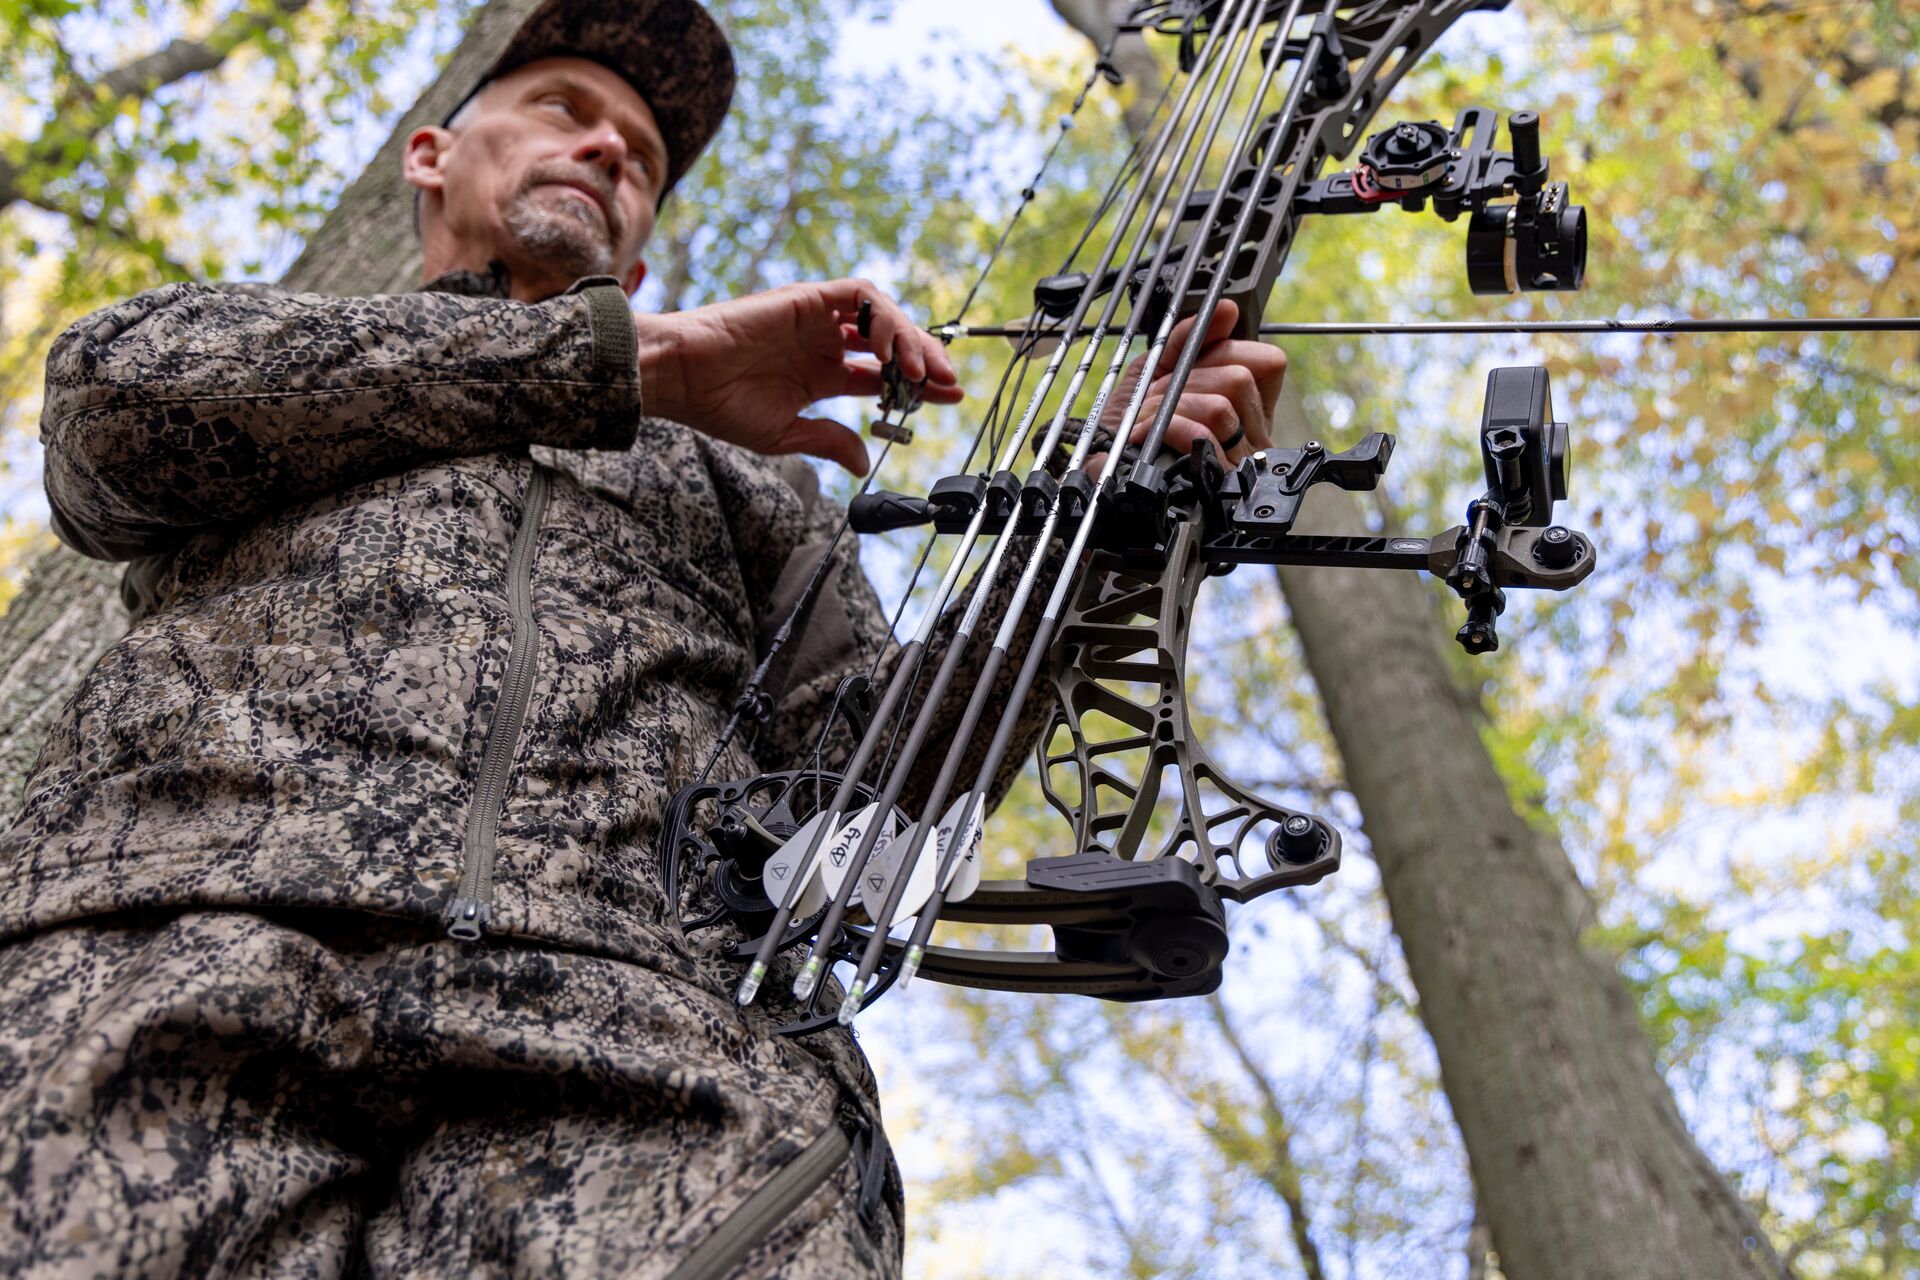
As with firearms, make sure you know your equipment and how it operates before heading into the field. Practice with your bow, arrows, and accessories. Be sure to regularly inspect your bow and string for damage, including wear-and-tear or cracks.
Prioritize Bow Safety Before and During the Hunt
A little preparation goes a long way, especially if it’s been a while since you’ve hunted or practiced with your bow.
Never grab your gear and head out for a hunt, assuming your arrows are ready to nock and shoot. Before your hunt, check your arrows for cracks or splinters. Damaged arrows can shatter upon release.
Additionally, keep your sharp broadheads sheathed in a quiver that fully encloses the arrows until you’re ready to hunt. Doing this protects your arrows and broadheads from damage. It also protects you and your fellow hunters from cuts and scrapes.
As with hunting with a firearm, practice is crucial!
- Practice hiking through various terrains with your bow, nocking an arrow, and taking shots at the range.
- If you hunt from a tree stand, try different shooting positions so you know how your bow works in various scenarios. Also, practice handling your gear (including pulling it up into the tree).
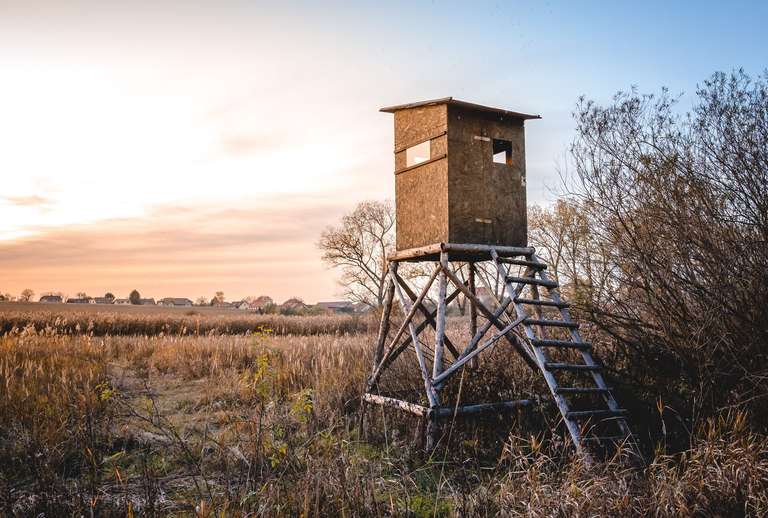
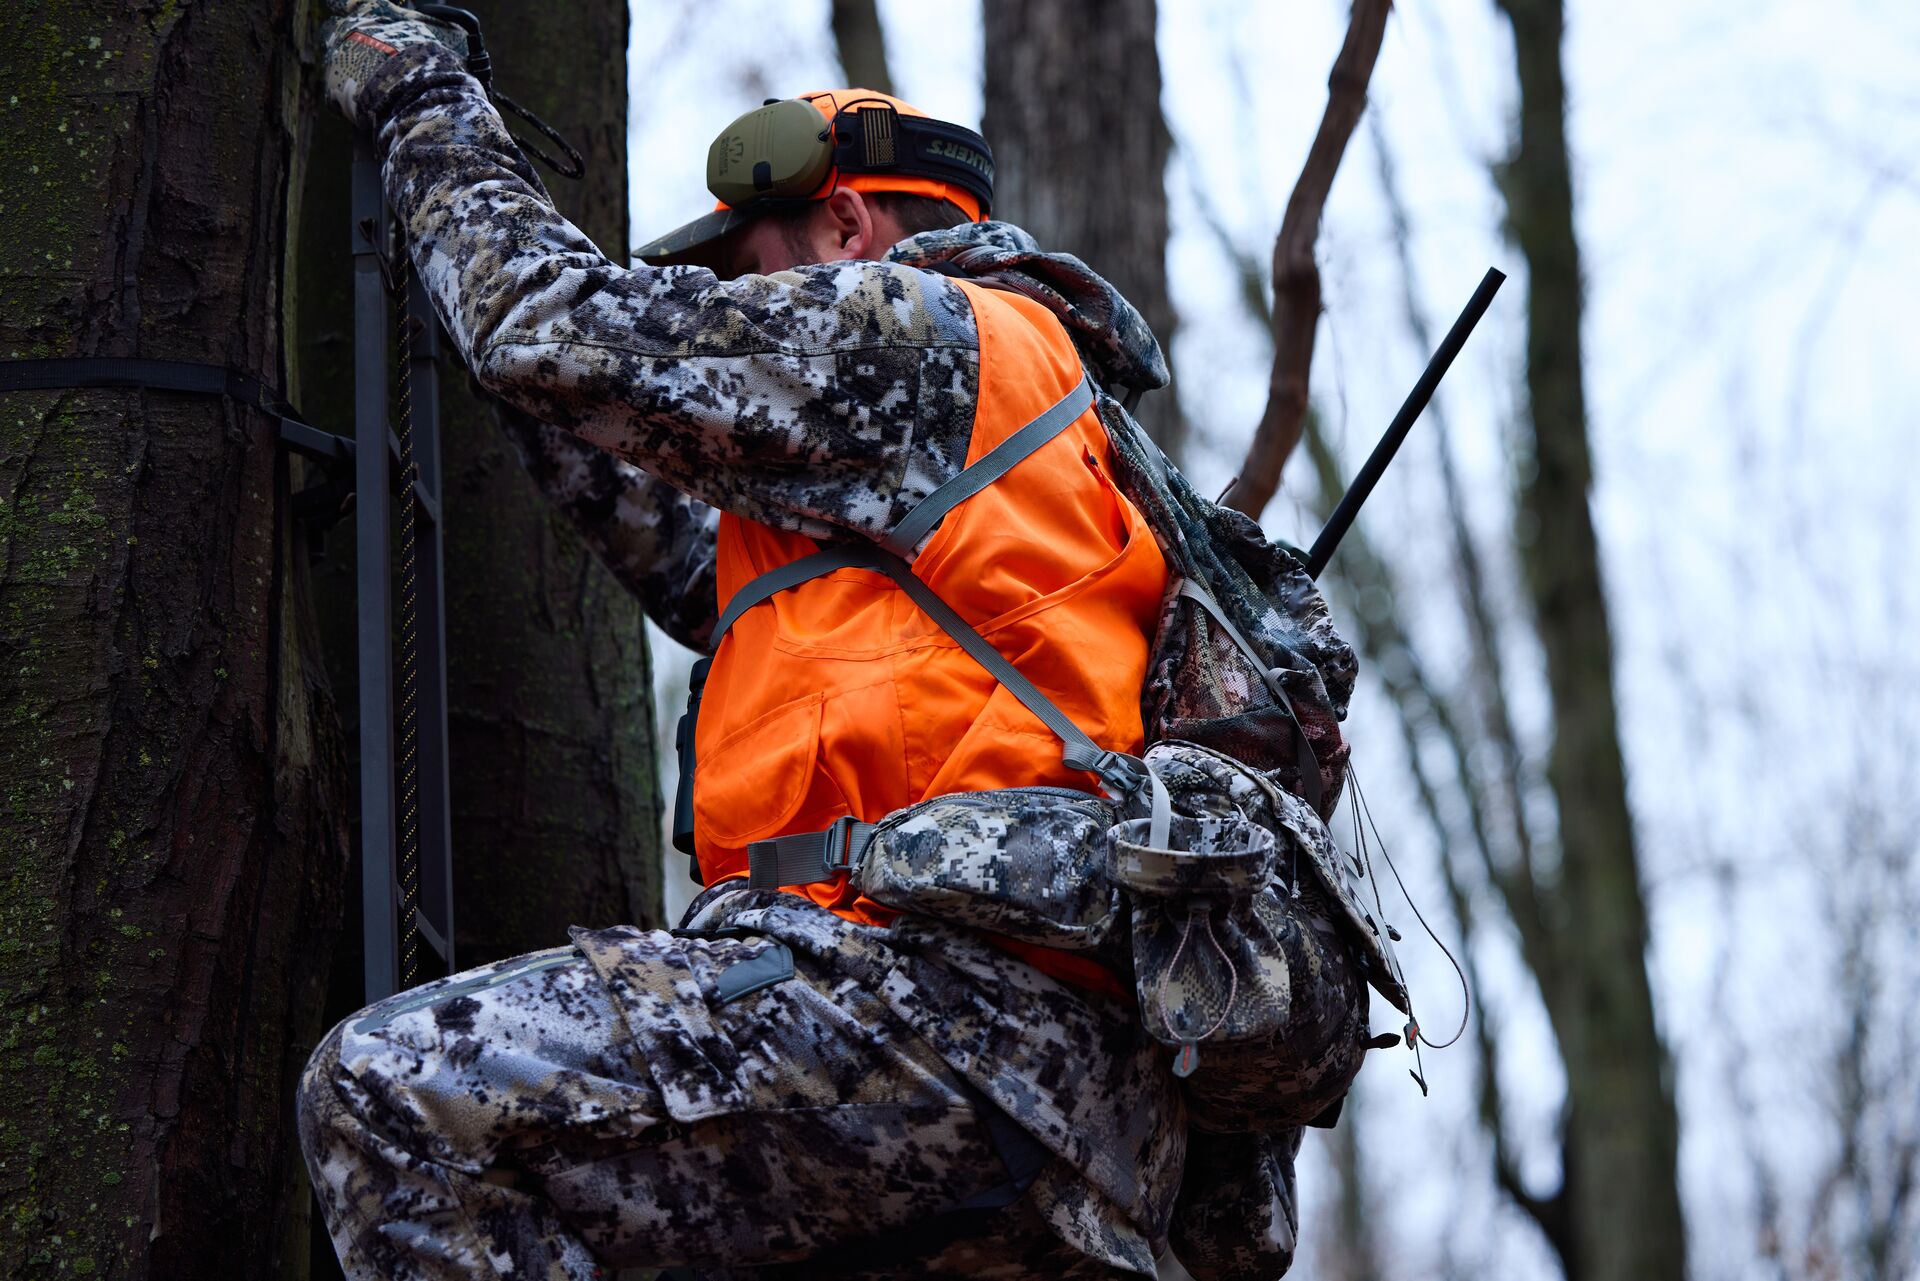
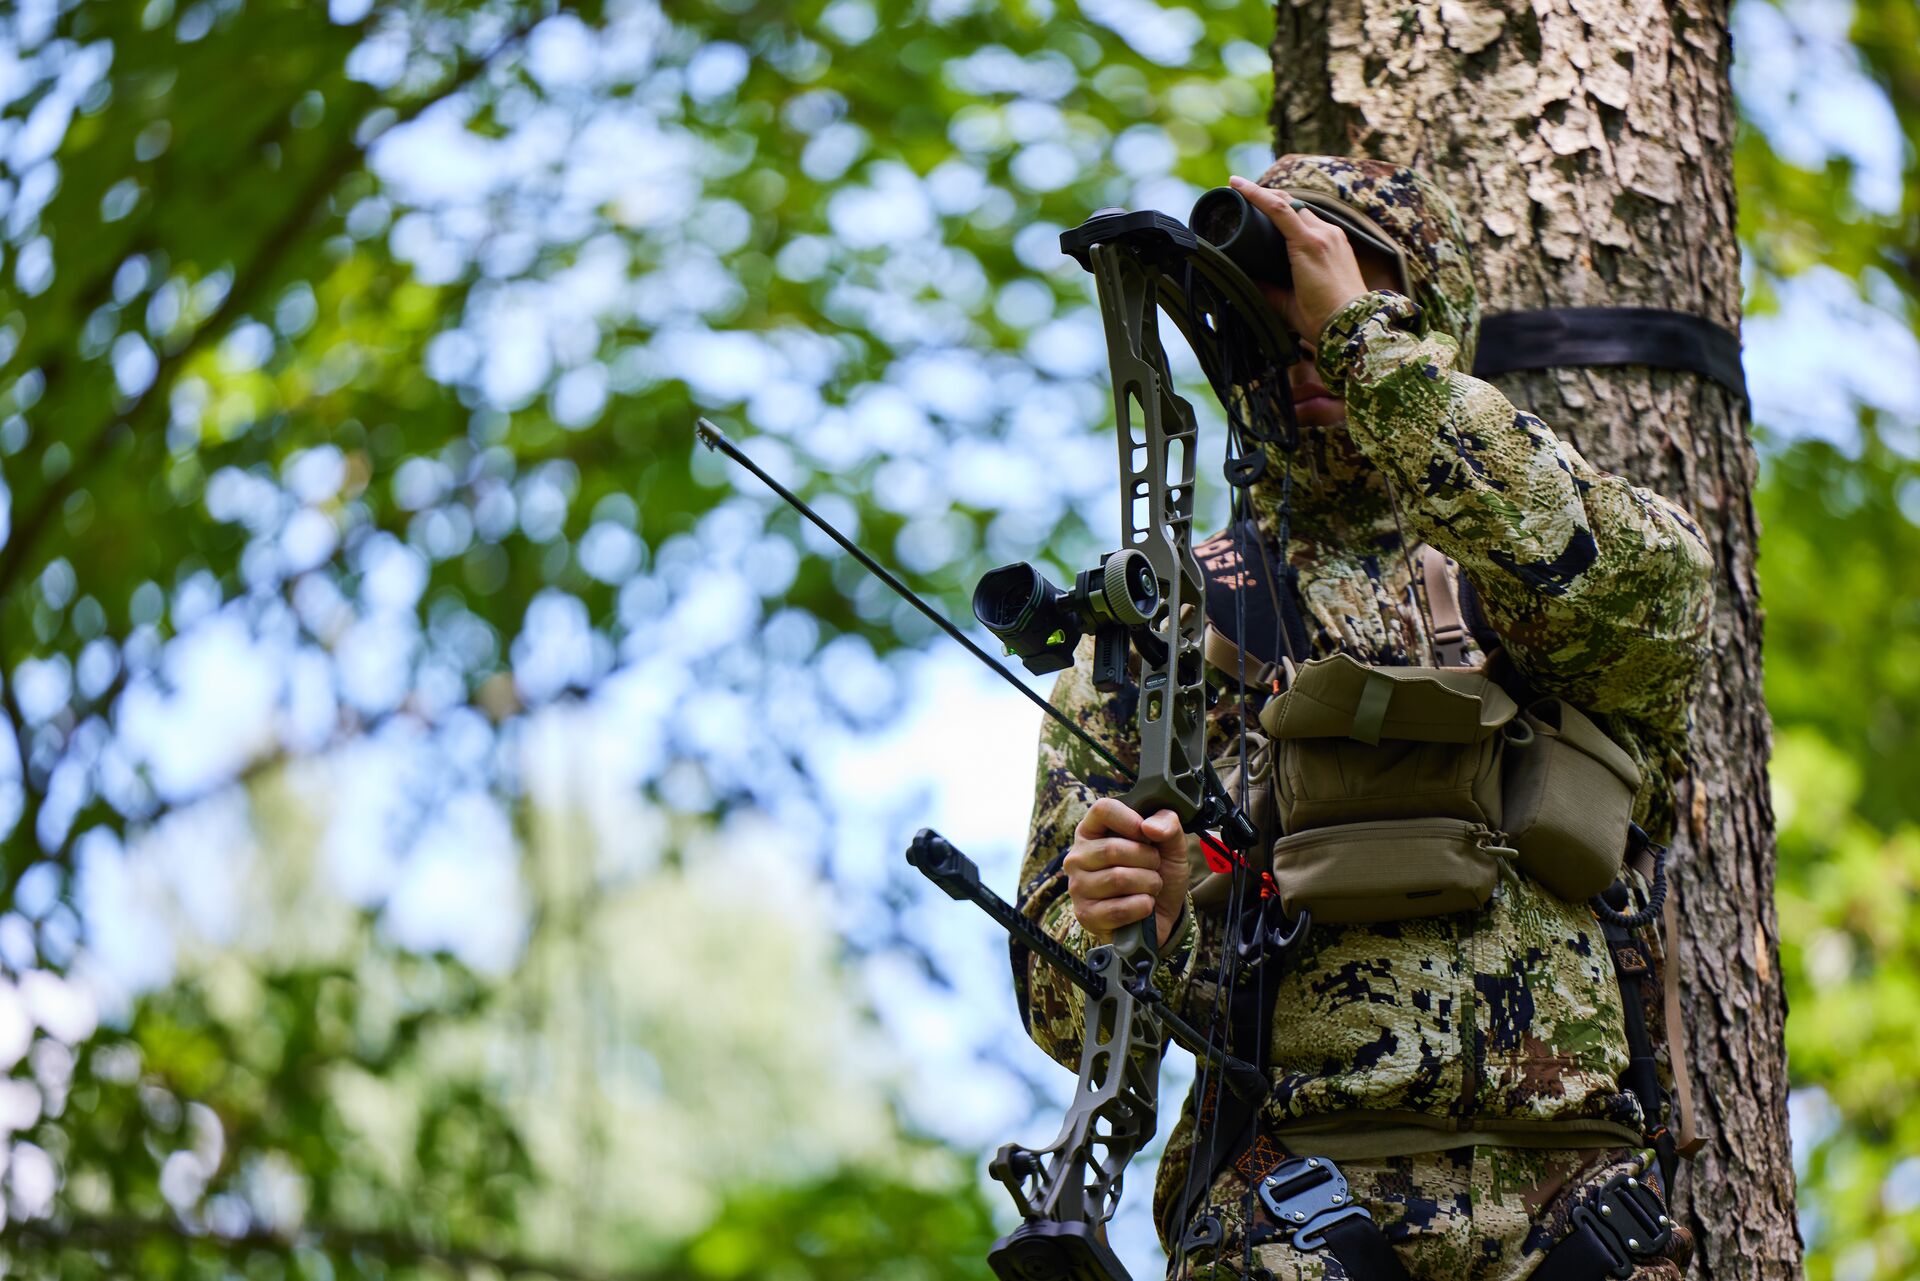
Safety When Hunting from a Tree Stand
Hunting on the ground vs. hunting above ground is another aspect of how to hunt. Depending on what and where you hunt, you may have better success hunting from an elevated position (i.e., in a tree) vs. on the ground in a blind.
Hunting from a tree stand or using a saddle can offer significant advantages. However, keep in mind that tree stand falls account for a significant number of hunting-related accidents. So, safety must be a priority when using a tree stand.
Start By Choosing a Safe Tree
Tree stand safety starts by choosing the right tree. Not just “any” tree will do!
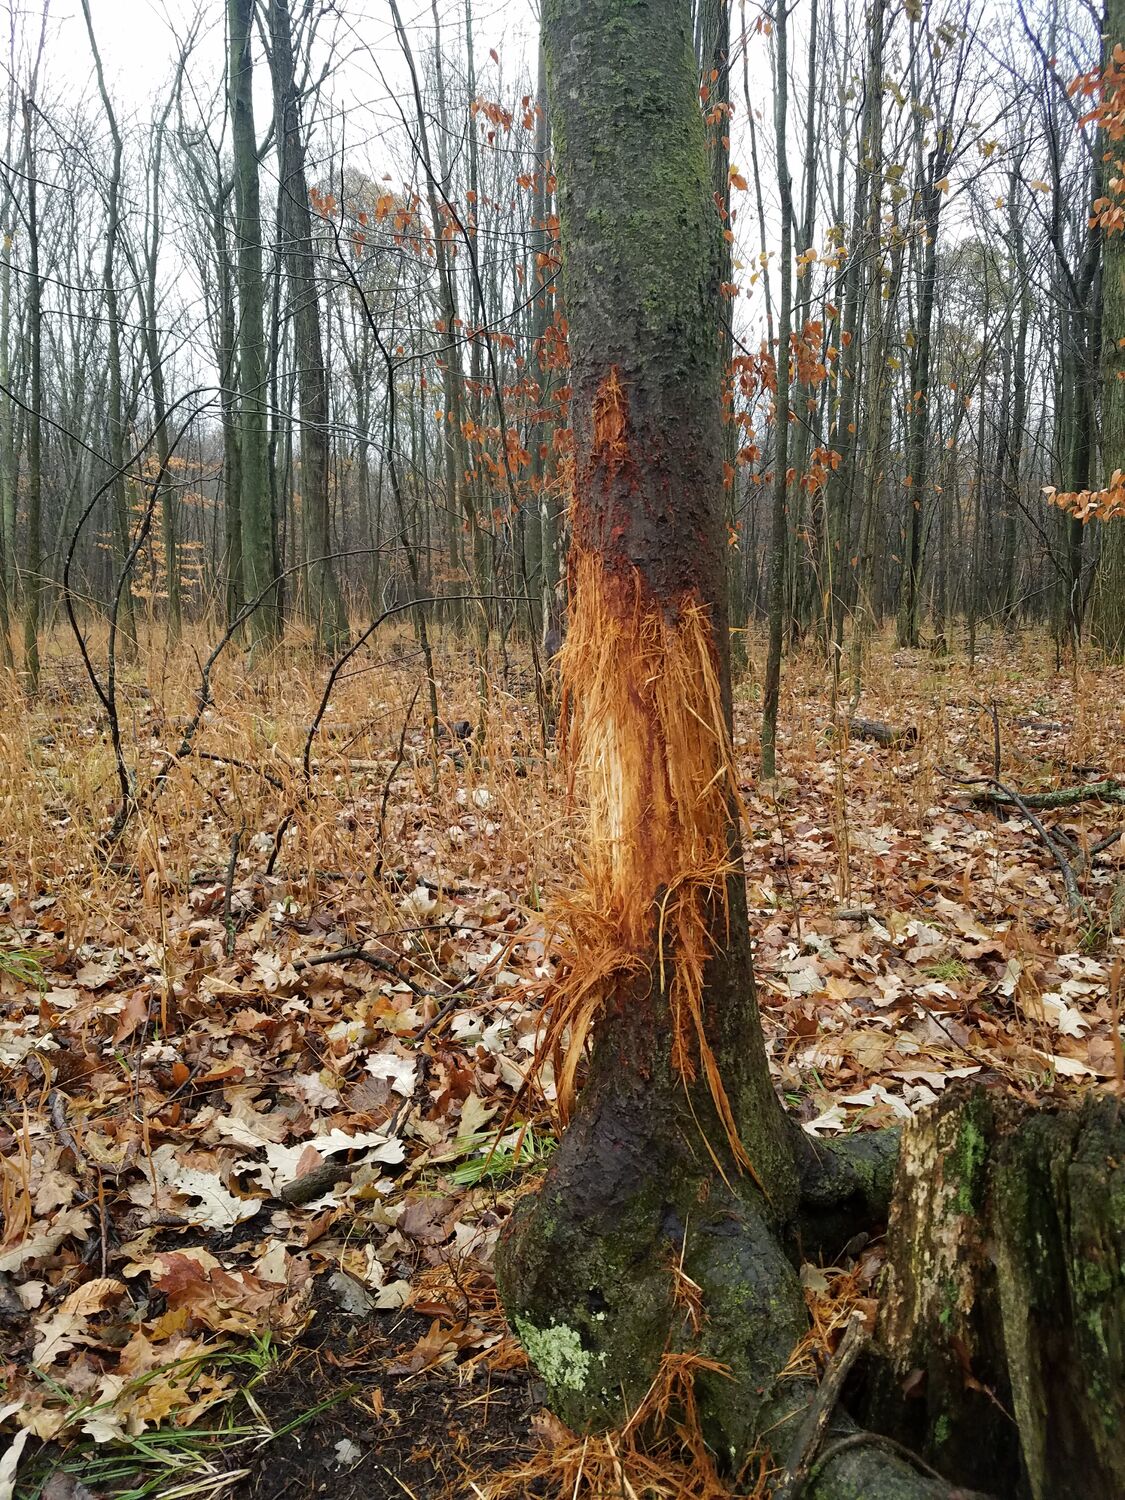
After you’ve scouted the area to plan your hunt and you know where you want to set up, choose a straight, healthy tree without loose bark or dead branches.
The tree must be able to hold your weight while climbing into the stand, as well as keep you elevated throughout your sit for the day. Avoid trees that show signs of rot, fungus, rot, or insect damage. Also, steer clear of trees that lean.
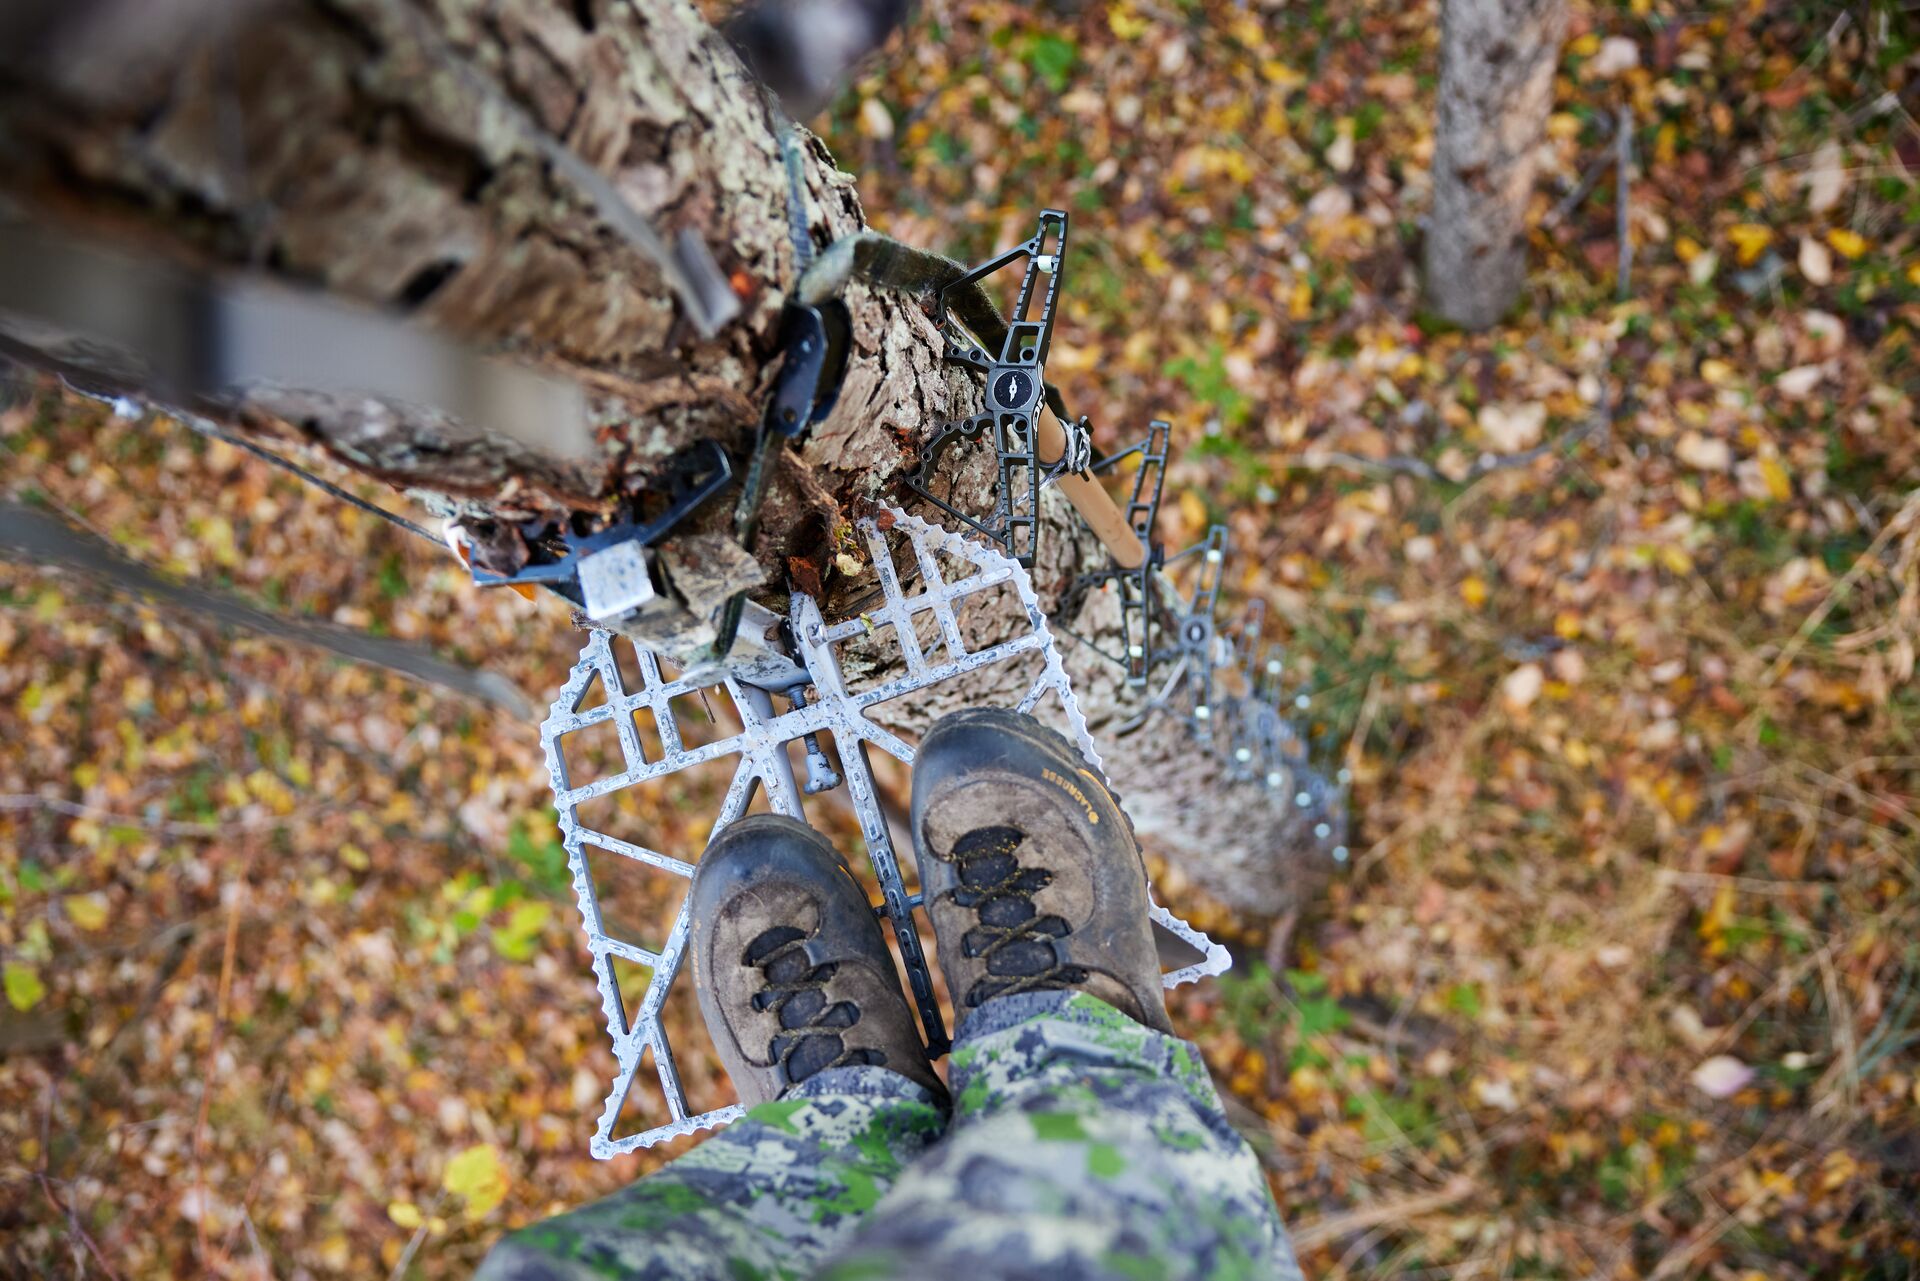
Use Proper Safety Gear
Never hunt from a tree stand without the right safety equipment.
Always use a full-body harness known as a Fall Arrest System (FAS). This crucial system keeps you connected to the tree and prevents you from hitting the ground if you lose your footing and start falling from the tree.
You’ll also want a climbing stand, ladder, or climbing sticks to help you get off the ground and into your stand quickly and safely.
Inspect Your Gear Before a Hunt
Whether it’s the first tree hunt of the season or not, always inspect your tree stand and climbing gear. Look for signs of rust, rips, wear and tear, or other defects that could prevent the equipment from keeping you safe in the tree.
Then, before your first hunt, pick a nearby tree and set up the stand (with permission if the tree isn’t in your yard). Practice getting in and out and hauling up your gear. Make sure everything works well, or make repairs and replace equipment before going into the field.
Don’t Climb Up with Your Gear
Leave your hunting gear and other equipment on the ground until you safely set up the stand and climb into it.
Once you’re safely in the tree and secured, haul your gear up with a pull rope. Never carry your equipment up with you as you climb.
Later, when it’s time to come down, lower your gear first. Follow it down after it’s safely on the ground.
Where to Hunt: Understanding Weather and Terrain
Sometimes, navigating the weather and elements is the bigger challenge to having a successful hunt. Knowing how to use your bow or firearm safely is challenge enough, but finding where and when to hunt around rain, wind, cold, or challenging terrain is a challenge all on its own.
Start with Research
Any successful hunt starts with planning and research.
While it can be tempting to grab your bow or rifle and head out when you have a free morning (and your hunting license), you may be disappointed if the weather (or animals) don’t cooperate.
Improve the odds of bringing home the game you’re after by taking time to learn about the weather and terrain where you hunt.
Check the Weather
Always check the weather before heading into the field. We recommend checking it several days ahead of time so you know how to plan your clothing and gear based on the forecast.
Use an app like HuntWise to not only check the weather, but also to see how the weather is likely to impact animal behavior on the day and times you plan to hunt. Depending on the forecast, you could deal with hot or cold temperatures, snow, rain, and wind — all of which can impact where you set up to hunt and your success.
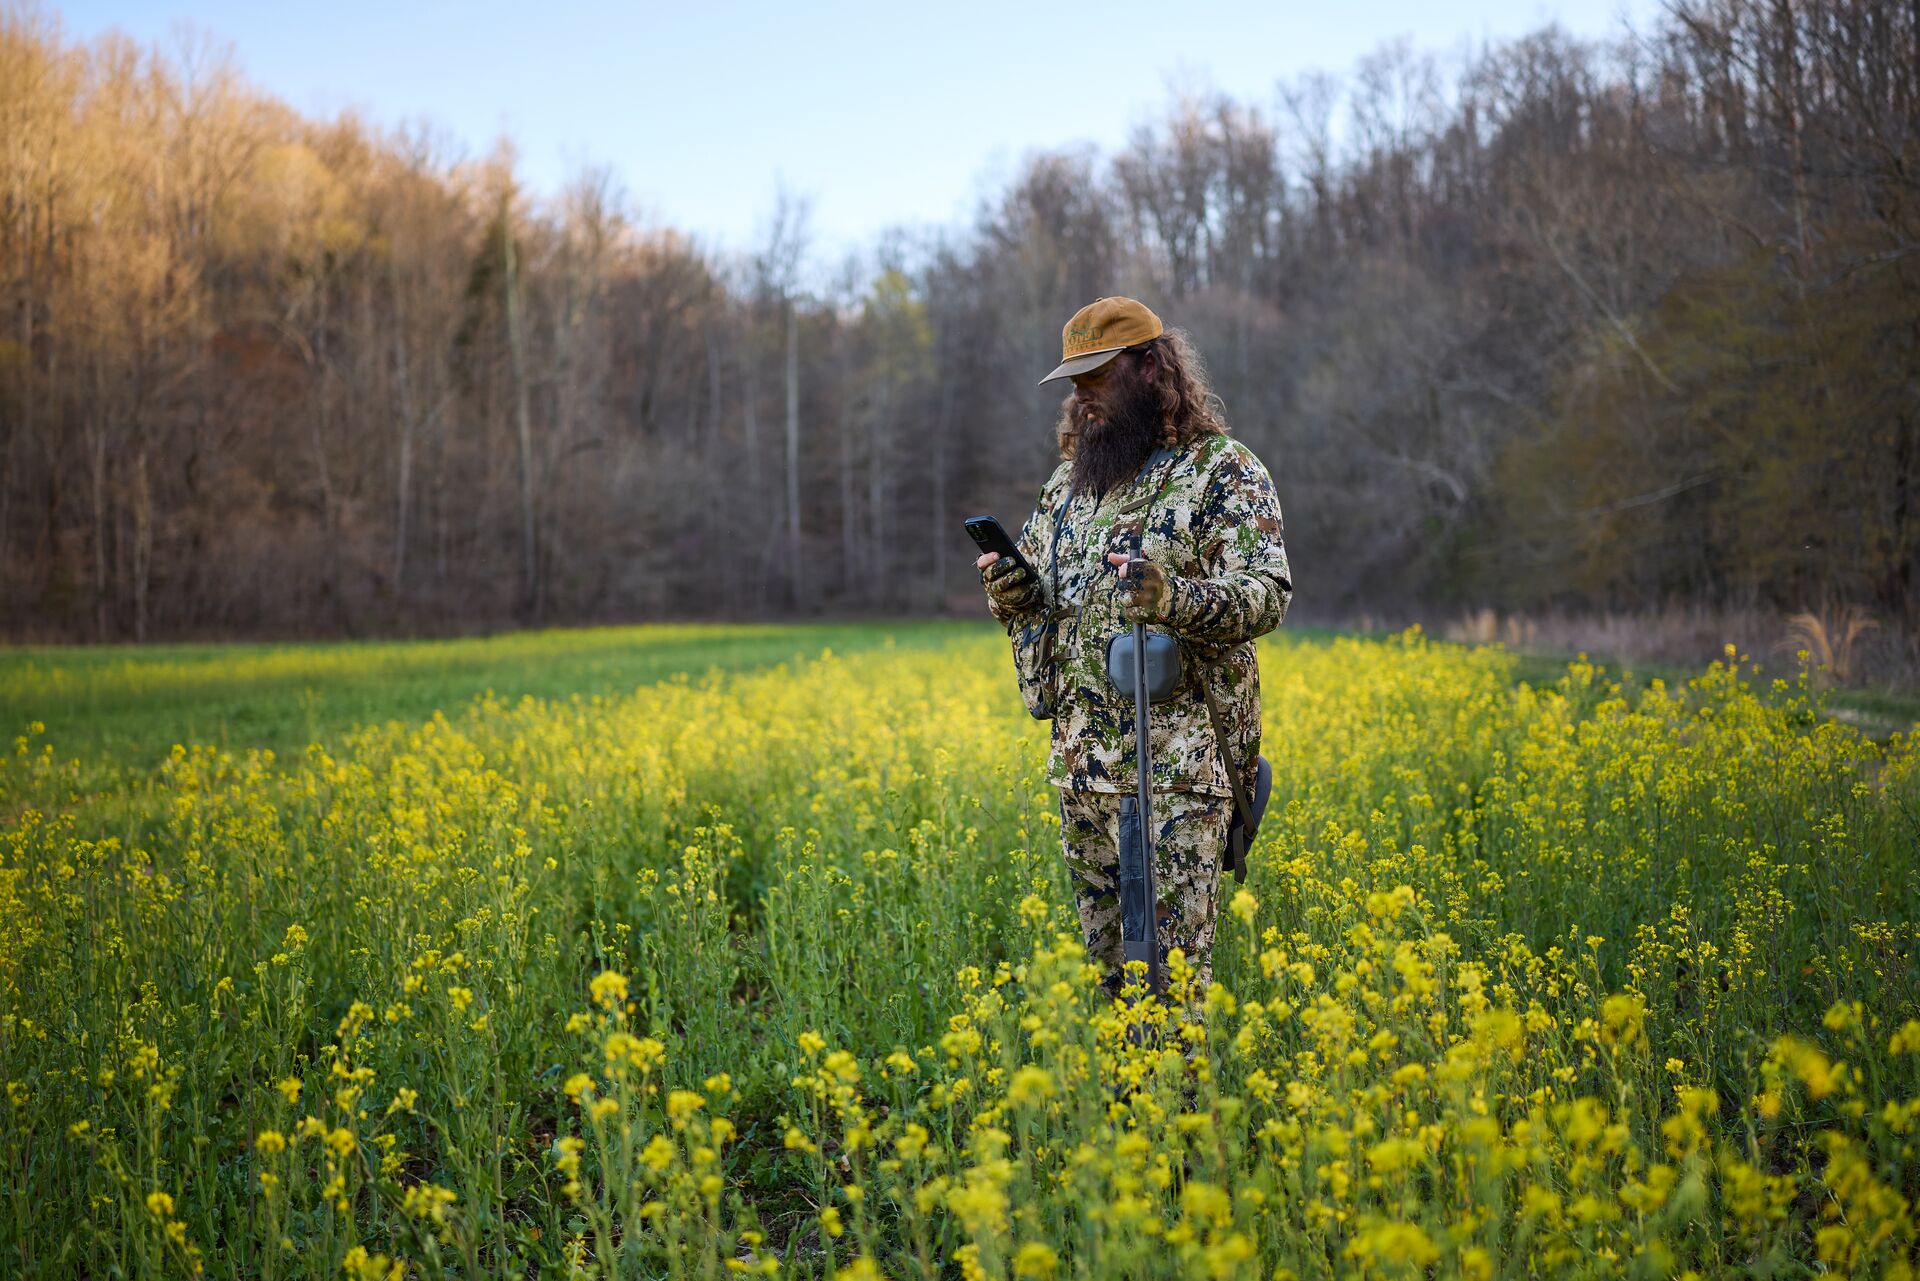
Learn About the Terrain (and How to Navigate It)
Along with your weather research, it’s crucial to investigate the terrain where to plan to hunt and how to navigate it. Scouting becomes a valuable aspect of your pre-hunt planning!
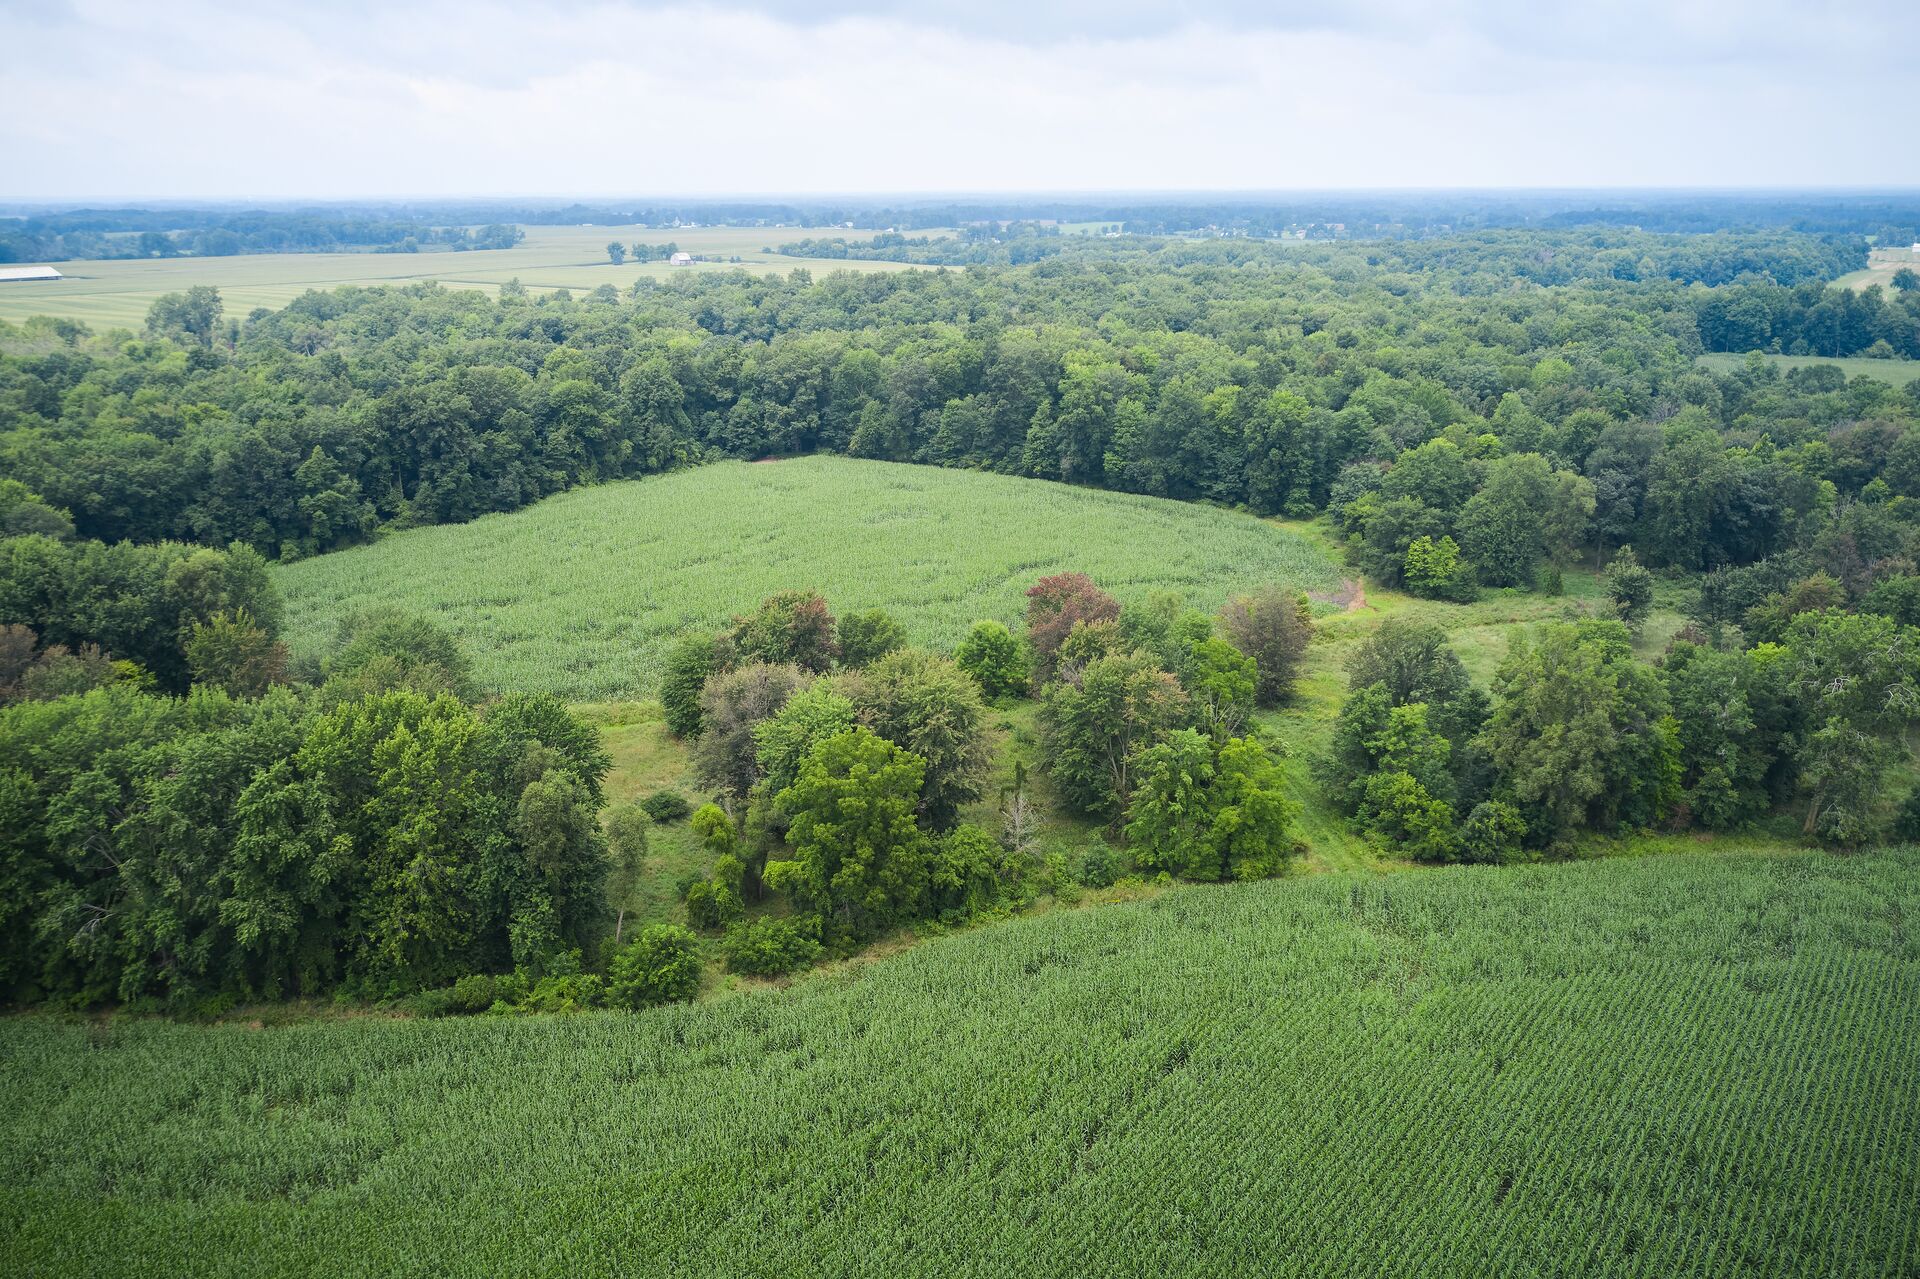
You could find yourself in open plains, thick brush, wooded areas, mountains, or marshes and wetlands. The terrain greatly impacts your gear choices, entry and exit into an area, and your plans for the day.
Use a hunting app or topographic maps to e-scout the area, find potential bedding and feeding areas, and learn about elevations that can influence the success of your hunt.
Then, if the land for your hunt is available to you out of season, take what you learn through reviewing apps and maps and scout the area on foot.
- Make notes about what you see to help you plan your hunting day.
- Pay attention to potential hazards, like rough or steep terrain, deep water, unstable ground.
Depending on what you learn during your scouting, look for alternate routes and make sure you have the right gear for your trek.
Rules for Private vs. Public Hunting Land
What are the rules for hunting on public land vs. private land? Access rules and permissions can vary based on landowners or publicly available hunting areas.
Hunting without permission on someone’s private land without can lead to a dangerous situation and a quick end to your hunt.
What is Public Land?
Hunting areas within public land areas are owned and managed by government agencies (including local, state, or federal organizations). These lands can include:
- State Wildlife Management Areas (WMAs)
- National Forests
- Bureau of Land Management (BLM) lands
In most states, licensed hunters can hunt on public lands during an open season. However, these areas can have special rules, weapon restrictions, and species limits.
While public lands offer plenty of hunting opportunities, hunting pressure can be higher with more hunters taking advantage of the same opportunities.
What is Private Land?
Landowner land (or private hunting land) is owned by individuals, families, or organizations.
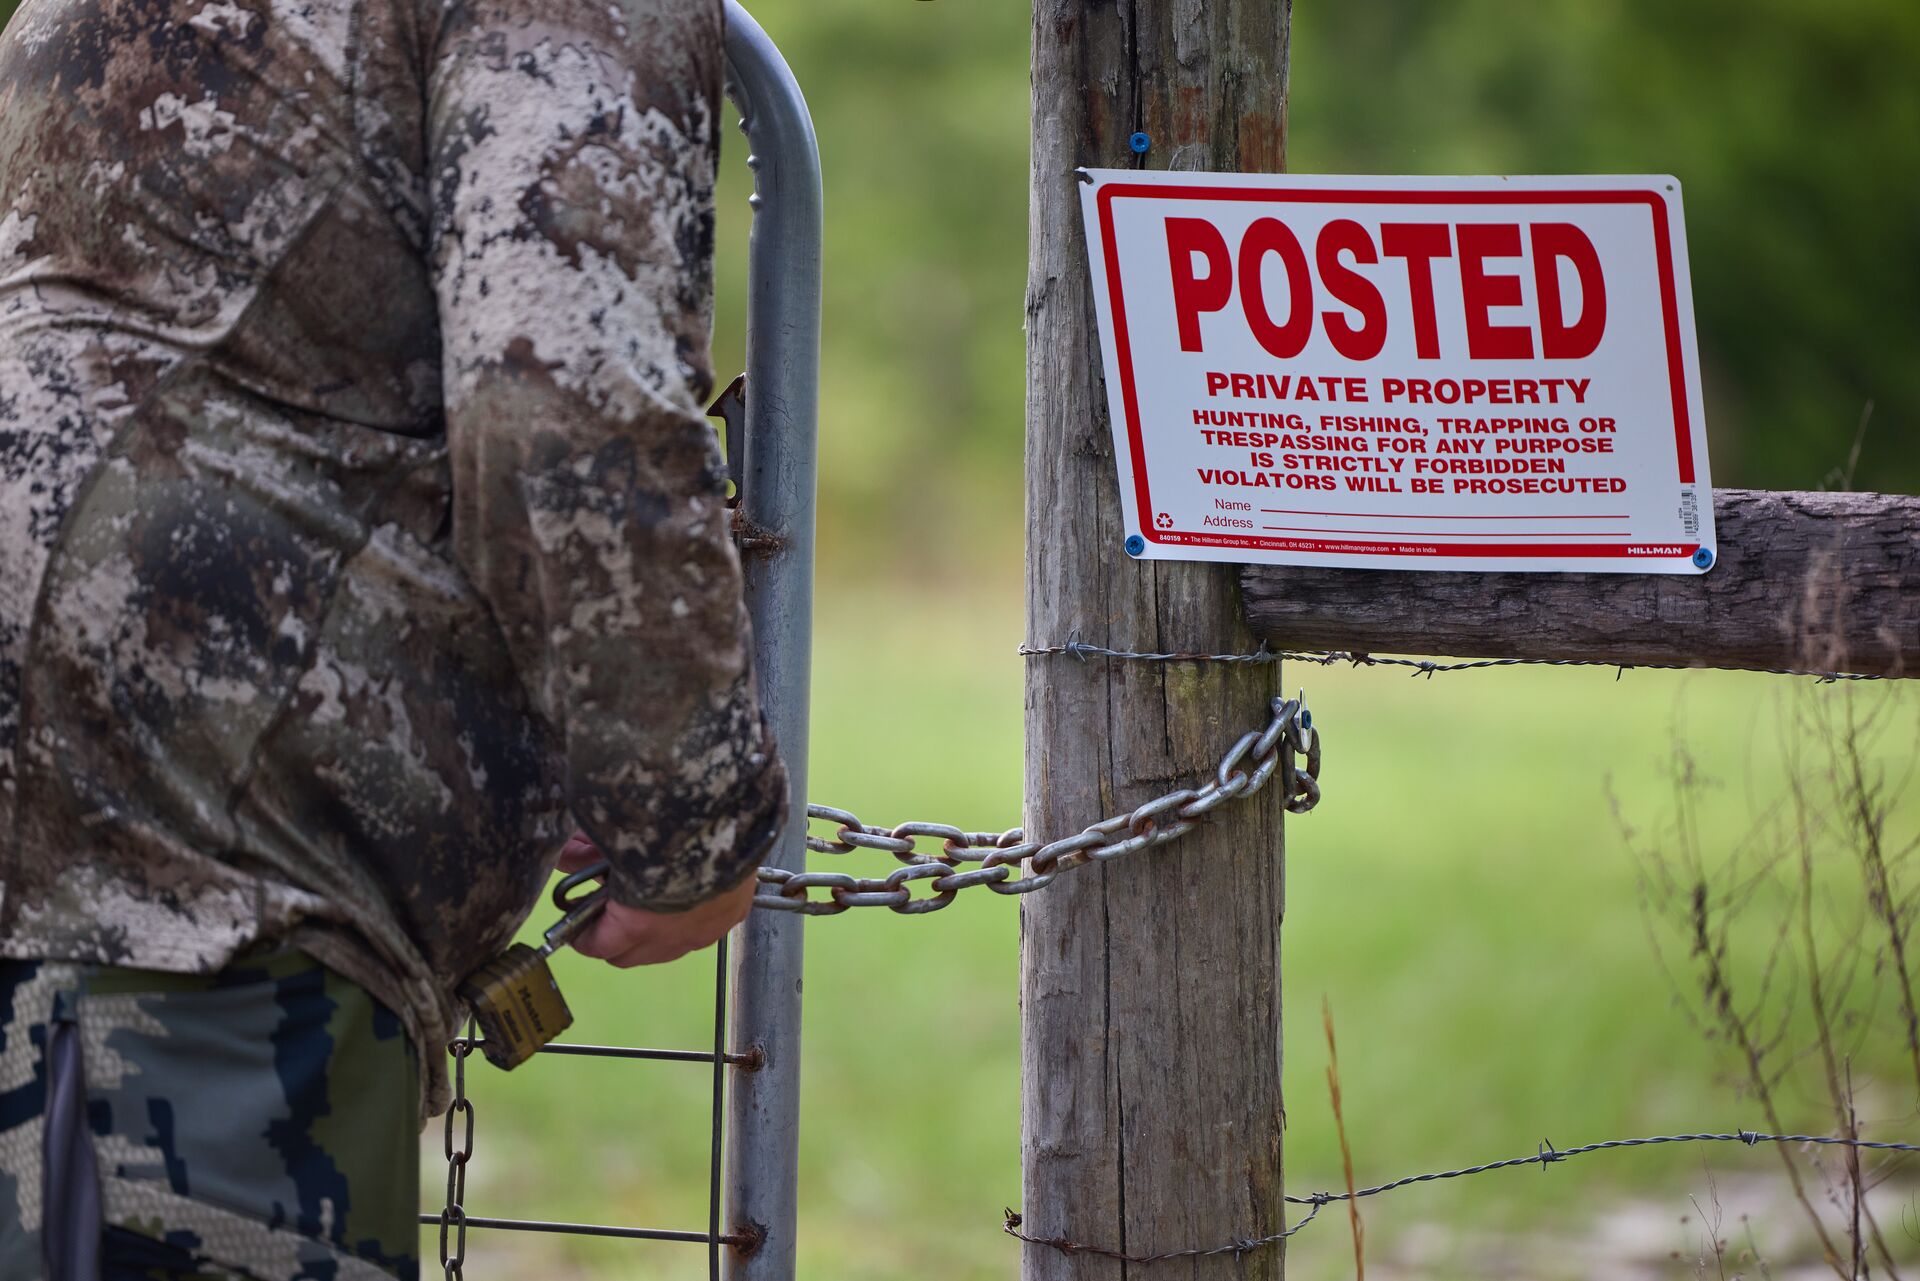
Before scouting or hunting on privately-owned land, get written or verbal permission from the owners.
Landowners can either allow hunting on their property, or they can decline to do so. No matter the response to your request for permission, honor their decision and plan accordingly for your hunting days.
If you get permission from a landowner to hunt, follow the rules they have set for their property (including a lease payment for use during specific hunting days and times). Landowners also sometimes request off-season help from hunters to control predators, clear land, or simply share some of the harvest in exchange for hunting the land.
It can take time and work to build a relationship for access to a private hunting area. However, there are plenty of benefits that make the effort worthwhile!
- Private land tends is often less crowded, since landowners are more selective about who they allow on their properties.
- You may also have more access to boots-on-the-ground pre-season scouting to study the area and animal behavior.
Wherever you hunt, follow the rules and respect the land!
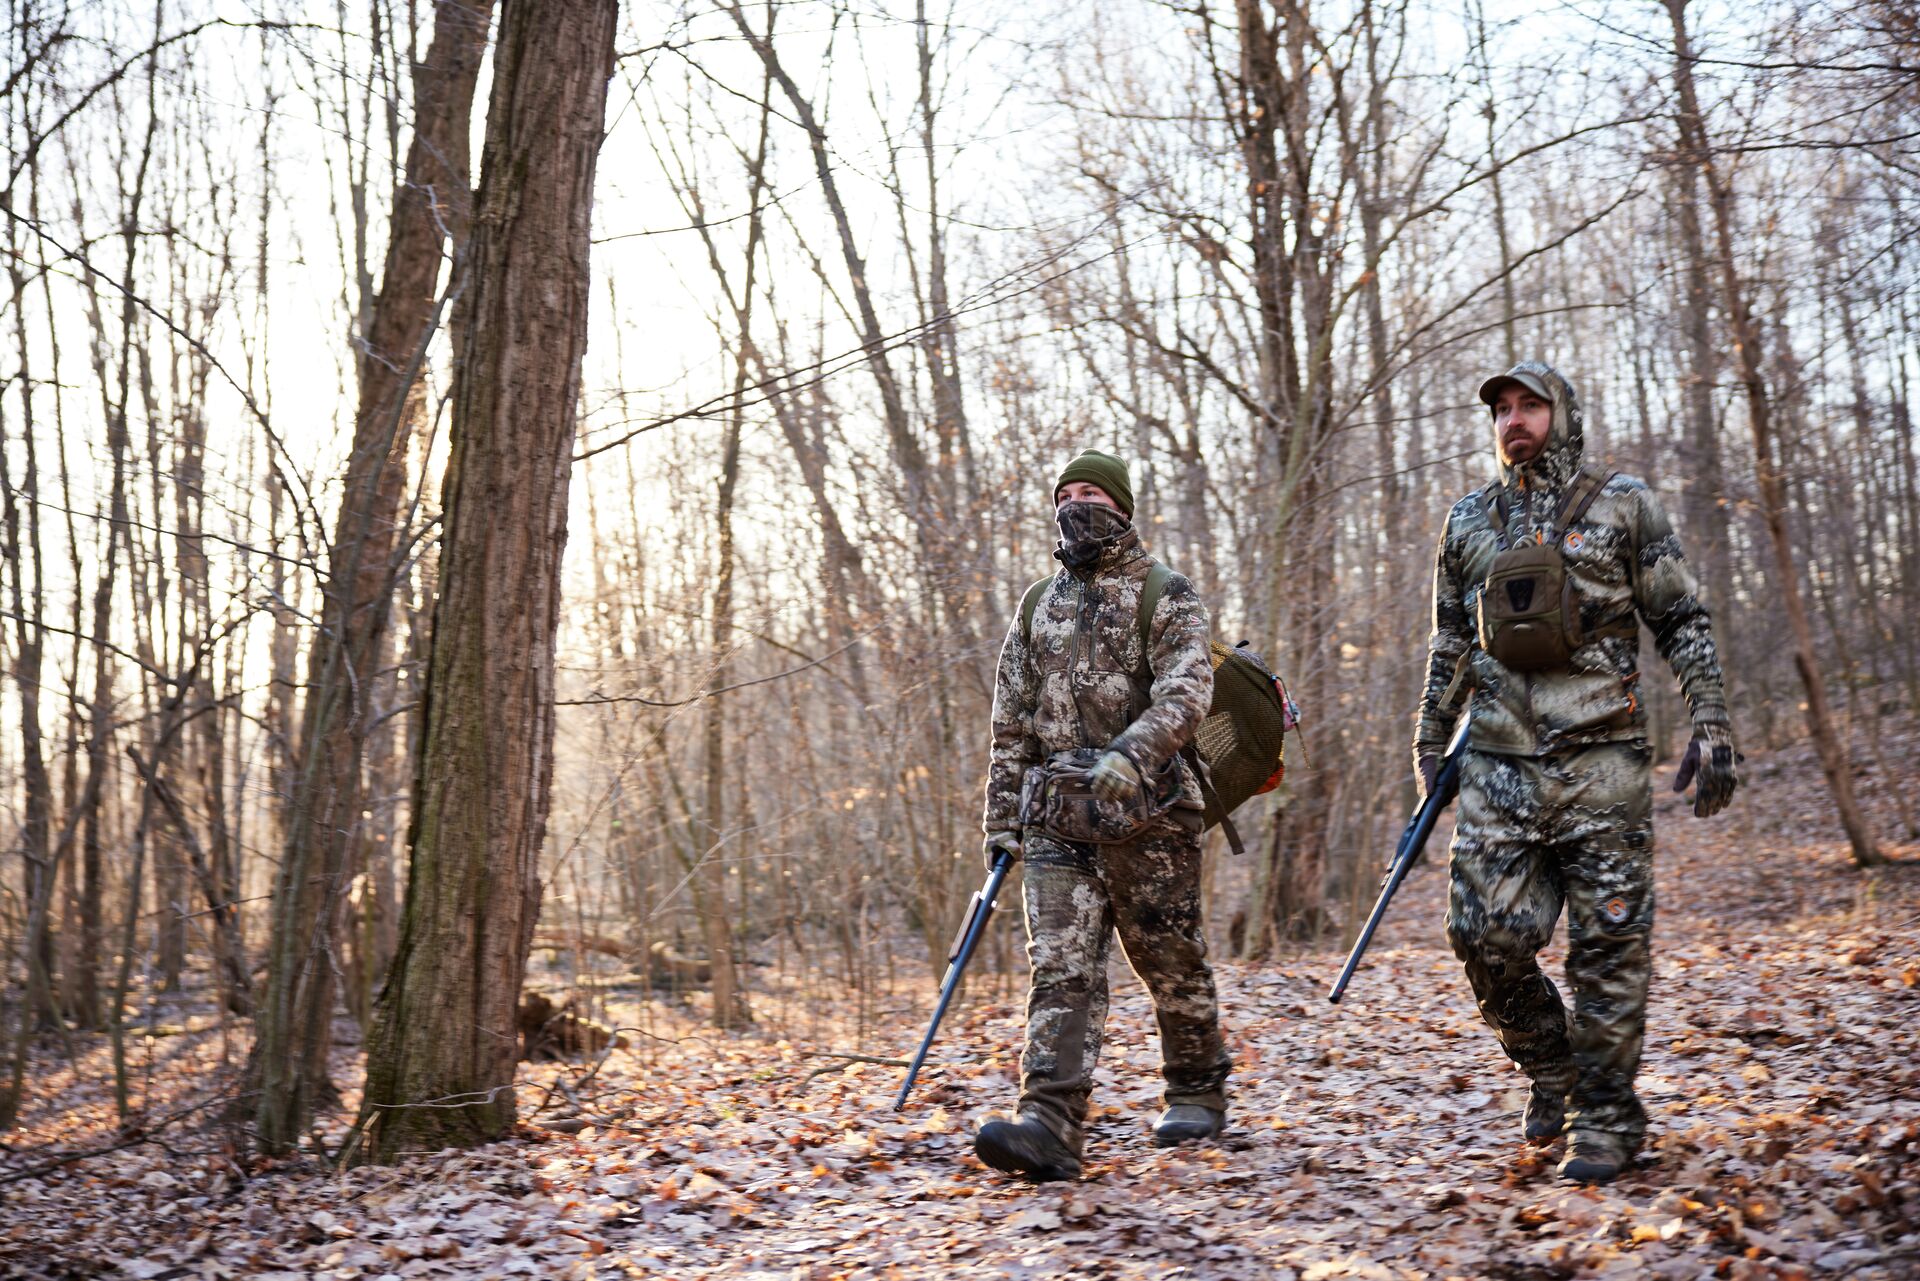
Part III: In the Field
With the hunter safety tips we’ve just covered, let’s get on with getting into the field and how to hunt!
You’ll build and improve skills over time, but the following hunting tips and techniques should help you get started (and stay safe). Put them to good use after you’ve passed your hunter education course and have your hunting license in hand.
3 Essential Hunting Techniques
There are lots of ways to hunt. You may have already picked up some tips from family members or friends who hunt. If something works well for an experienced hunter, take not and see if what works them also works for you.
For now, let’s start with four essential hunting techniques every hunter needs to understand and master.
1. Tracking
Typically, wild game doesn’t appear in front of your sights as soon as you get into your hunt area. While that can happen (if you’re really lucky), most hunters will tell you that learning how to track is crucial to finding the animals you’re after.
Tracking requires understanding animal behavior and recognizing signs, like scat, tracks, rubs, and trails. These signs help hunters recognize recent activity and understand wildlife movement patterns.
When tracking, look for:
- Scat: Animal droppings help indicate the size, presence, and what an animal has been eating. Knowing which scat belongs to which animal also helps you recognize what other animals might be nearby (including predators).
- Animal Tracks: Look for the footprints animals leave behind in mud, soft soil, or snow. Learn to identify different species by hoof shape, size, and stride.
- Bedding Areas and Trails: Travel corridors (i.e., well-worn paths) and flattened leaves and grass can tell you where animals travel or rest.
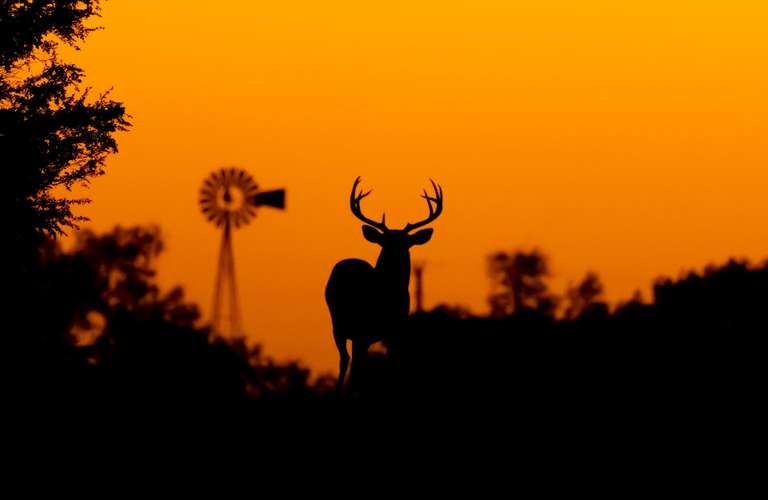
- Scrapes and Rubs: Bucks scrape the ground with their hooves and rub their antlers on trees to mark their territory during the rut.
- Feeding Areas and Food Plots: Look for areas where deer feed. Note where these areas are in proximity to bedding spots and travel corridors to get an idea of how animals move through the area.
One of the best ways to build your tracking skills is to practice in the off-season. You’ll already know the signs to look for when hunting, and you’ll have a better understanding of how animals behave throughout the year.
Post-Shot Tracking
After shooting an animal, you may need to track it again until it finally lies down in its final spot. Look for blood droplets, broken branches, trampled ground cover, and other signs that a wounded animal traveled through an area.
2. Scouting
We talked about pre-season scouting earlier, and scouting also goes along with tracking.
Pre-season or early-season scouting trips through hunting areas help you learn about animal patterns and habitats. It’s also an excellent activity for practicing your tracking skills. Use your scout adventures to set up trail cameras and get the lay of the land.
Scouting also helps you plan your hunt with the information you’ve gathered through your hunting app and boots-on-the-ground scouting. Get out to your hunting areas at different times of day and in various weather conditions, noting changes in animal behavior and the conditions you’ll encounter when it’s time to hunt.
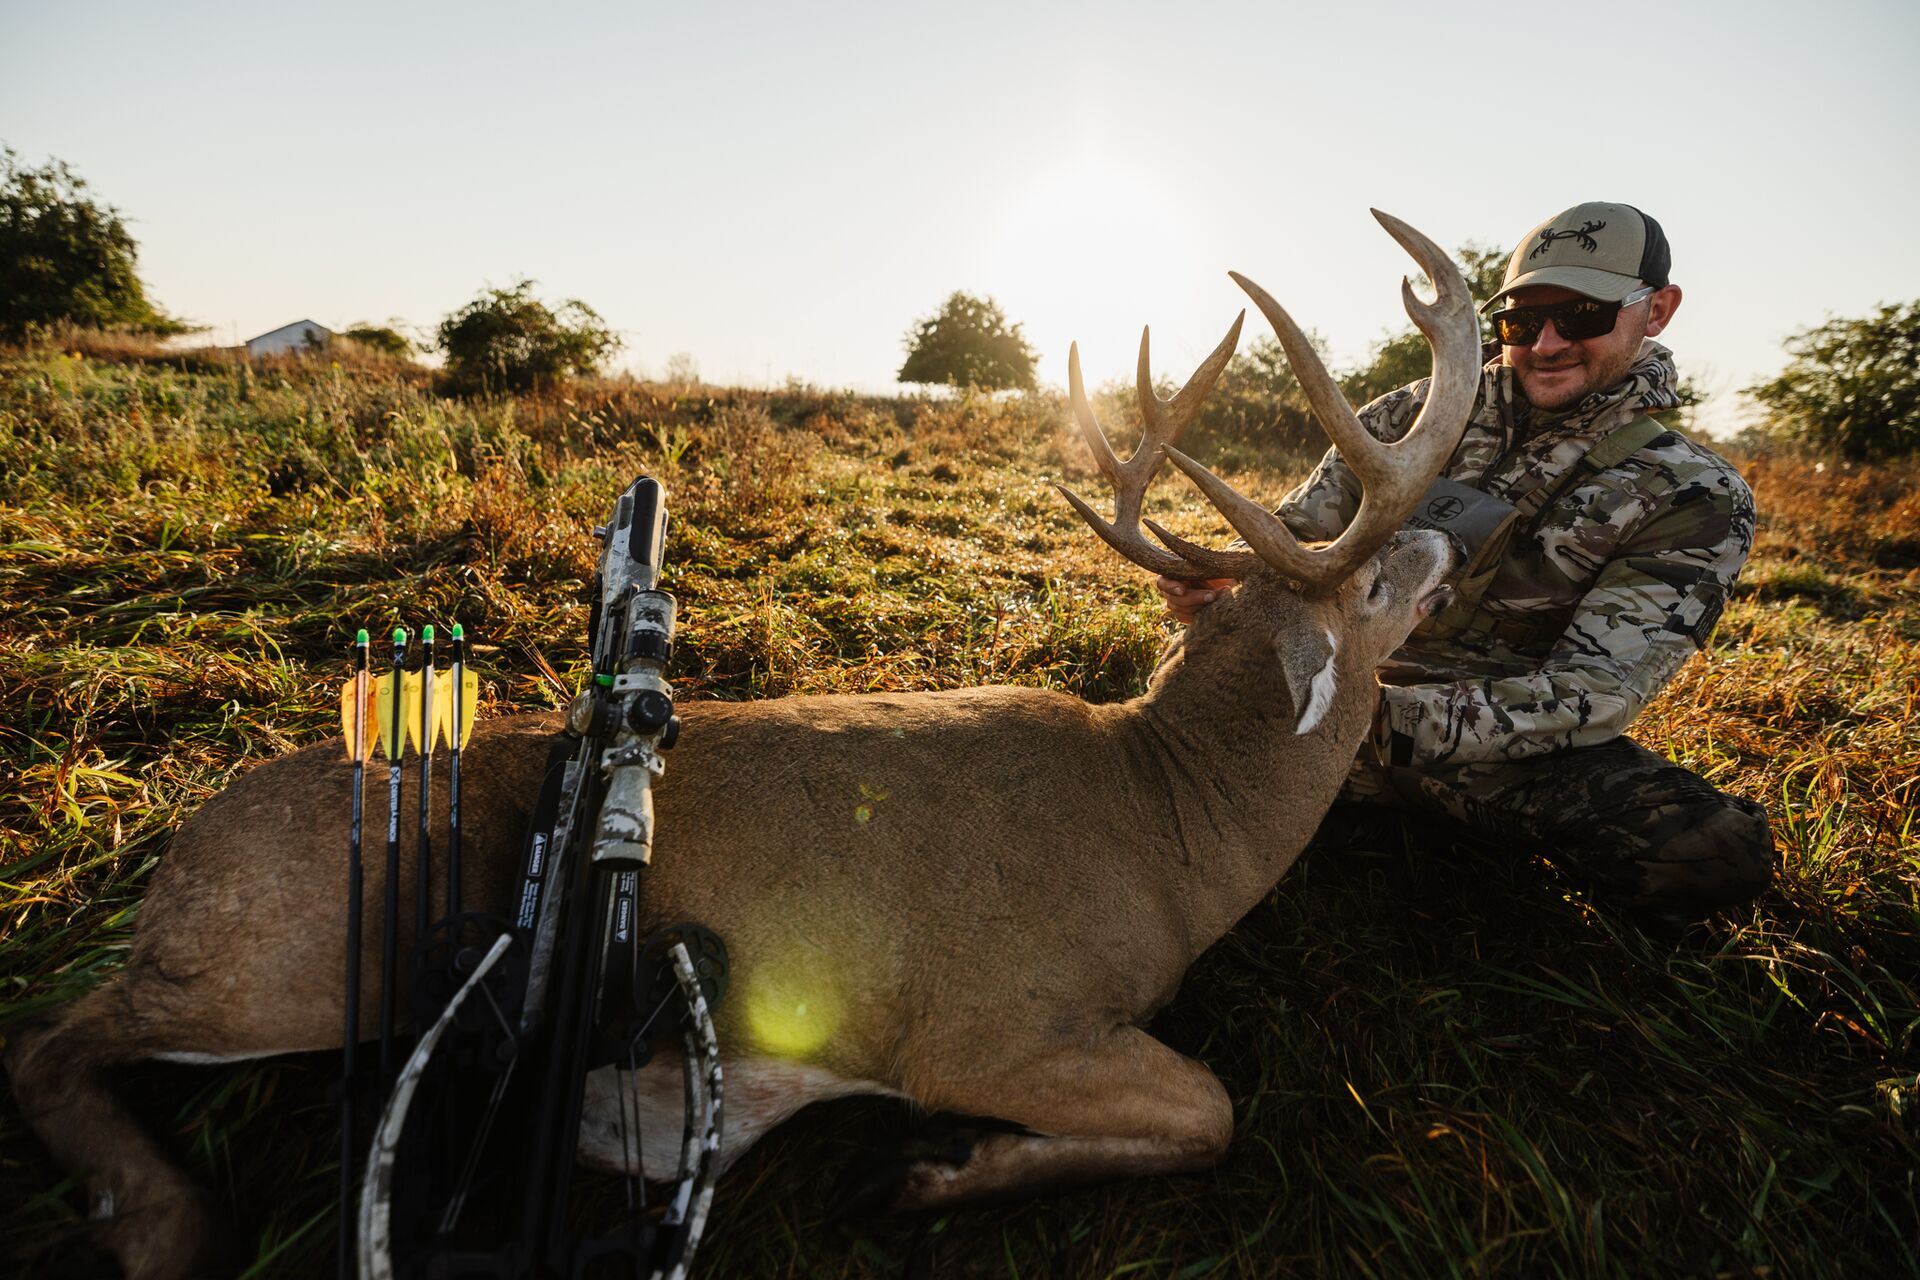
3. Field Dressing
What’s next after you successfully take down the animal you’re after? The hunt is not over!
It’s time to field-dress your kill and get it home safely.
Field dressing is the process of safely removing the internal organs from the animal. Doing this quickly after the animal dies helps preserve the quality of the meat by cooling the body and reducing potential bacteria growth.
The process also reduces the animal’s weight, making it easier to carry home.
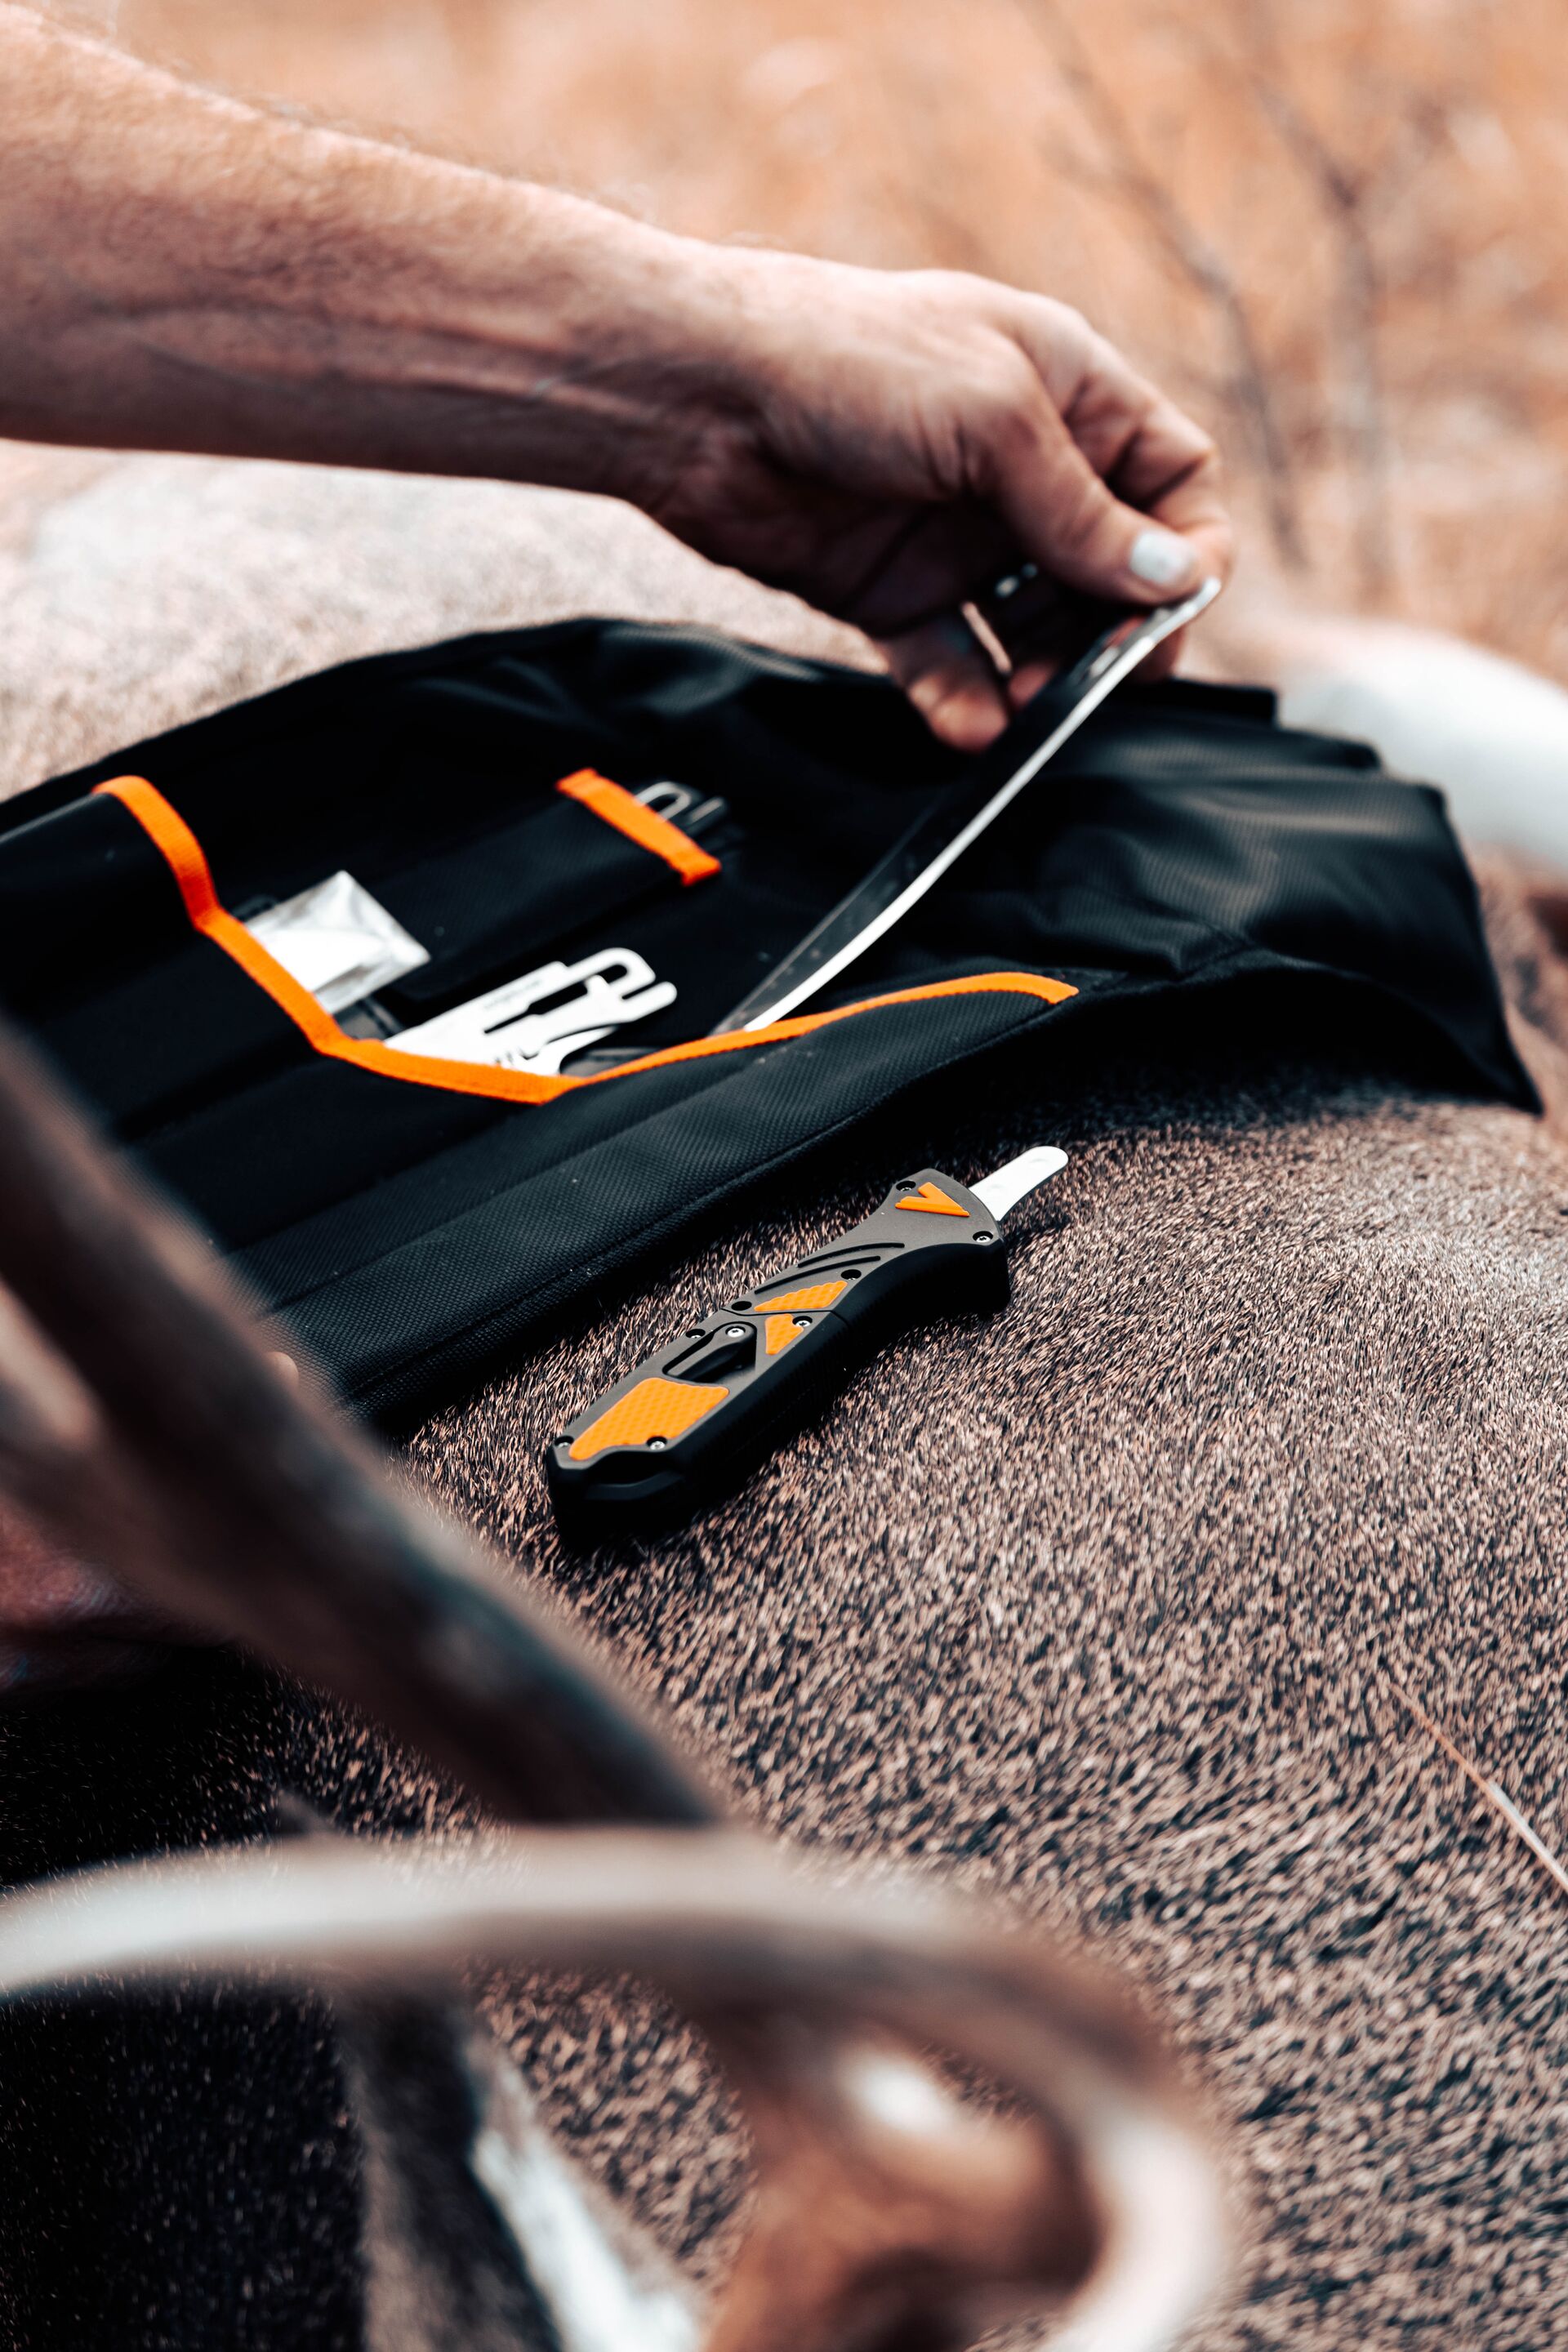
To safely field dress an animal, you need the right gear. Make sure you have a sharp knife, a tarp or game bag, gloves, and wipes to clean your hands and tools after you’re finished.
If you’ve never field-dressed an animal before, talk with an experienced hunter, watch them go through the process as a mentor, or find videos online that walk through the process.
Remember: Safe meat handling is crucial!
Take time to learn about the process before your first hunt. This will help you reduce the risk of bringing home contaminated wild game meat.
Outdoor Survival Tips
Whether you’ve planned a short day in the field or it’s all day (or weekend) event, unexpected situations can happen when you least expect it. Getting lost, injured, or caught in a sudden weather change can end your hunt before you planned.
Learning some basic outdoor survival skills can keep you calm and safe until help arrives or you're able to move to safety.
Where Are You? Navigation and Orientation
After e-scouting and some boots-on-the-ground scouting, you should have a pretty good understanding of where you are. However, you can still get turned around if bad weather rolls in.
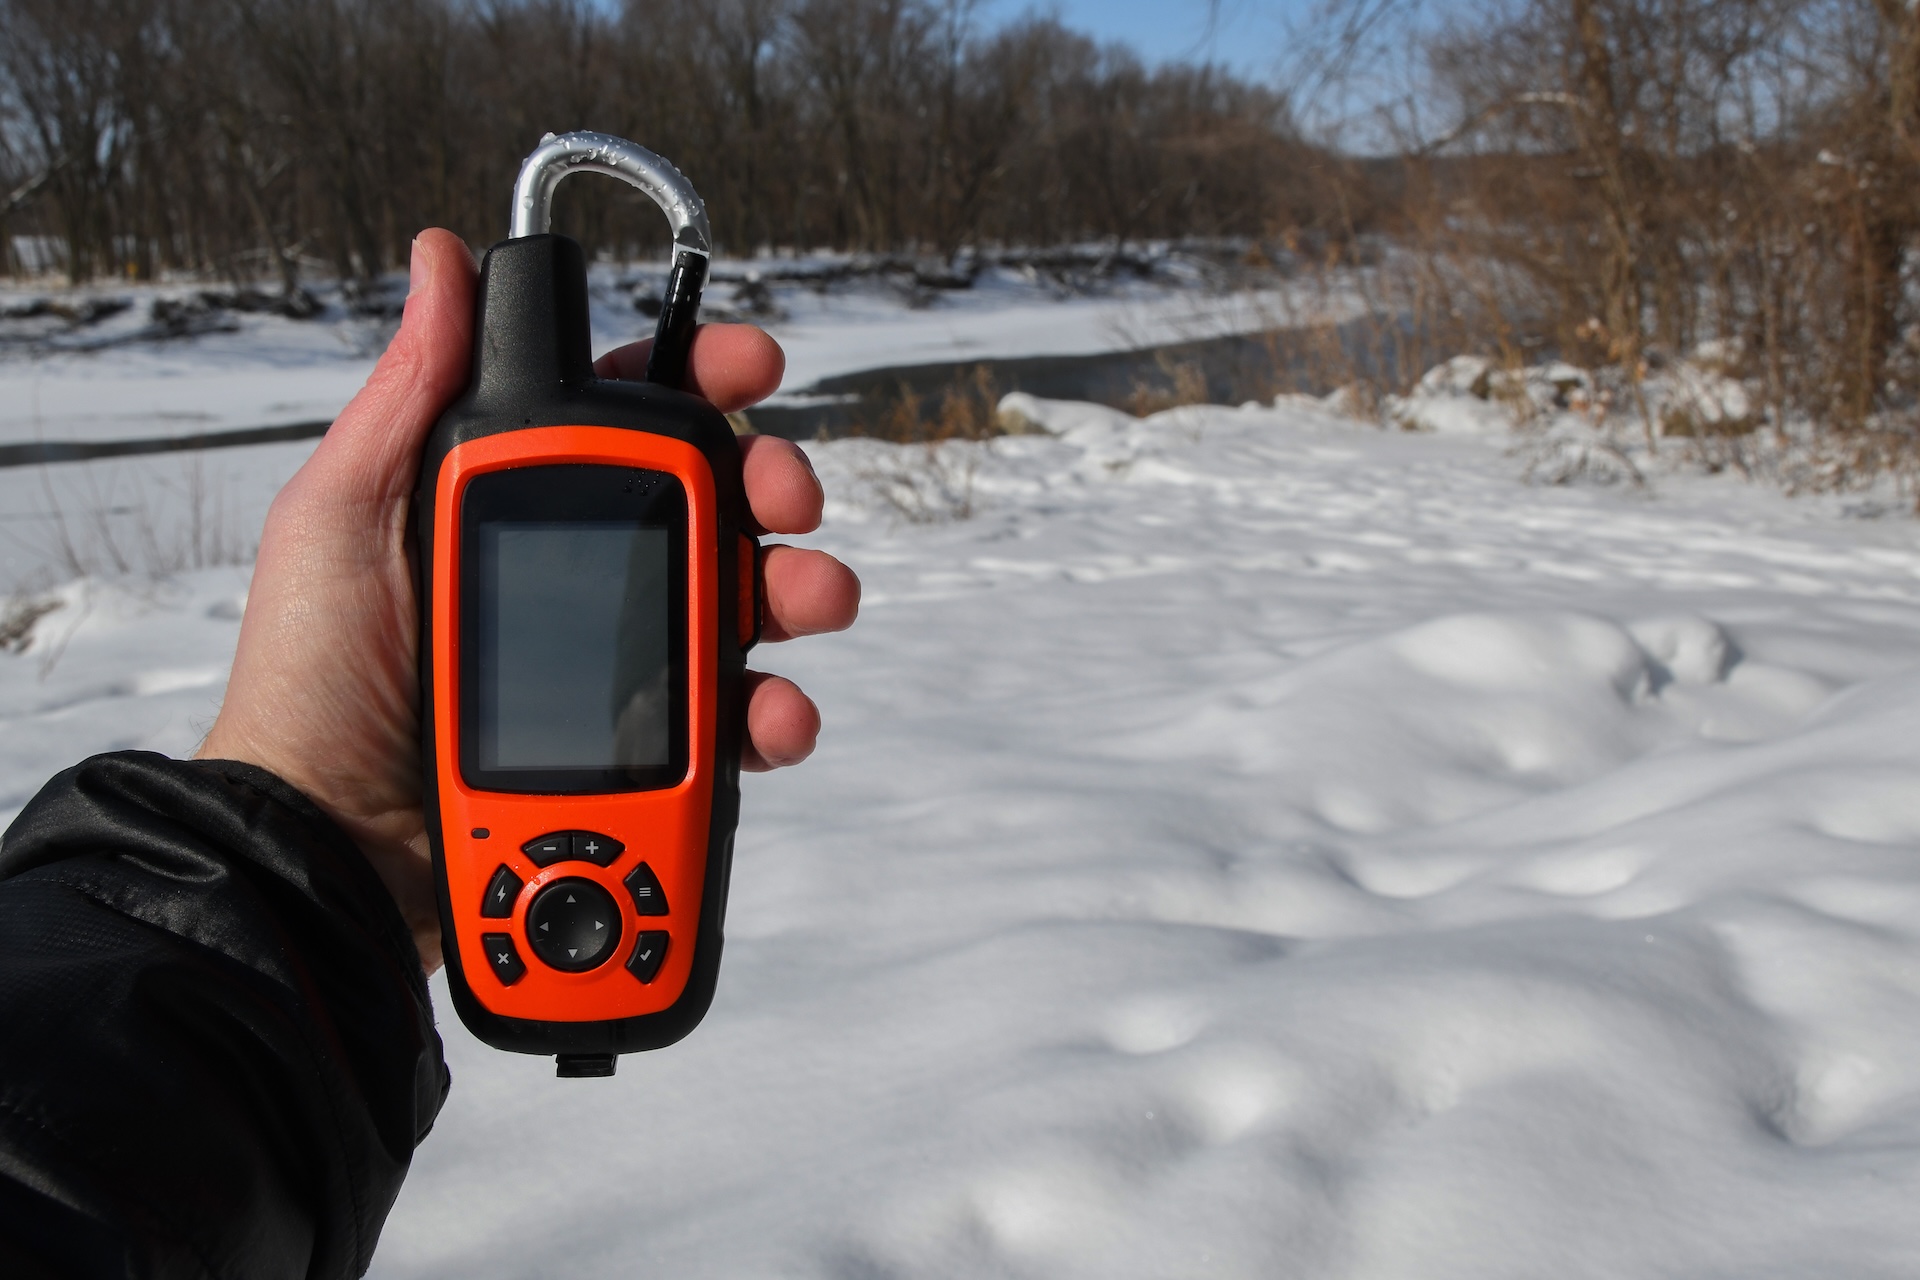
A handheld GPS or a hunting app can help you get your bearings. But if can’t connect to cell services when in the field, these tools won’t be of much use to you. Always carry a compass and paper map, and learn how to use them to help you navigate out of the area or help others find you.
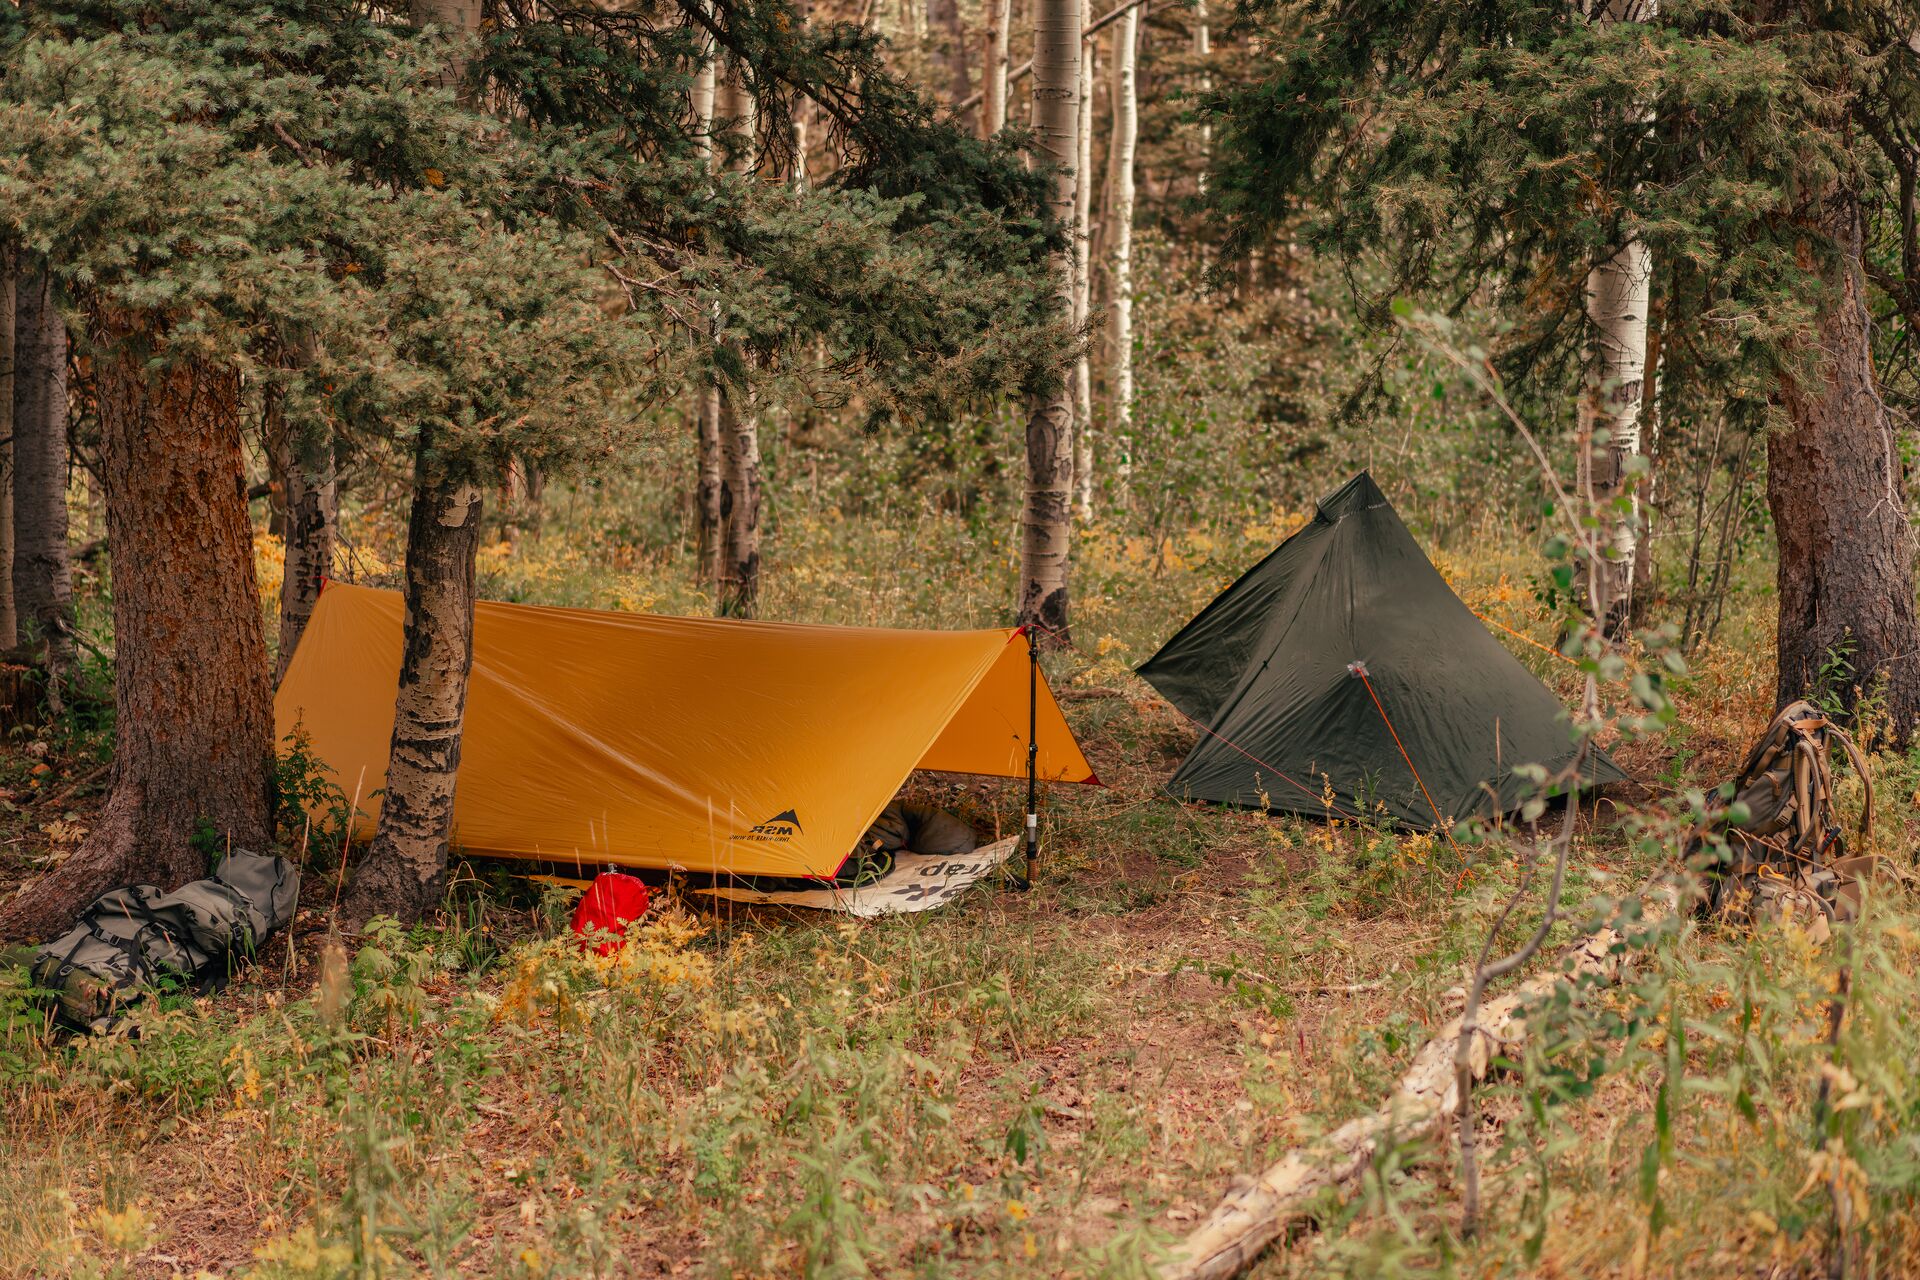
Then, before you start trekking to your hunting spot, make note of where you parked and how you entered the area (i.e., look for a trailhead sign or natural landmarks). Also, remember where you set up camp. Even if you can’t get back to those areas, you can use your radio to let them know these details so they can send help.
Be Prepared to Start a Fire
A fire can help you cook the meat you harvest, keep warm, and signal your location to rescuers.
As you assemble the gear for your hunt, make sure you include multiple fire-starting methods in your pack. Carry waterproof matches, a lighter, and a Ferro rod. Before your hunt, practice starting a fire (safely) using each of these tools.
Don’t Forget Water
Hydration is crucial when spending any amount of time outdoors. Pack a water bottle (or two), a hydration bladder of water (like a Camelback), a water purification system, or a combination of all of these, so you’re prepared. Don’t get caught away from your camp or truck without drinking water to stay hydrated.
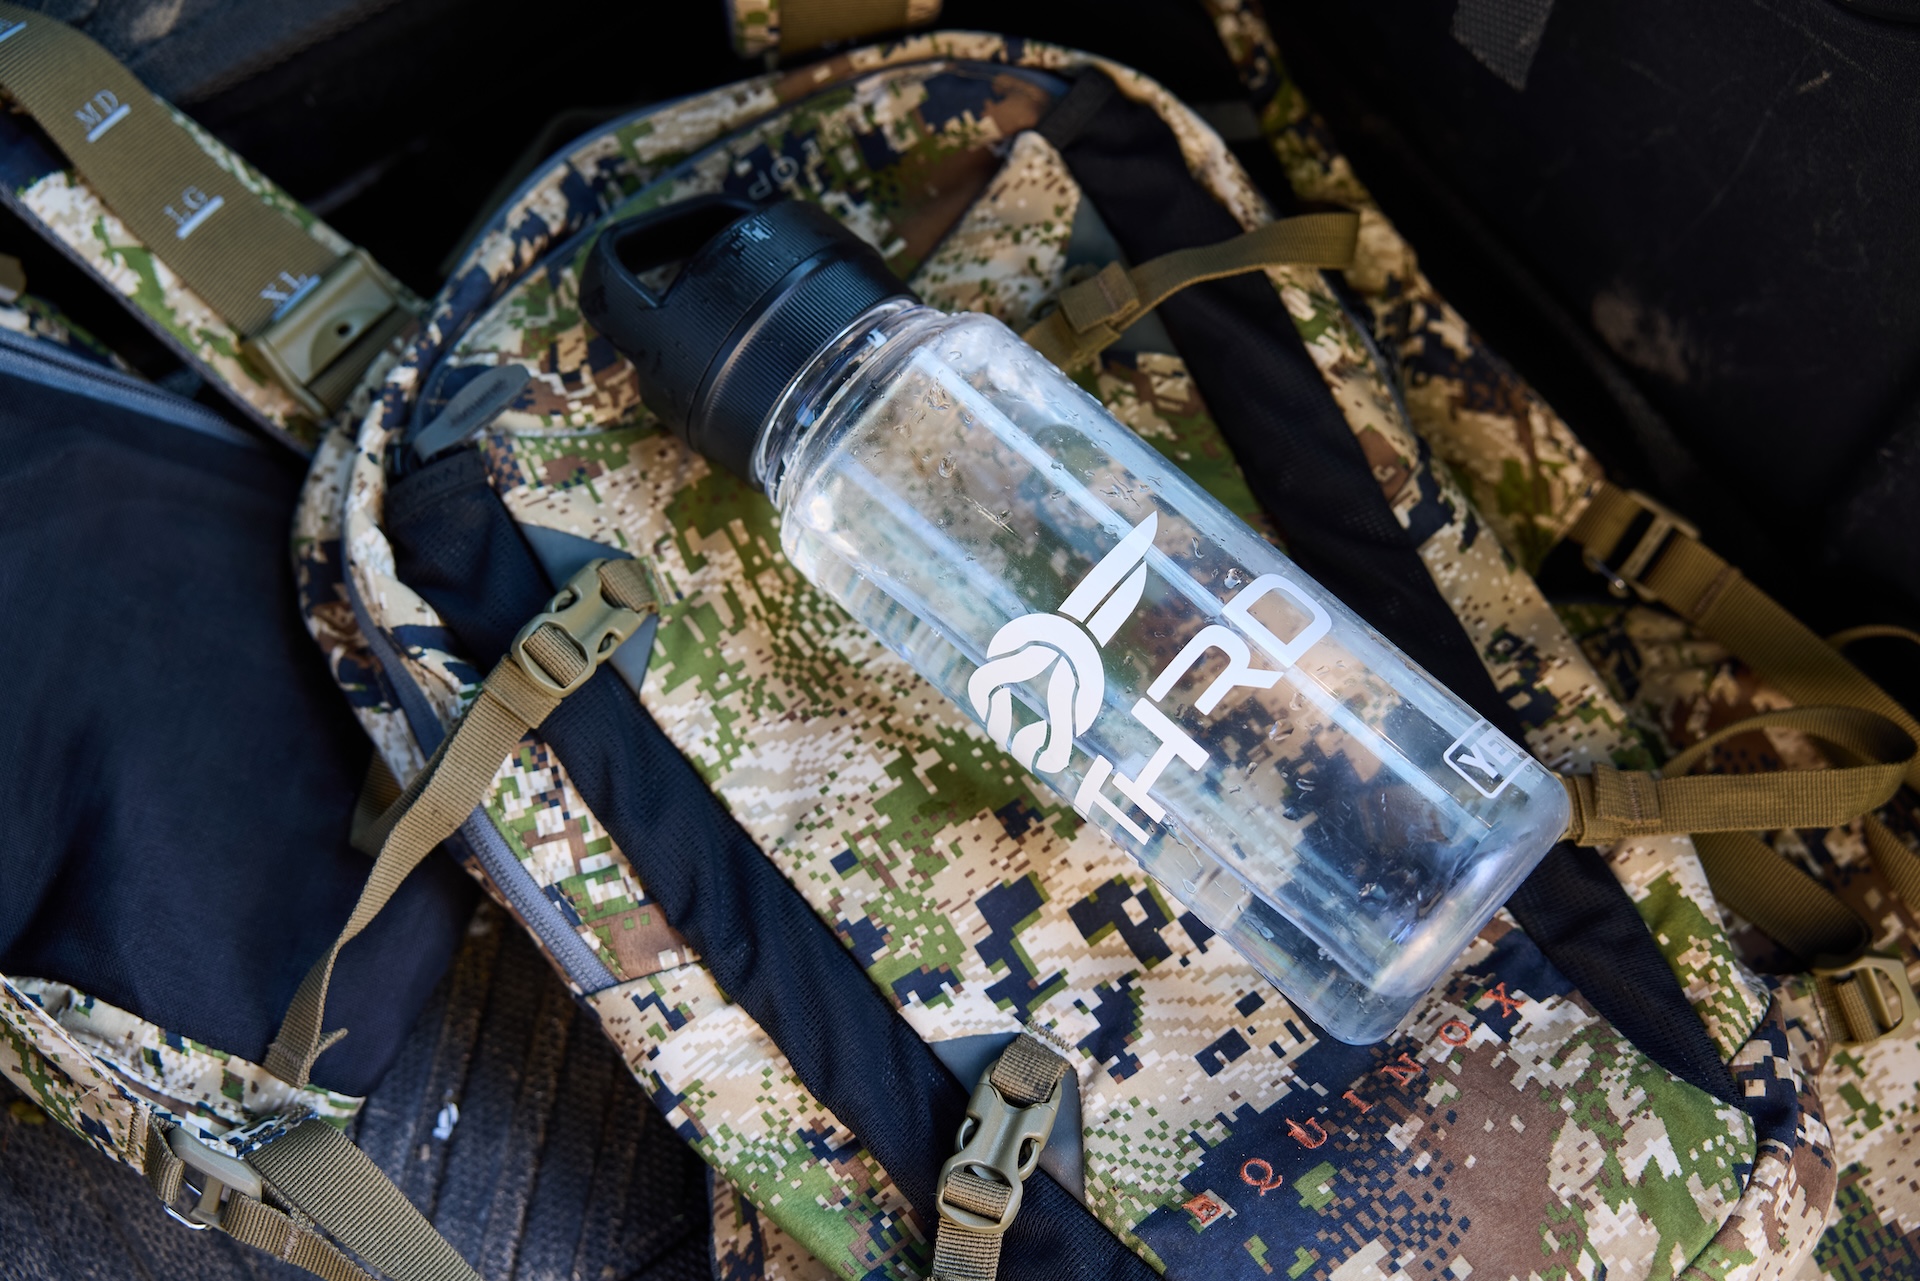
No matter how thirsty you think you are, avoid drinking water from a natural source (like a stream or pond) without using a water purification tablet, a filter, or boiling it first.
Bring a Basic Survival Kit
There's no need to bring the pharmacy into the field. A few basic items can help you get out of a jam in the brush or the woods.
Make sure your survival kit includes some basic survival items, including:
- First-aid kit
- Emergency blanket
- Fire-starting tools
- High-energy snacks
- Flashlight or headlamp
- Signal mirror or whistle
- Paracord or rope
- Sharp knife or multitool
You may not think you really need to bring these items, but it’s better to have them and be prepared in case something goes wrong.
How to Respond in Emergency Situations
When you’re in the field with a bow or firearm and wild animals, something could potentially go wrong. Knowing how to respond in an emergency is part of being a safe and successful hunter.
First, stay calm and assess the situation. Whether it’s an injury or you’re lost, don’t panic.
Then, take action as soon as possible. If someone is injured, use your first aid kit to address the injury. However, if it’s a serious injury, do the best you can with what you have, and find a way to get the person back to your truck or call for help.
Use the mirror or flashlight in your pack to signal for help as rescuers look for you.
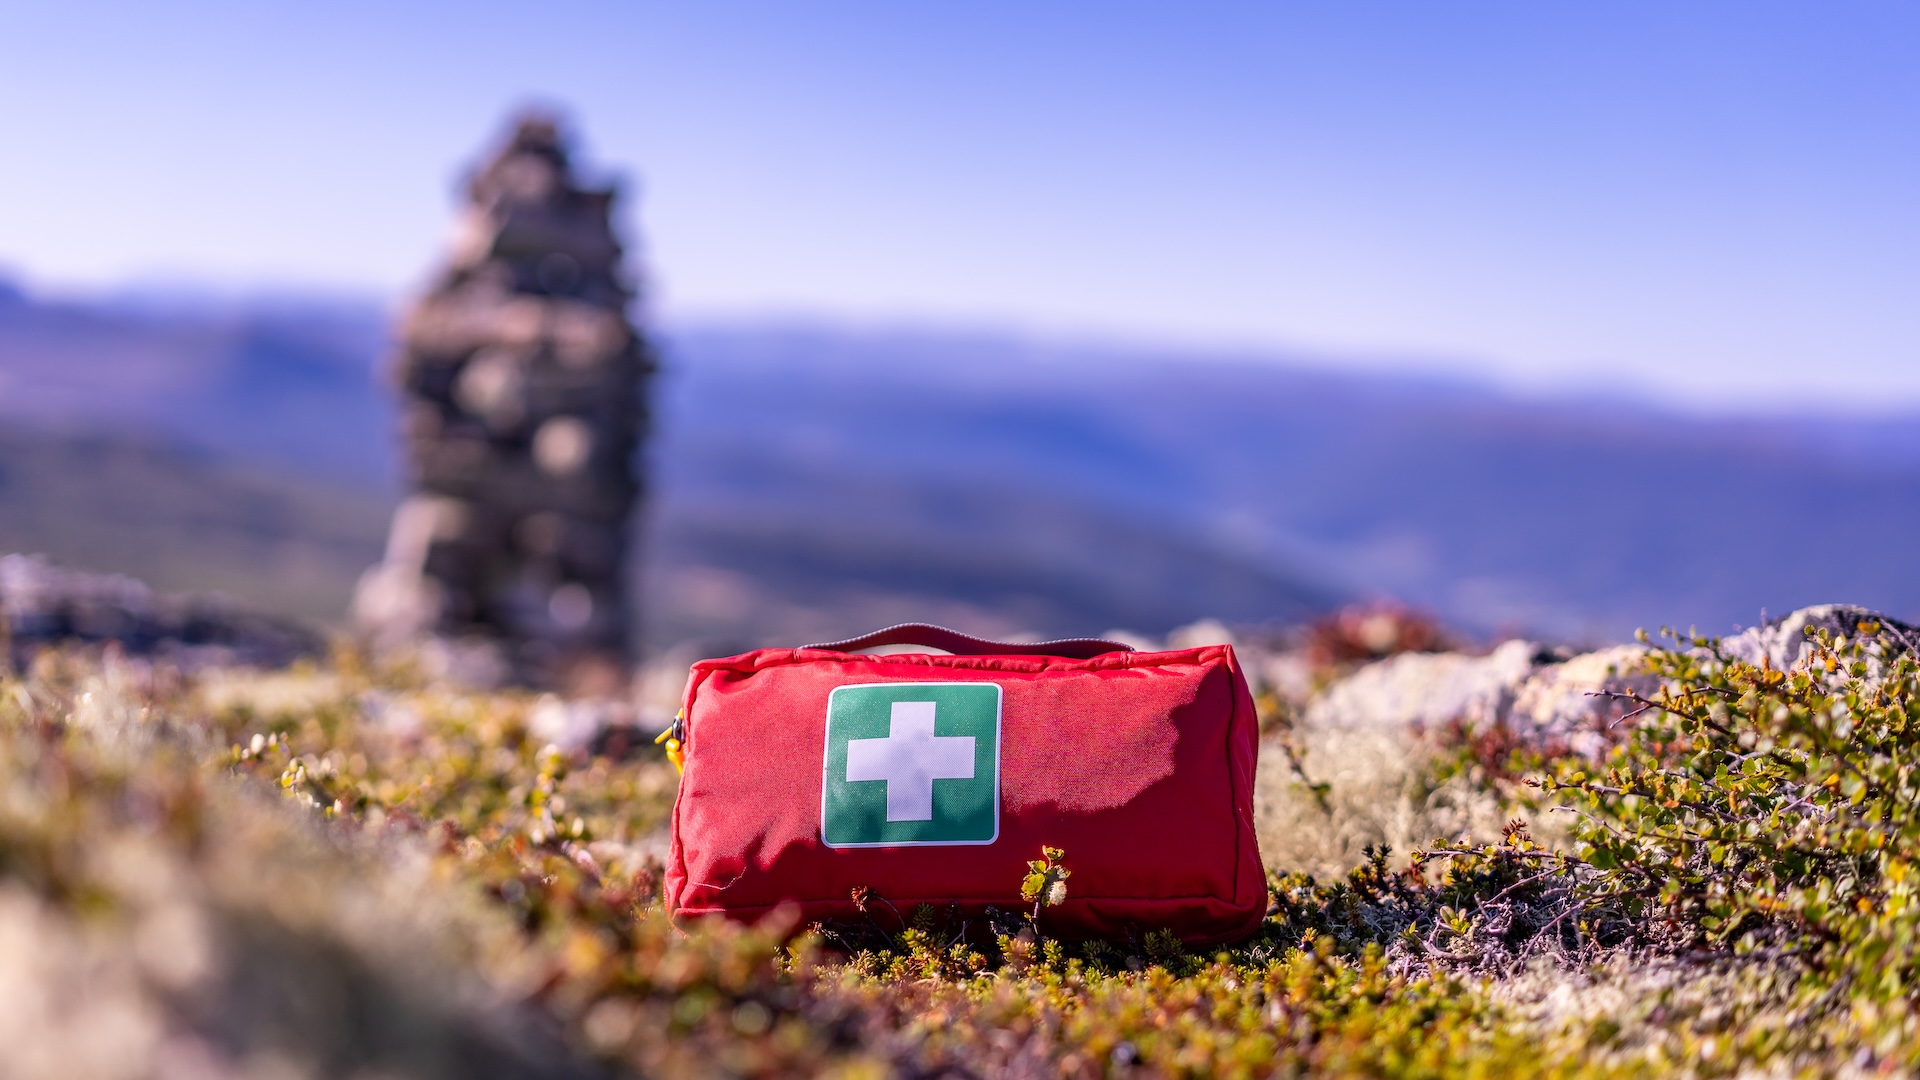
What Should Be in Your Hunting First Aid Kit?
Again, you don’t need to bring a full pharmacy, but your first aid kit should have what you need to treat small injuries (cuts or scrapes) and more significant issues (deep cuts or trauma from a bullet or arrow wound).
Your kit should include basic supplies, like:
| Additionally, bring some emergency (trauma) items, including:
|
Don't forget medications:
Remember to bring prescription meds (if needed), so you don’t miss a dose. | 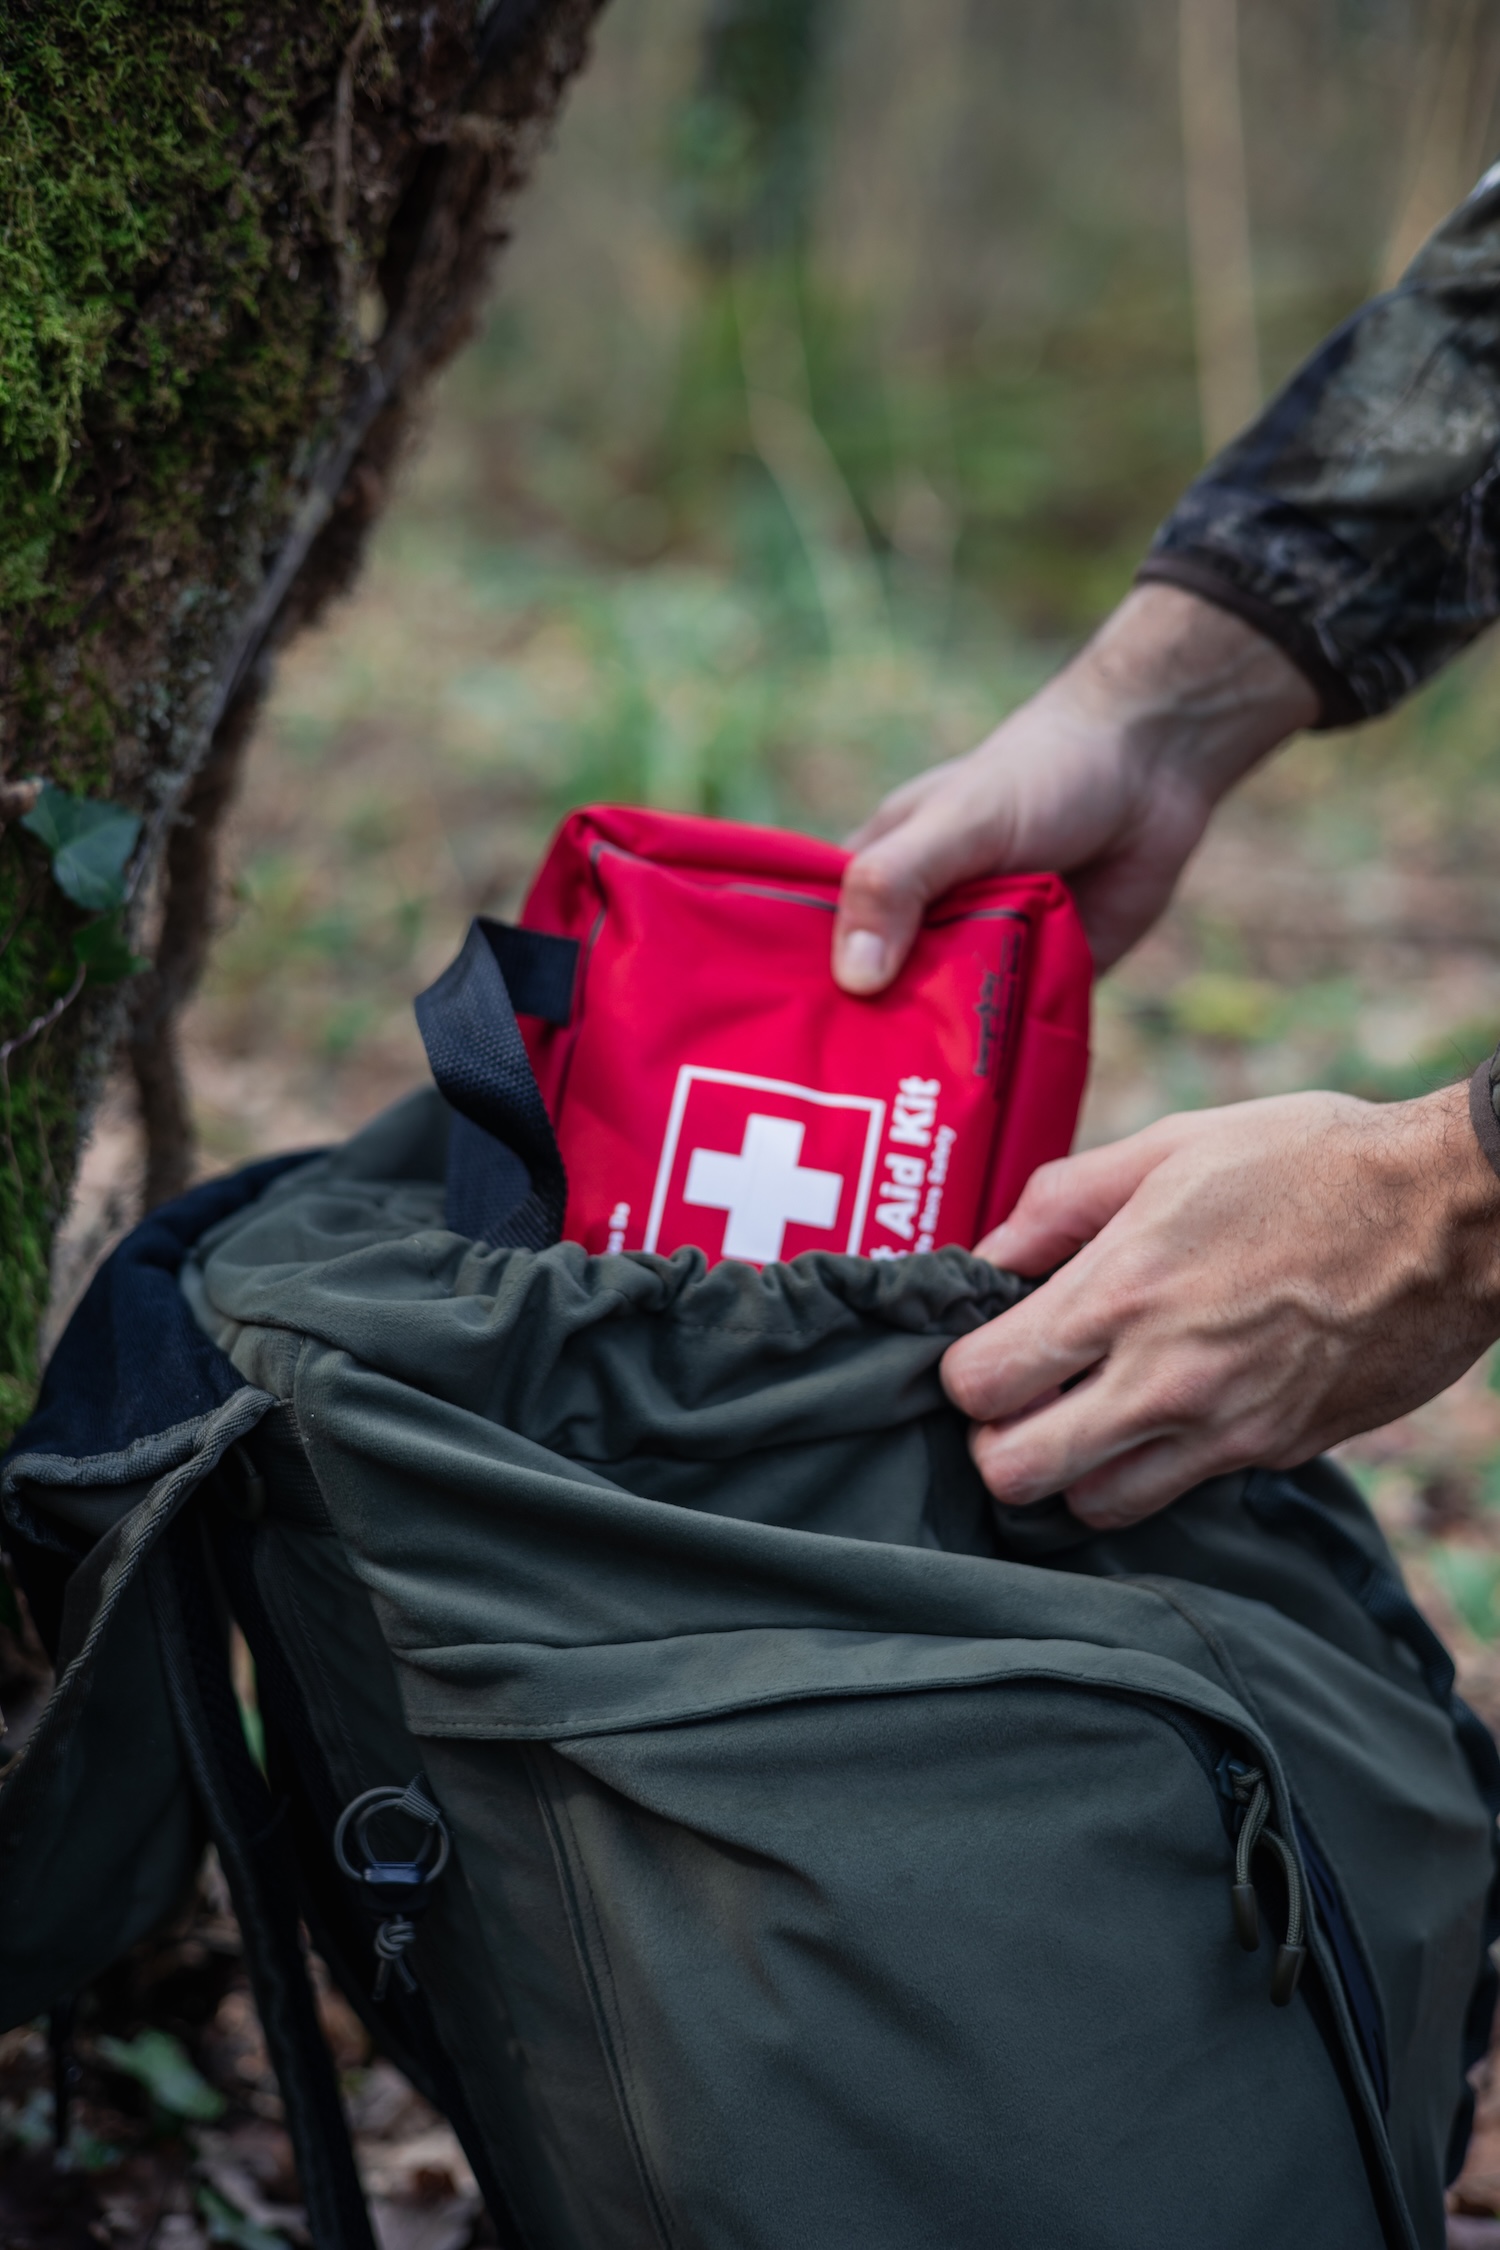 |
Get "The Ultimate Guide to Hunting Safety" from ilearntohunt
We hope your first hunt (and every hunt) is safe and successful! Returning home safely with a wild game harvest is a very successful hunt.
We also hope the tips and insights in this resource help you get started. You can also go deeper (and carry crucial safety information with you) by downloading our free resource, The Ultimate Guide to Hunting Safety!
In it, we give even more insights into safe hunting practices, so you’re prepared for your every hunt. It’s also something you can share with other new hunters, family, and friends!